There is a specific, hauntingly beautiful sound that every baker chases: the “crackle” of a freshly baked loaf. This Crusty Italian Bread Recipe is designed to bring that exact sensory experience into your home kitchen, delivering a loaf that looks like it was plucked from a rustic Florentine window display.
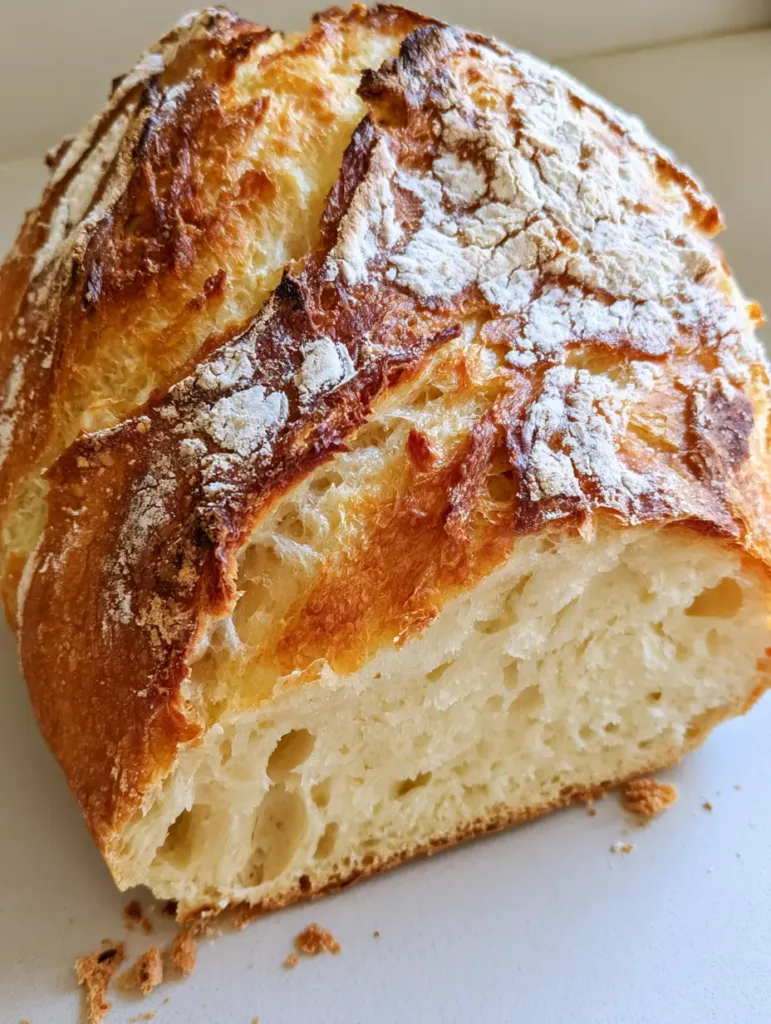
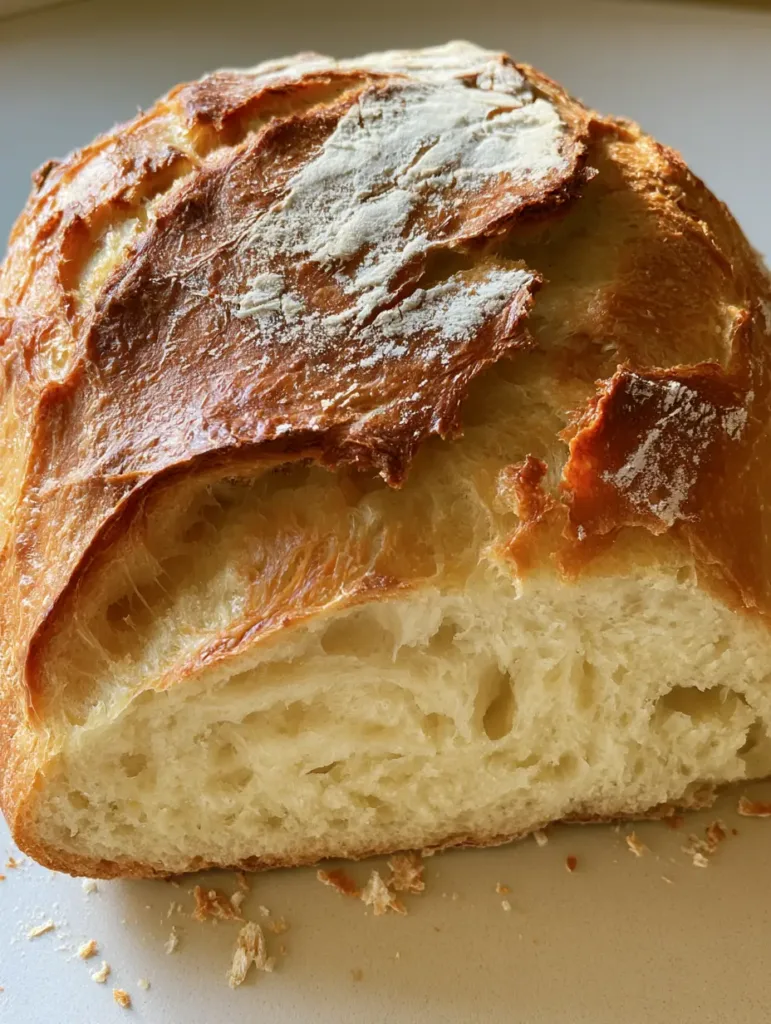
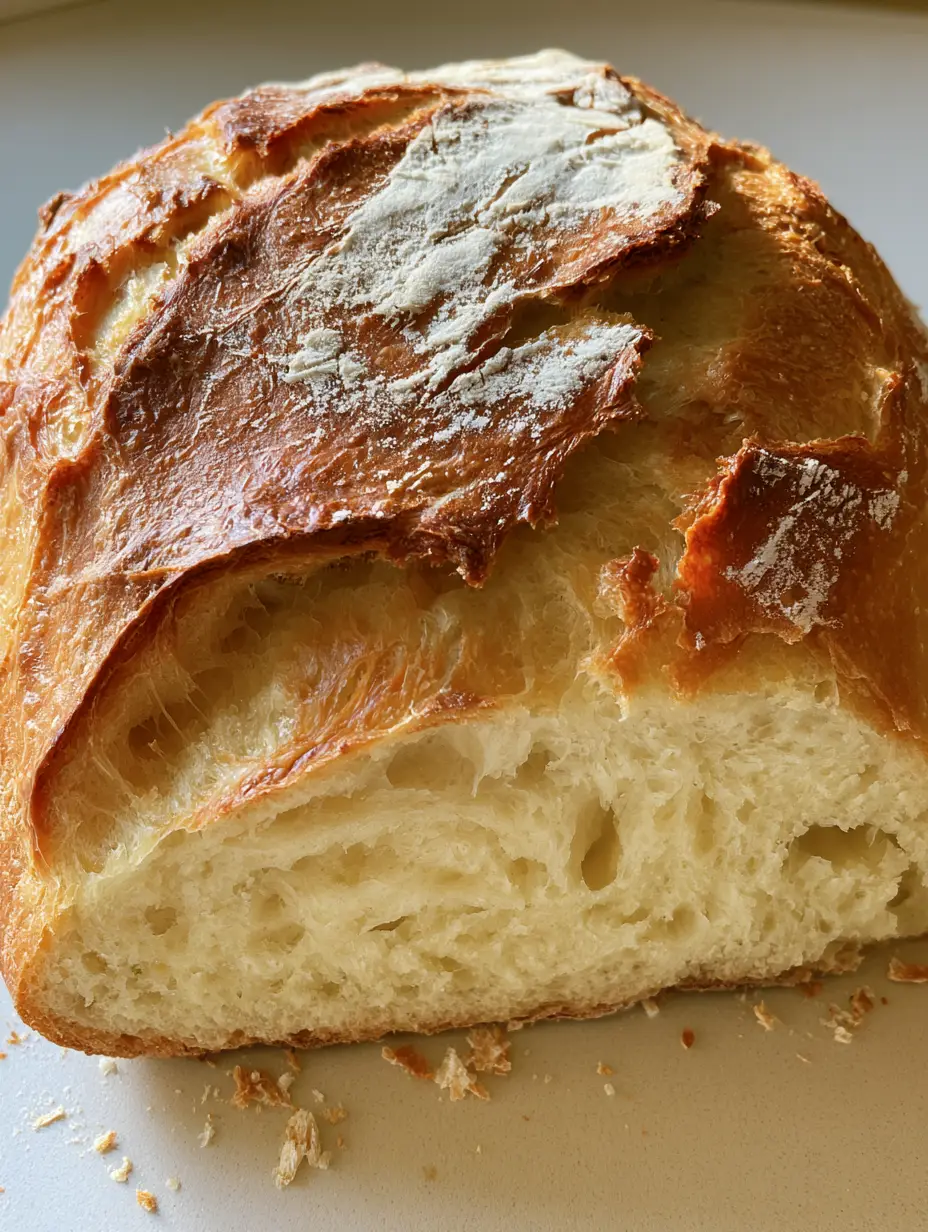
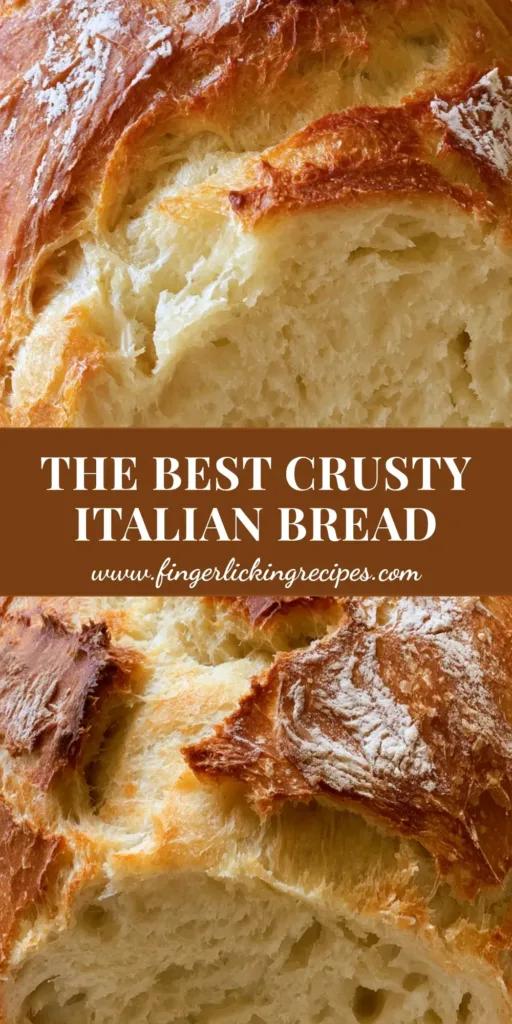
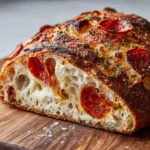
Imagine a bread with a deep, golden-brown crust so crisp it shattered under a knife, revealing a pale cream-colored interior. The crumb is soft, chewy, and punctuated by the large, airy holes that define a high-hydration dough. A light dusting of white flour across the top adds that final artisanal touch, making the loaf look as good as it tastes.
Whether you are a seasoned bread maker or a curious beginner, this guide will walk you through the science of steam, the importance of fermentation, and the simple techniques required to achieve a professional finish. We are moving beyond basic sandwich bread and entering the realm of true Italian craftsmanship.
A high-hydration dough creates these iconic airy holes and a chewy texture.
Why This Is the Only Italian Bread Technique You Need
The Perfect Texture: A high-hydration ratio ensures the soft, airy off-white crumb seen in professional boulangeries.
Visual Masterpiece: We focus on techniques that produce a thick, crackly, deep golden-brown crust with visible fissures.
Simple Ingredients: You only need four pantry staples, yet the result is complex and deeply flavorful.
Versatile Pairing: This loaf is the perfect foundation for a grilled chicken bacon ciabatta or as a side for dipping into oils.
The Essential Pantry Staples for an Authentic Italian Loaf
To achieve the visual and structural results of this Crusty Italian Bread Recipe, we must choose ingredients that support gluten development and crust caramelization. Here is what you will need for your artisan journey.
Bread Flour (500g / approx. 3.75 cups): High protein content is non-negotiable here. It provides the strength needed to trap gas, creating those large, airy holes in the crumb.
Warm Water (375ml / 1.5 cups): This recipe uses 75% hydration. This high water content is the “secret” to the chewy texture and the steam-driven rise during the first ten minutes of baking.
Active Dry Yeast (7g / 2.25 tsp): This is the engine of our bread. It converts sugars into carbon dioxide, puffing up the dough and creating the lift needed for a tall, rustic loaf.
Fine Sea Salt (10g / 1.5 tsp): Beyond flavor, salt regulates yeast activity. It ensures the fermentation process is slow enough to develop deep, complex aromas.
Extra Flour for Dusting (approx. 2 tbsp): This is used just before scoring. It provides the light, irregular dusting of white flour seen on artisan loaves, creating a beautiful contrast against the dark crust.
Professional Tools for the Perfect Artisan Bake
To replicate the deep fissures and jagged texture of the crust, specific tools help manage heat and moisture. While you can improvise, these items elevate the final product significantly.
A heavy Dutch oven is the most effective way to trap steam. If you don’t have one, a baking stone and a shallow pan of water on the bottom rack of the oven will work. You will also need a sharp blade or “lame” to score the top of the dough, which directs the “explosion” of the bread in the oven.
Finally, a digital scale is highly recommended. Bread making is a science of ratios. Measuring by weight rather than volume ensures your dough is never too dry or too sticky, leading to consistent success with your Crusty Italian Bread Recipe every single time.
The deep golden-brown crust features beautiful fissures and a rustic flour dusting.
Mastering the Art of High-Hydration Dough Construction
Step 1: The Initial Mix and Autolyse
In a large glass bowl, whisk together your bread flour and sea salt. In a separate small jug, dissolve the yeast into the warm water (approx. 100°F / 38°C). Gently pour the liquid into the flour and stir with a wooden spoon until a shaggy, sticky mass forms.
Cover the bowl with a damp cloth and let it rest for 30 minutes. This is the “autolyse” phase. It allows the flour to fully hydrate and the gluten to begin forming without any physical labor, making the dough easier to handle later.
Step 2: The Stretch and Fold Method
Instead of traditional kneading, we use “stretches and folds.” Reach under the dough, pull it upward, and fold it over itself. Rotate the bowl and repeat this four times. Perform this set of folds every 30 minutes for a total of two hours.
You will notice the dough transforming from a lumpy mess into a smooth, elastic surface. This technique preserves the precious air bubbles that create the soft, chewy interior with large, airy holes described in our visual blueprint.
Step 3: Bulk Fermentation and Cold Proofing
Once the dough has doubled in size and looks bubbly, gently tip it onto a floured surface. Fold the edges toward the center to create tension, forming a round boule. Place it into a proofing basket or a bowl lined with a floured towel.
For the best flavor, let the dough proof in the refrigerator for 12-24 hours. This slow fermentation breaks down starches into sugars, which leads to the deep golden-brown crust and complex, tangy flavor of a true Italian loaf.
Step 4: Scoring and Achieving the “Bakery Dusting”
Preheat your oven (and your Dutch oven) to 450°F (230°C). Carefully flip the cold dough onto a piece of parchment paper. Use a sifter to apply a light, irregular dusting of white flour across the top of the loaf.
Using a sharp blade, make one deep slash across the center or several smaller fissures. This is vital; it controls where the bread expands, preventing it from bursting at the sides and ensuring that jagged, rustic look.
Step 5: The Steam Bake for a Crackly Crust
Place the dough (with the parchment) into the hot Dutch oven and cover with the lid. Bake for 25 minutes. The lid traps the moisture escaping from the dough, keeping the surface soft so it can expand fully and gelatinizing the starches for a shiny, crackly finish.
Remove the lid and bake for another 15-20 minutes. Watch for the visual cues: you are looking for a deep golden-brown crust. You should hear the bread “singing” (faint popping sounds) as it comes out of the oven and hits the cooler air.
Expert Tips for a Stunning Artisan Result
Use Filtered Water: Chlorine in tap water can sometimes inhibit yeast growth. Using filtered water ensures a more vigorous rise.
The “Ear” Technique: Hold your scoring blade at a 45-degree angle to create an “ear”—a raised flap of crust that gets extra crispy and dark.
Don’t Rush the Cool: I know it’s tempting, but wait at least 60 minutes before slicing. The interior is still “baking” with residual steam; cutting too early makes the crumb gummy.
Temperature Check: For perfect results, the internal temperature of the bread should reach 205°F (96°C).
The Best Ways to Enjoy Your Fresh Italian Loaf
This bread is a versatile powerhouse in the kitchen. For a light lunch, serve thick slices alongside a high protein Italian pasta salad. The acidity of the dressing perfectly complements the mild tang of the artisan bread.
If you’re looking for something more decadent, use the airy holes in the crumb to soak up the sauce from a bowl of creamy coconut garlic shrimp. The contrast between the crackly crust and the velvety sauce is truly world-class.
For a classic Italian experience, simply toast a slice, rub it with a raw garlic clove, and drizzle with high-quality olive oil and a pinch of flaky sea salt. The simplicity allows the quality of the Crusty Italian Bread Recipe to shine through.
A soft crust is usually caused by insufficient steam during the first half of baking or not baking the bread long enough at a high temperature. Using a Dutch oven and ensuring the bread reaches a deep golden-brown color will solve this.
Yes. Place a baking stone or inverted cookie sheet in the oven to preheat. When you put the bread in, place a shallow pan of boiling water on the rack below it to create the necessary steam.
Bread flour is best because its high protein content (12-14%) creates the strong gluten network needed for the large, airy holes and chewy texture typical of Italian loaves.
A cold ferment (12-24 hours) slows down yeast activity, allowing enzymes to break down starches into complex sugars. This results in better flavor and a more beautiful, blistered crust.
Lightly mist the dough with water or simply sift a thin, even layer of flour over the loaf immediately before scoring. This prevents the flour from blowing off and creates that professional artisan look.
The Ultimate Crusty Italian Bread Recipe
FL Recipes
Crusty Italian Bread Recipe: How to Make Bakery-Quality Artisan Loaves at Home
Master the art of high-hydration baking with this Crusty Italian Bread Recipe. Achieve a deep golden-brown, crackly crust and a soft, airy interior with large holes using simple ingredients and professional steam-baking techniques.
500gBread FlourHigh protein for better gluten structure
375mlWarm WaterApproximately 100°F (38°C)
7gActive Dry YeastOne standard packet
10gSea SaltFine grain
2tbspAll-Purpose FlourFor dusting the top of the loaf
Equipment
1 Dutch Oven Essential for trapping steam to create a crackly crust.
1 Bread Lame or Sharp Blade Used for scoring the dough to control the rise.
1 Digital Kitchen Scale Ensures accurate hydration ratios.
Method
Dough Preparation
Whisk flour and salt. Dissolve yeast in warm water and combine into a shaggy dough.
Let the dough rest covered for 30 minutes to hydrate the flour.
Perform 4 sets of 'stretch and folds' every 30 minutes over a 2-hour period.
Baking Process
Shape into a boule and refrigerate for 12-24 hours for maximum flavor development.
Dust the top with flour and score a deep fissure across the center with a lame.
Bake in a preheated Dutch oven at 450°F (230°C) with the lid on for 25 minutes, then 15 minutes with the lid off.
Nutrition
Calories: 180kcalProtein: 6gFat: 1gFiber: 2g
Notes
Wait at least one hour before slicing to ensure the crumb sets. For a darker crust, leave the loaf in the oven with the door cracked for 5 minutes after baking.
Keyword artisan bread,Crusty Italian Bread Recipe,No-Knead Bread
The ultimate bakery-style Italian bread with a crackly crust.
Sharing the Love of Artisan Baking
Mastering this Crusty Italian Bread Recipe is more than just a culinary task; it is a way to bring people together through the universal language of fresh bread. The jagged texture of the crust and the soft, airy interior make every slice a gourmet experience.
We would love to see your baking triumphs! Please leave a comment below with your results or any questions you may have. Don’t forget to save this recipe to your “Baking” board on Pinterest so you can find it every time you crave that perfect artisan crunch.
Hi, I’m Emily Carter, and welcome to FL Recipes! I share simple, healthy recipes that make cooking easy, fun, and delicious for everyone. more about me »