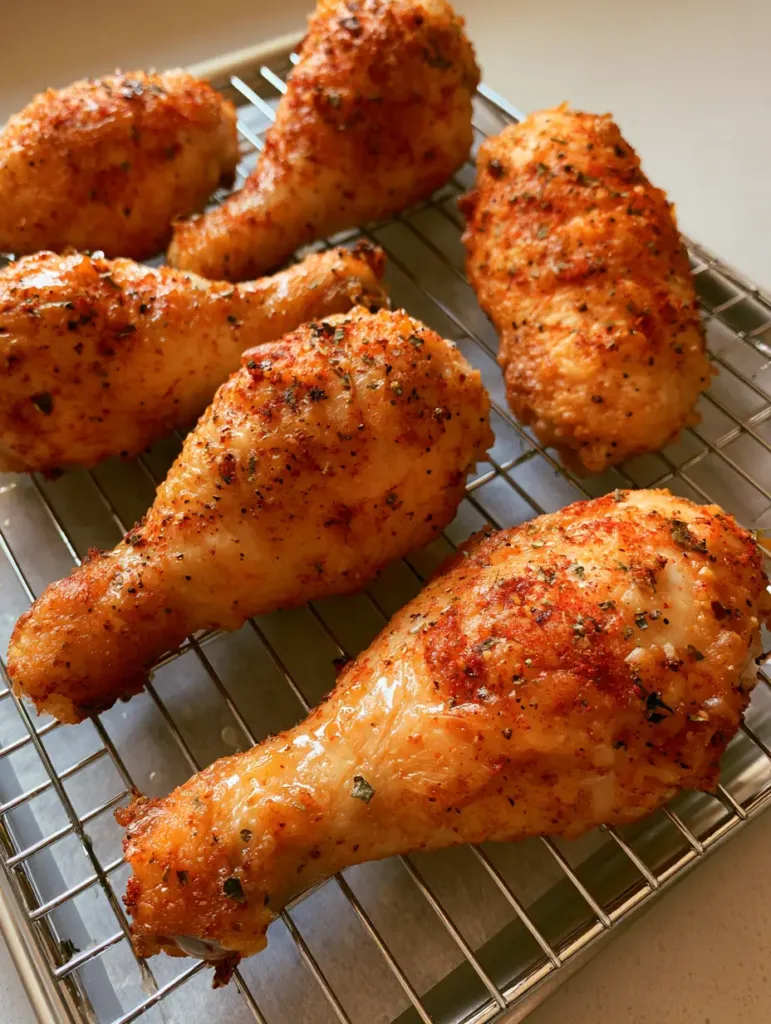
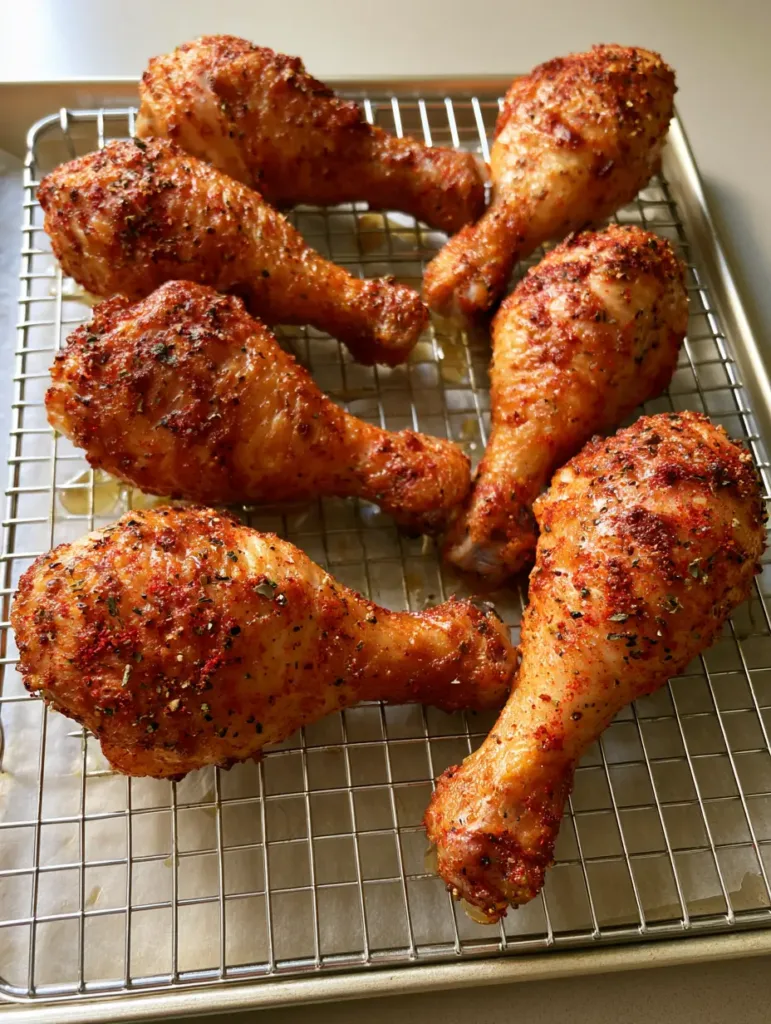
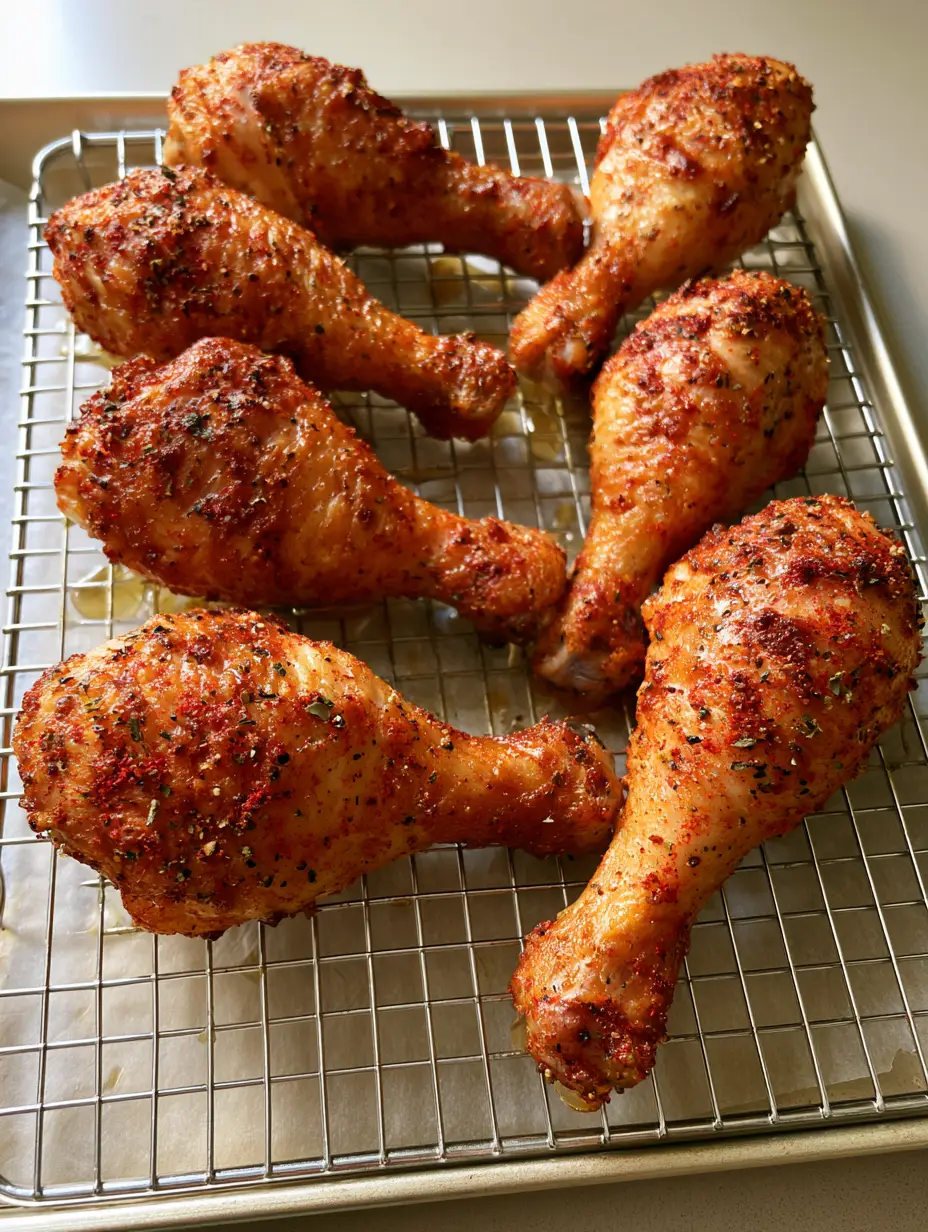
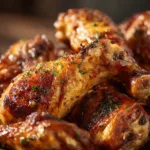
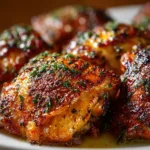
There is nothing quite as satisfying as the sight of Oven Baked Chicken Drumsticks fresh out of the heat, their skin transformed into a deep golden-brown landscape of cracks and blisters. If you have ever scrolled through authentic food photography and wondered how to achieve that glistening, textured finish without a deep fryer, you are in the right place. This recipe is designed to bridge the gap between home cooking and professional culinary aesthetics, delivering six perfect drumsticks that look exactly like a high-end smartphone capture.
The secret lies in the synergy between a silver wire rack and a high-temperature environment. By elevating the chicken over white parchment paper, we allow hot air to circulate 360 degrees, rendering the fat until the skin crackles. The result is a handheld masterpiece, coated in a smoky rub of fine red paprika and cracked black pepper, finished with a delicate dusting of dried green herb flakes that pop against the amber skin.
The silver wire rack is the secret to getting crispy skin all the way around the drumstick.
Why These Crispy Roasted Drumsticks Outshine the Rest
The Blister Factor: We utilize a specific drying technique that ensures the skin doesn’t just brown—it bubbles and blisters for maximum crunch.
Glistening Texture: A precise ratio of oil and rendered chicken fat creates that signature shine seen in professional food styling.
Smoky Depth: The use of smoked paprika provides a rich, red-speckled hue and a campfire-depth that regular paprika lacks.
Structural Integrity: By using a wire rack, we prevent the “soggy bottom” syndrome that plagues most sheet-pan chicken recipes.
The Essential Components for Flavor and Texture
Every ingredient in this recipe serves a forensic purpose. We aren’t just seasoning; we are building a structural crust that holds up to the heat of the oven while remaining juicy on the inside.
Chicken Drumsticks: You will need 6 large drumsticks, totaling about 1.5 to 2 lbs (680-900g). We chose drumsticks because their higher fat content compared to breasts allows for better skin blistering and a more forgiving cooking window.
Avocado or Light Olive Oil: 2 tbsp (30ml) of a high-smoke-point oil is vital. This acts as the heat conductor, ensuring the smoked paprika doesn’t burn before the skin has a chance to crisp up.
Smoked Paprika: 1 tbsp (7g) provides the vibrant red specks and deep color. Unlike sweet paprika, the smoked variety adds a sophisticated layer of flavor that complements the rendered fat.
Cracked Black Pepper: 1 tsp (2g) of coarsely cracked pepper offers a visual and textural contrast. The larger flakes provide a spicy “bite” that cuts through the richness of the dark meat.
Dried Herb Flakes: 1 tsp (1g) of dried parsley or oregano adds those tiny green specks. These should be added at the very end or halfway through to maintain their color without scorching.
Kosher Salt: 1.5 tsp (9g) is mandatory for moisture extraction. Salt draws moisture to the surface of the skin, where the oven heat can evaporate it, leading to a thinner, crispier result similar to a parmesan crusted chicken crust.
Garlic and Onion Powder: 1 tsp (3g) each of these aromatics builds the “umami” base. They melt into the oil, ensuring every bite is seasoned to the bone.
The Science of the Silver Wire Rack
To achieve the “smartphone photo” quality of six roasted drumsticks, you cannot place the meat directly on the pan. When chicken sits on parchment paper, it braises in its own juices, resulting in soft, rubbery skin on the underside. By using a silver wire cooling rack placed over a parchment-lined baking sheet, we create a convection-like environment.
The white parchment paper serves a dual purpose: it reflects heat upward toward the bottom of the drumsticks and catches the dripping, clear oil and rendered fat for easy cleanup. This setup is the same secret used to create the perfect crunch in crack chicken tenders. The air gap is the difference between “good” chicken and “blistered, crispy” perfection.
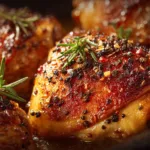
Notice the highly textured skin and glistening rendered fat on these drumsticks.
Step-by-Step Instructions for Oven Baked Chicken Drumsticks
Preparing the Chicken for Maximum Crispiness
Start by preheating your oven to 425°F (218°C). This high temperature is non-negotiable for achieving the blistered texture described in our visual blueprint. Line a large rimmed baking sheet with white parchment paper and set a silver wire rack firmly on top.
The most important step for crispy skin is moisture removal. Take each drumstick and pat it bone-dry with paper towels. If the skin is wet, it will steam rather than sear. For the absolute best results, let the chicken sit uncovered in the refrigerator for 30 minutes before seasoning, a technique often used when preparing slow cooker chicken thighs that are finished under a broiler.
Applying the Smoky Dry Rub
In a small bowl, whisk together the smoked paprika, cracked black pepper, kosher salt, garlic powder, and onion powder. Place the dried drumsticks in a large mixing bowl and drizzle with the 2 tbsp (30ml) of oil. Toss thoroughly to ensure every crevice is coated; this oil is the “glue” for your rub.
Sprinkle the dry rub over the chicken, tossing again until you see those fine red paprika specks and coarse pepper flakes evenly distributed. Arrange the six drumsticks on the silver wire rack, ensuring they are not touching. This space is crucial for the “natural daylight” shadows we want to see in the final dish.
The Roasting Process and Sensory Cues
Slide the tray into the center of the oven. Bake for 40-45 minutes. Around the 20-minute mark, you will begin to hear a distinct sizzling sound—this is the rendered fat escaping the skin. At 30 minutes, the skin will begin to transition from a matte orange to a glistening, deep golden-brown.
Look for “blistering”—tiny bubbles forming on the surface of the skin. This is the Maillard reaction in full effect. In the final 5 minutes, sprinkle the dried herb flakes over the top. The residual heat will wake up the oils in the herbs without turning them black.
Testing for Doneness
While the USDA recommends 165°F (74°C), drumsticks are best when cooked to an internal temperature of 175°F to 185°F (79°C-85°C). The extra heat breaks down the connective tissue in the dark meat, making it fall-off-the-bone tender while the skin continues to crisp. Use a digital thermometer to check the thickest part of the drumstick without hitting the bone.
Expert Tips for Professional Results
Don’t Overcrowd: Cooking more than six drumsticks on one rack? Use two trays. Airflow is the enemy of sogginess.
The “Flip” Myth: If using a wire rack, you do not need to flip the chicken. The air circulates underneath, keeping the skin crispy on all sides.
Color Check: If the chicken isn’t a deep enough brown by 35 minutes, move the tray to a higher oven rack for the final 5-10 minutes.
Herb Timing: Always add dried green herb flakes toward the end. Their volatile oils are delicate and can turn bitter if scorched at 425°F for too long.
Perfect Pairings for Your Roasted Chicken
These Oven Baked Chicken Drumsticks are versatile enough for a weeknight dinner or a game-day spread. For a refreshing contrast to the smoky paprika rub, serve them alongside a bowl of creamy tzatziki sauce. The cool cucumber and yogurt cut through the richness of the rendered fat beautifully.
If you are looking for a more indulgent meal, these drumsticks pair perfectly with a side of cheesy potatoes or a buffalo chicken bomb appetizer platter. For a Southern-inspired feast, consider serving them with a side that mimics the flavors of Texas Roadhouse smothered chicken.
Storage, Reheating, and Freezing
To Store: Keep leftover drumsticks in an airtight container in the refrigerator for up to 4 days. The skin will lose its crunch in the fridge, but the flavor will remain intact.
To Reheat: Avoid the microwave if you want to reclaim that blistered skin. Place the drumsticks back on a wire rack in a 350°F (175°C) oven for 10-12 minutes until sizzling and hot.
To Freeze: You can freeze the roasted drumsticks for up to 3 months. Thaw overnight in the refrigerator before reheating in the oven to maintain the structural integrity of the skin.
The most common reason is moisture. If the skin is wet when it goes into the oven, it steams rather than crisps. Always pat your drumsticks bone-dry and use a wire rack to allow air to circulate underneath.
You can, but the bottom of the drumstick where it touches the paper will remain soft and greasy. The wire rack is essential for that 360-degree blistered texture.
If you are using a wire rack, there is no need to flip. The air flows all around the chicken. If you are baking directly on a pan, you should flip them at the 20-minute mark.
Look for the skin to be a deep golden-brown with visible blisters. Internally, aim for 175°F-185°F (79°C-85°C) for the most tender results.
The Ultimate Oven Baked Chicken Drumsticks Recipe
FL Recipes
Oven Baked Chicken Drumsticks with Blistered Crispy Skin
These Oven Baked Chicken Drumsticks feature a smoky paprika rub and ultra-crispy blistered skin. Achieved using a wire rack and high heat, they are the perfect juicy, golden-brown dinner for busy home cooks seeking professional results.
1 Silver Wire Cooling Rack Essential for 360-degree airflow.
1 Baking Sheet Rimmed tray to catch drippings.
1 White Parchment Paper For easy cleanup and heat reflection.
Method
Preparation
Preheat your oven to 425°F (218°C). Line a rimmed baking sheet with white parchment paper and set a silver wire cooling rack on top.
Pat the 6 chicken drumsticks bone-dry with paper towels. Removing surface moisture is critical for skin blistering.
Seasoning
Place drumsticks in a bowl, drizzle with 2 tbsp (30ml) oil, and toss. Sprinkle with smoked paprika, cracked pepper, salt, garlic powder, and onion powder until evenly coated.
Place drumsticks on the silver wire rack, ensuring they are not touching for optimal airflow.
Baking
Bake for 40-45 minutes. Skin should be deep golden-brown and blistered. Internal temperature should reach 175°F-185°F (79°C-85°C).
Sprinkle with dried green herb flakes in the last 5 minutes of cooking to set the flavor without burning.
Nutrition
Calories: 285kcalProtein: 26gFat: 18gFiber: 1g
Notes
Ensure the drumsticks are room temperature for 15 minutes before baking to ensure even cooking. Use a high-smoke point oil to prevent the smoked paprika from tasting bitter.
Did your Oven Baked Chicken Drumsticks come out with that perfect, smartphone-ready blistered skin? We want to see your results! The combination of smoky paprika and cracked pepper is a game-changer for home cooks looking for professional-grade results. Don’t forget to pin this recipe to your favorite boards on Pinterest so you never lose this crispy-skin secret!
The ultimate crispy Oven Baked Chicken Drumsticks, perfectly seasoned with smoked paprika.
Hi, I’m Emily Carter, and welcome to FL Recipes! I share simple, healthy recipes that make cooking easy, fun, and delicious for everyone. more about me »