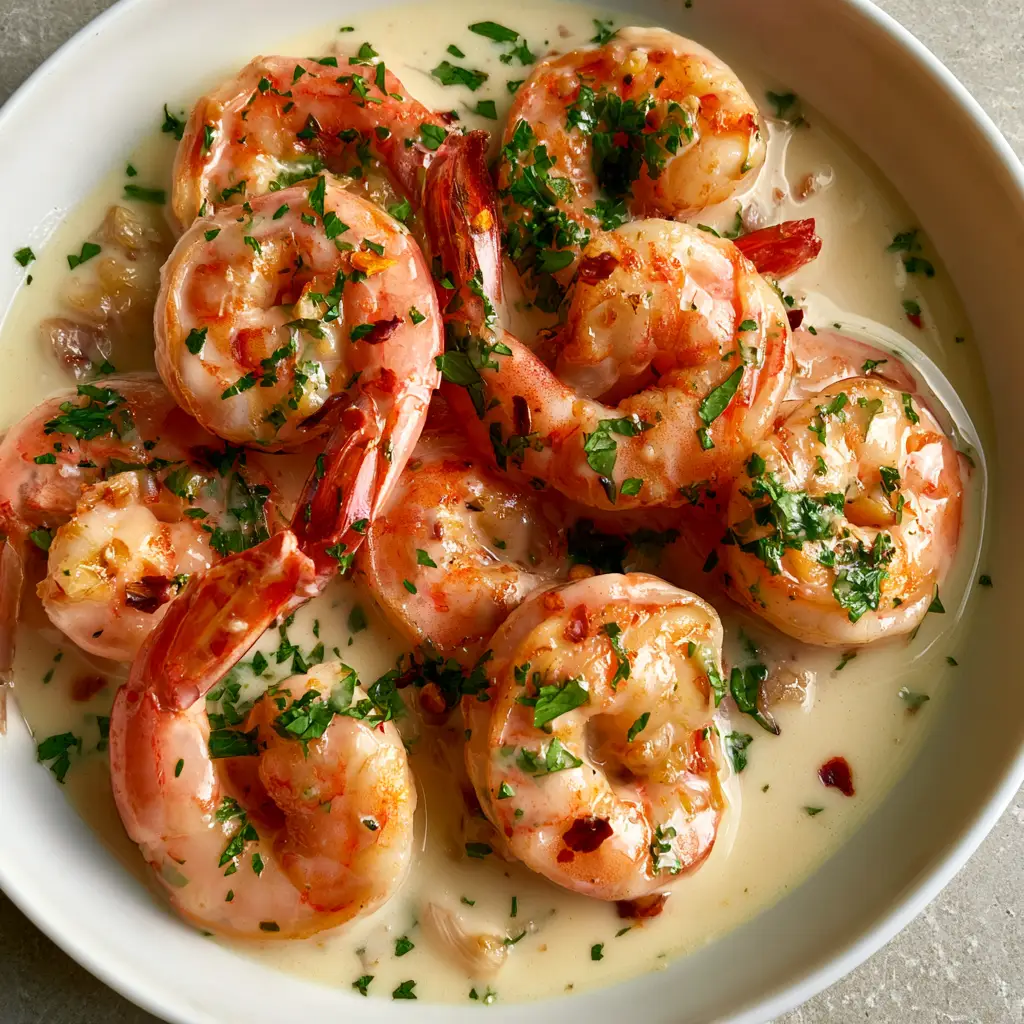
Creamy Garlic Shrimp is the ultimate 20-minute luxury dinner that brings restaurant-quality flavors straight to your home kitchen. Imagine succulent, seared pink tail-on shrimp nestled in a pool of thick garlic cream sauce that is so glossy it reflects the soft natural light of your dining room. This recipe isn’t just about the taste; it’s a visual masterpiece featuring vibrant green finely chopped fresh parsley and a subtle heat from red pepper flakes.
Whether you are a seasoned home cook or a beginner looking to impress, this dish hits every sensory note. The sound of the shrimp hitting a hot pan, the aroma of minced sauteed garlic, and the sight of the ivory sauce clinging to every curve of the seafood make this an unforgettable experience. This Creamy Garlic Shrimp is designed to be the star of your Pinterest board and the centerpiece of your dinner table.
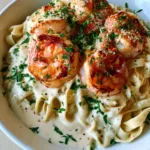
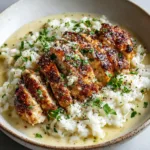
Plating your Creamy Garlic Shrimp in a shallow bowl highlights the vibrant colors.
Why This Succulent Seafood Recipe Works
Perfect Visual Texture: We use a high-heat sear to achieve light golden-brown edges on the shrimp while keeping the centers tender.
Glossy Emulsion: The combination of heavy cream and cold butter creates an ivory sauce that “clings” perfectly to the seafood.
Layered Garlic Flavor: By using both sauteed minced garlic and translucent shallots, we build a complex flavor profile that isn’t just one-dimensional.
Pinterest-Ready Garnish: The contrast of the pink shrimp against the white ceramic bowl and green parsley is a viral engagement loop waiting to happen.
The Essential Ingredients for Creamy Garlic Shrimp
To achieve the results seen in our Visual Recipe Blueprint, the quality of your ingredients matters. Each component serves a specific culinary purpose to ensure the final dish is as delicious as it is beautiful.
1 lb (450g) Large Shrimp: Look for “Easy Peel” tail-on shrimp. The tails add immense flavor to the sauce during the searing process and provide a beautiful visual handle for the final presentation.
2 tbsp (30ml) Extra Virgin Olive Oil: This has a higher smoke point than butter, allowing us to get that light golden-brown searing without burning the fats.
4 tbsp (60g) Unsalted Butter: Divided into two parts—one for the initial sauté and one to whisk into the sauce at the end for that signature glossy finish.
6 cloves Fresh Garlic: Do not use the pre-minced jarred variety. You want minced sauteed garlic that releases its oils into the pan to infuse the cream.
1 medium Shallot: When finely diced and cooked until translucent, shallots provide a delicate sweetness that balances the pungent garlic.
1 cup (240ml) Heavy Cream: This is the foundation of our thick garlic cream sauce. It reduces beautifully into a rich, pale ivory coating.
1/2 cup (50g) Freshly Grated Parmesan: This adds saltiness and acts as a natural thickener for the sauce.
Garnishes: You will need finely chopped fresh parsley, red pepper flakes, and cracked black pepper to match our visual blueprint exactly.
If you love these flavors, you should also check out our creamy lemon garlic shrimp pasta for a more carb-heavy version of this classic.
The Science of the Perfect Sear
Before we dive into the steps, we must discuss the Maillard reaction. To get the bright pink and orange hue with golden edges, your shrimp must be bone-dry. Use a paper towel to pat each shrimp dry before seasoning.
Any moisture left on the surface will create steam, resulting in rubbery, gray shrimp rather than the succulent shrimp seen in our photos. High heat and a heavy-bottomed skillet are your best friends here.
Step 1: Preparing the Seafood
Start by cleaning your shrimp. Leave the tails on for that professional look. Season lightly with kosher salt and cracked black pepper. The salt helps draw out the last bit of surface moisture, ensuring that golden-brown searing we desire.
Step 2: Searing for Color and Texture
Heat your olive oil and 1 tablespoon of butter in a large skillet over medium-high heat. Once the butter is foaming, add the shrimp in a single layer. Do not crowd the pan! Sear for 1-2 minutes per side until they curl tightly and show those beautiful toasted edges.
Remove the shrimp from the pan and set them aside. They will finish cooking in the sauce later. Keeping them in the pan too long at this stage is the #1 mistake home cooks make, leading to a “rubbery” texture.
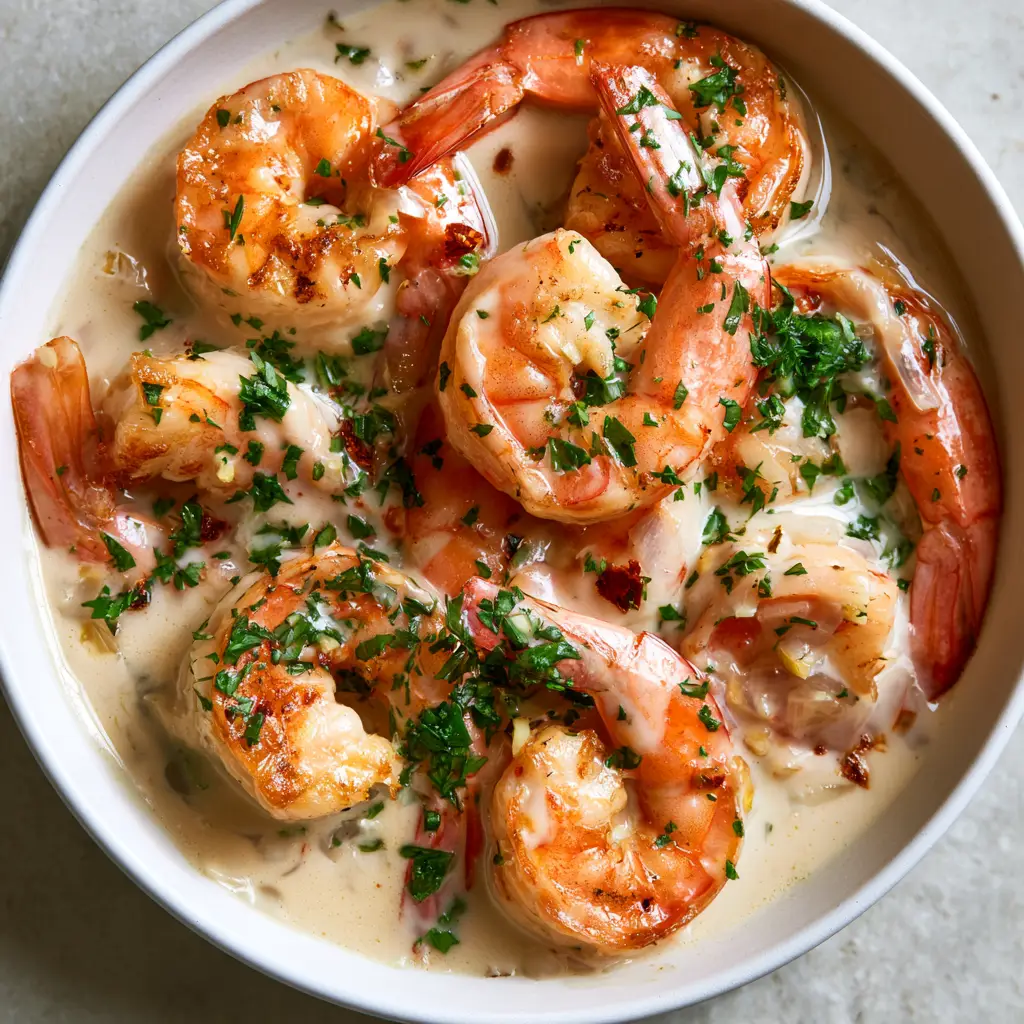
Look at those golden-brown seared edges and the glossy ivory sauce!
Step 3: Building the Garlic Cream Base
Lower the heat to medium. In the same pan (don’t wash it—those brown bits are flavor gold!), add another tablespoon of butter. Toss in your minced sauteed garlic and diced shallots. Cook for 2 minutes until the shallots are translucent and the garlic is fragrant but not browned.
Pour in the heavy cream. Use a wooden spoon to scrape the bottom of the pan. Bring the liquid to a gentle simmer. Let it bubble for 3-5 minutes until it reduces by about a third. It should become a thick, glossy, pale ivory cream sauce that coats the back of a spoon.
Once reduced, stir in the Parmesan cheese until melted. If the sauce feels too thick, a splash of chicken broth or white wine can thin it out without losing the richness.
Finishing Touches and Visual Styling
Add the seared shrimp back into the skillet. Toss them gently so the sauce clings to the seafood. This only takes about 30 seconds to 1 minute. You want the shrimp to be hot, but you don’t want to overcook them.
Now, for the “Pinterest Pop.” Transfer the mixture to a shallow white ceramic bowl. The neutral background of the bowl makes the pink tones of the shrimp and the green of the parsley truly stand out.
Generously sprinkle the finely chopped vibrant green parsley across the top. Add a few flakes of dried red chili (red pepper flakes) for color contrast. Finally, a few more cracks of black pepper will complete the look.
This method of finishing with fresh herbs is similar to how we garnish our chicken pozole verde to keep the colors bright and appetizing.
Expert Tips for Success
Use Cold Butter at the End: For an extra-glossy sauce, whisk in a small knob of cold butter right before serving. This technique, called monter au beurre, creates a professional sheen.
Don’t Overcook the Garlic: Garlic turns bitter if it burns. If your pan is too hot after searing the shrimp, take it off the heat for 30 seconds before adding the garlic.
Fresh Parsley Only: Dried parsley loses its vibrant green color. For the best visual impact, always use fresh flat-leaf or curly parsley.
Room Temperature Cream: Taking the chill off your heavy cream before adding it to the pan prevents the sauce from breaking or curdling.
Storage, Reheating & Freezing
Storage: Store leftovers in an airtight container in the refrigerator for up to 2 days. Because this is a cream-based sauce, it is best enjoyed fresh.
Reheating: Do not use a microwave! High heat will make the shrimp rubbery and the sauce oily. Reheat in a small skillet over low heat, adding a tablespoon of water or milk to loosen the sauce as it warms.
Freezing: We do not recommend freezing this dish. The cream sauce will likely separate and lose its glossy ivory texture upon thawing.
What to Serve With This
To soak up every drop of that thick garlic cream sauce, we recommend serving this over a bed of linguine or with a side of crusty sourdough bread. For a lower-carb option, these parmesan potato rounds provide a wonderful textural contrast.
If you’re looking for a full feast, a crisp green salad or roasted asparagus works beautifully to cut through the richness of the Creamy Garlic Shrimp.
The secret is high heat and short cooking times. Sear the shrimp for only 2 minutes per side, remove them from the pan, and only return them to the sauce for the final 30 seconds to warm through.
While heavy cream provides the thickest, glossiest sauce, you can substitute with half-and-half or whole milk mixed with a teaspoon of cornstarch, though the sauce will be less rich.
Garlic burns very quickly at high temperatures. Ensure you lower the heat to medium after searing the shrimp before adding your minced garlic to the pan.
Pull off the legs first, then use your thumbs to crack the shell open from the underside. Peel the shell back around the body but stop at the final segment before the tail to keep it attached.
Yes, but they must be completely thawed and patted extremely dry. Frozen shrimp often release more moisture, which can interfere with getting a good golden sear.
The Ultimate Creamy Garlic Shrimp Recipe
Share Your Culinary Masterpiece!
We want to see your Creamy Garlic Shrimp! Did you get that perfect sear? Is your sauce as glossy as ours? Follow FingerLicking_Recipes on Pinterest for more daily inspiration and save this recipe to your “Easy Dinners” board so you never lose it.
If you made this, please leave a 5-star rating in the recipe card above and snap a photo to share in the comments. Your feedback helps our community grow and ensures everyone gets the best results in their own kitchen!
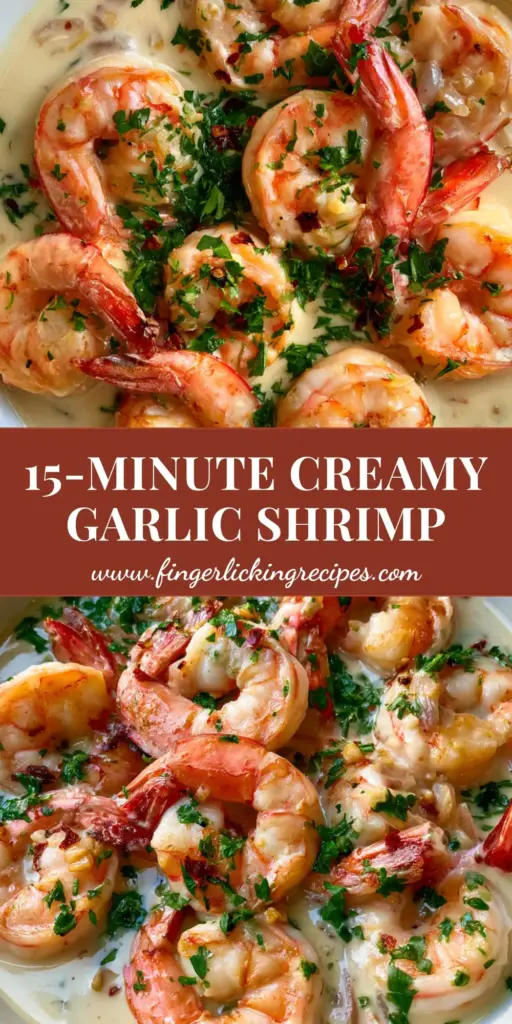
The most clickable Creamy Garlic Shrimp recipe on Pinterest!
Hi, I’m Emily Carter, and welcome to FL Recipes! I share simple, healthy recipes that make cooking easy, fun, and delicious for everyone. more about me »