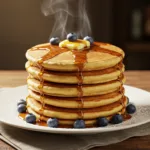
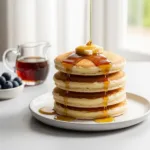
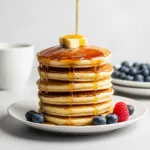
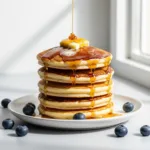
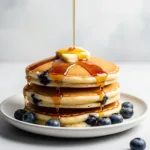
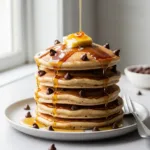
Get ready for the coziest breakfast you’ve ever had. This sweet potato pancake recipe delivers stacks of incredibly fluffy, tender, and perfectly spiced pancakes. They’re infused with the warm flavors of cinnamon and nutmeg, making every bite taste like a crisp autumn morning. Not only are they delicious, but they’re also surprisingly easy to make and a fantastic way to use leftover sweet potato puree!
Whether you’re looking for a special weekend brunch or a wholesome weekday treat, these pancakes are a guaranteed family favorite. They’re simple, satisfying, and fill your kitchen with the most wonderful aroma.
Why This is the Best Sweet Potato Pancake Recipe
You’ll fall in love with this recipe from the very first flip. Here’s why it stands out from the rest:
- Unbelievably Fluffy: We’ve perfected the ratios and techniques to ensure these pancakes are light and airy, never dense or heavy.
- Perfectly Spiced: A balanced blend of cinnamon and nutmeg complements the natural sweetness of the sweet potato without being overpowering.
- Simple, Wholesome Ingredients: Made with pantry staples, this recipe transforms simple ingredients into an extraordinary breakfast.
- Incredibly Versatile: This recipe is a great base for delicious variations and works beautifully for meal prep.
Ingredients You’ll Need
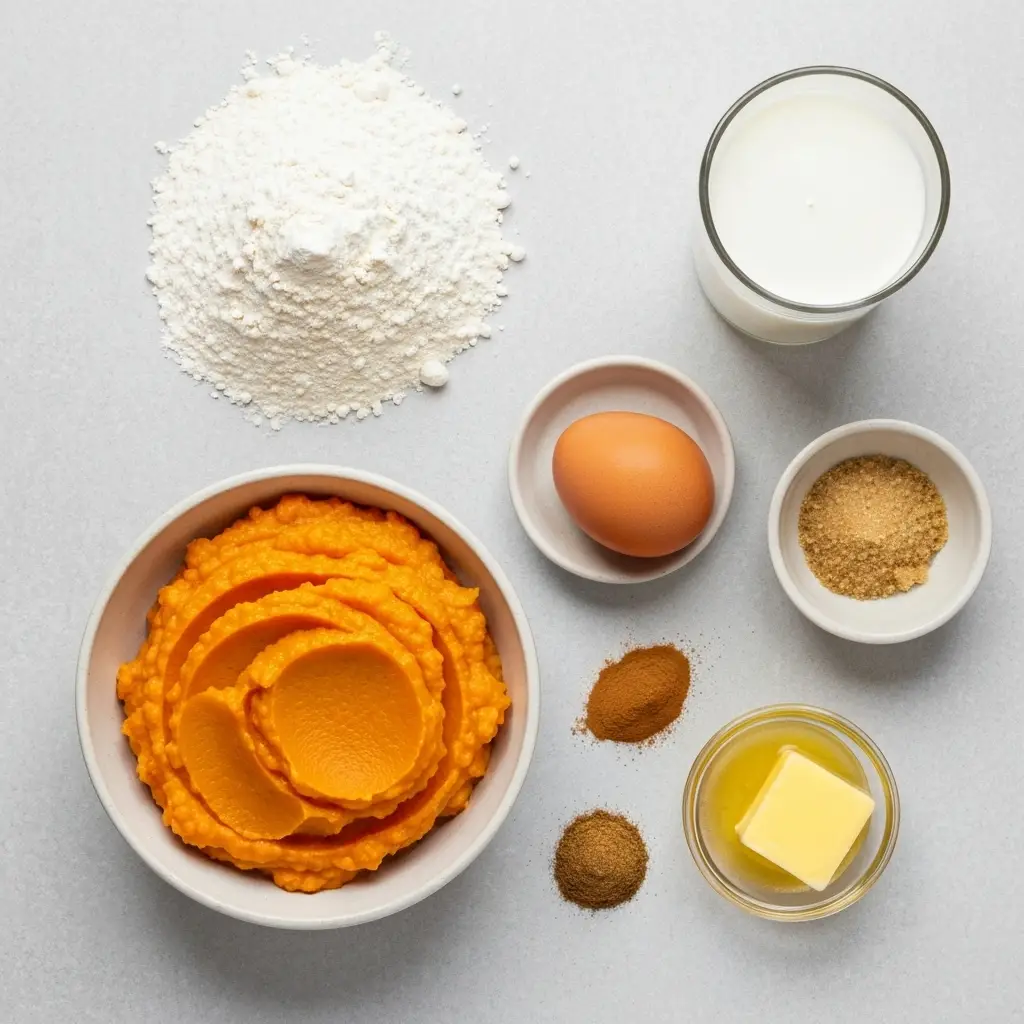
You only need a handful of simple ingredients to bring these spiced pancakes to life. Here’s what to gather.
For the Pancakes
- All-Purpose Flour: Provides the structure for our fluffy pancakes.
- Sweet Potato Puree: Canned or homemade works perfectly. This adds moisture, flavor, and natural sweetness.
- Milk: Use any kind you prefer – whole, 2%, or even a dairy-free alternative like almond milk.
- Large Egg: Binds the ingredients together and adds richness.
- Melted Butter: Adds flavor and helps create a tender crumb. Unsalted is best.
- Brown Sugar: Just a touch to enhance the sweet potato’s flavor. You can use light or dark brown sugar.
- Baking Powder: The key leavening agent that makes these pancakes rise and become super fluffy.
- Spices: Ground cinnamon and a pinch of ground nutmeg are essential for that classic warm spice flavor.
- Salt: A pinch of fine sea salt balances all the flavors.
Optional Toppings
- Pure Maple Syrup
- Toasted Pecans or Walnuts
- A dollop of Greek yogurt or whipped cream
*A pat of butter
How to Make Sweet Potato Pancakes
Making this sweet potato pancake recipe is as simple as mixing, resting, and flipping! The process is straightforward and perfect for even novice cooks. Follow these steps for a perfect stack every time.
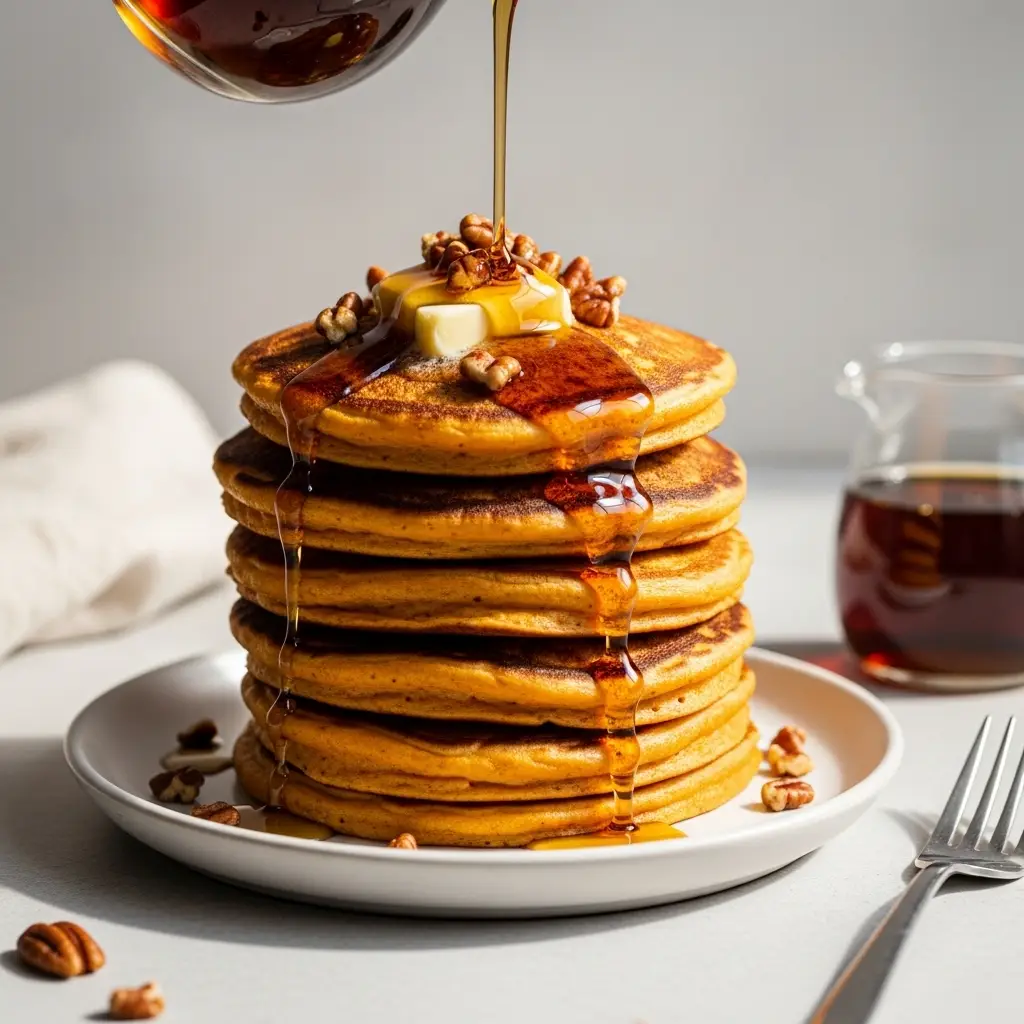
Sweet Potato Pancake Recipe (Fluffy & Spiced)
Ingredients
Equipment
Method
- In a large bowl, whisk together the flour, baking powder, brown sugar, cinnamon, nutmeg, and salt until well combined.
- In a separate medium bowl, whisk together the sweet potato puree, milk, and egg until smooth. Whisk in the 2 tablespoons of melted butter.
- Pour the wet ingredients into the dry ingredients. Gently fold with a spatula until just combined. Do not overmix; a few lumps are okay.
- Let the batter rest for 5-10 minutes. This helps make the pancakes fluffier.
- Heat a lightly buttered griddle or non-stick skillet over medium heat. Pour about 1/4 cup of batter per pancake. Cook for 2-3 minutes, until bubbles appear on the surface. Flip and cook for another 1-2 minutes until golden brown.
- Serve the pancakes warm with your favorite toppings like butter, maple syrup, and toasted pecans.
Nutrition
Notes
Let it Rest: Don't skip the resting step! It makes a noticeable difference in the texture.
Storage: Store leftover pancakes in an airtight container in the fridge for up to 4 days or freeze for up to 3 months.
Tried this recipe?
Let us know how it was!Step-by-Step Instructions
Let’s break it down into simple, manageable steps.
Step 1: Prepare the Sweet Potato Puree
If you’re not using canned puree, you’ll need to make your own first. You can either bake or boil a sweet potato until it’s very tender. Once cooked, let it cool slightly, remove the skin, and mash it with a fork or a potato masher until it’s completely smooth. Measure out what you need for the recipe.
Step 2: Combine Dry Ingredients
In a large mixing bowl, add the all-purpose flour, baking powder, brown sugar, cinnamon, nutmeg, and salt. Whisk everything together until it’s well combined. This ensures the leavening and spices are evenly distributed.
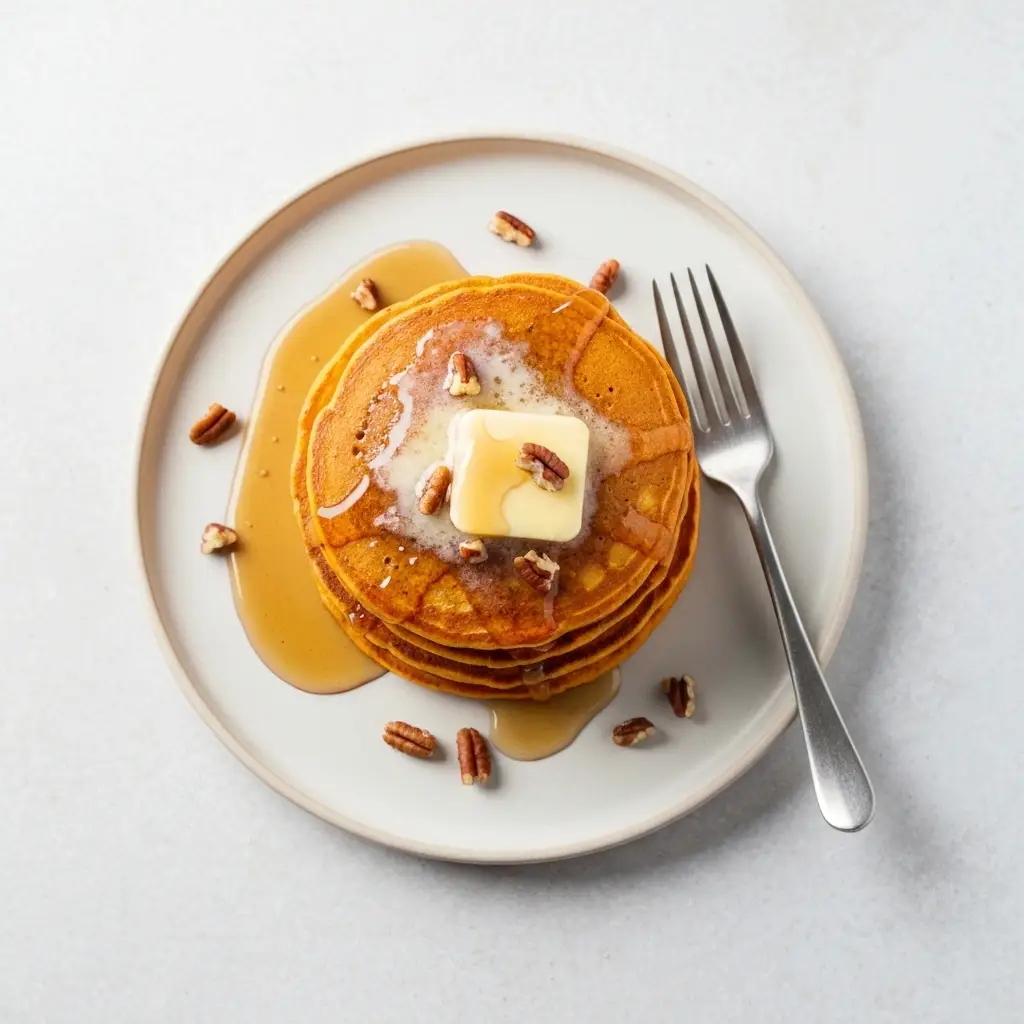
Step 3: Mix Wet Ingredients
In a separate medium bowl, whisk together the sweet potato puree, milk, and the large egg until smooth. Then, whisk in the melted butter until it’s fully incorporated.
Step 4: Combine Wet and Dry
Pour the wet ingredient mixture into the bowl with the dry ingredients. Use a spatula or wooden spoon to gently fold them together until they are just combined. Be careful not to overmix! A few lumps in the batter are perfectly fine and are the secret to tender pancakes.
Step 5: Rest the Batter
Let the pancake batter rest for 5 to 10 minutes. This allows the gluten to relax and the baking powder to start working its magic, which results in a fluffier pancake.
Step 6: Cook the Pancakes
Heat a non-stick skillet or griddle over medium heat. Lightly grease it with butter or cooking spray. Pour about 1/4 cup of batter onto the hot griddle for each pancake. Cook for 2-3 minutes per side, or until you see bubbles forming on the surface and the edges look set. Flip carefully and cook for another 1-2 minutes until golden brown. Repeat with the remaining batter.
Pro Tips for the Fluffiest Pancakes
Want to guarantee a perfectly light and airy stack? Follow these essential tips.
- Do Not Overmix: This is the most important rule of pancake making! Mixing until the batter is just combined (lumps are okay!) prevents the development of gluten, which can make pancakes tough.
- Let the Batter Rest: A short 5-10 minute rest gives the baking powder time to activate, creating more air bubbles and leading to a fluffier result.
- Check Your Griddle Temperature: The griddle should be hot enough that a drop of water sizzles and evaporates quickly. If it’s too hot, the outside will burn before the inside cooks.
- Use Fresh Baking Powder: Baking powder loses its potency over time. For the best rise, make sure yours is fresh (less than 6 months old).
Delicious Variations & Substitutions
This recipe is wonderfully adaptable. Feel free to make it your own with these easy swaps and additions.
- Add-ins: Gently fold in 1/2 cup of chopped toasted pecans, walnuts, or chocolate chips into the batter before cooking.
- Spice it Up: Add a pinch of ground ginger or allspice along with the cinnamon and nutmeg for an even warmer flavor profile.
- Dairy-Free Sweet Potato Pancakes: Easily make this recipe dairy-free by using a plant-based milk (like almond or oat milk) and swapping the melted butter for coconut oil or a vegan butter substitute.
- Whole Wheat Flour: For a heartier, more rustic pancake, you can substitute up to half of the all-purpose flour with whole wheat flour. For more tips on this, check out our favorite whole wheat pancake recipe (coming soon).
Topping & Serving Suggestions
The best part of making pancakes is dressing them up! These sweet potato pancakes are a perfect canvas for all sorts of delicious toppings.
- The Classic: You can’t go wrong with a pat of butter and a generous drizzle of pure maple syrup.
- Nutty & Crunchy: Top with a sprinkle of toasted pecans for a delightful crunch that complements the sweet potato flavor.
- Creamy & Tangy: A dollop of Greek yogurt, sour cream, or even whipped cream adds a wonderful contrast.
- Extra Sweetness: A light dusting of powdered sugar or a sprinkle of cinnamon sugar is always a treat.
Storage, Freezing, and Reheating
One of the best things about pancakes is that they are perfect for making ahead! Here’s how to store and enjoy them later.
Storing Leftovers
Allow any leftover pancakes to cool completely to room temperature. Store them in an airtight container or a zip-top bag in the refrigerator for up to 4 days.
How to Freeze Pancakes
For longer storage, freezing is the way to go. Place the cooled pancakes on a baking sheet in a single layer and freeze for about 30 minutes until firm. Then, transfer the frozen pancakes to a freezer-safe bag or container, placing a small piece of parchment paper between each one to prevent sticking. They will keep well in the freezer for up to 3 months.
Reheating Instructions
You can easily reheat pancakes straight from the fridge or freezer. For the best texture, pop them in a toaster or toaster oven until warmed through and slightly crisp. You can also microwave them for about 30-60 seconds, but they will be softer.
Frequently Asked Questions
Absolutely! Leftover baked sweet potato is perfect for this recipe. Just make sure to remove the skin and mash it until it’s completely smooth to create a puree before measuring it for the batter.
The two most important secrets are to not overmix the batter (a few lumps are good!) and to let the batter rest for at least 5-10 minutes before cooking. This allows the gluten to relax and the baking powder to activate, resulting in light, airy pancakes.
Yes, these pancakes are perfect for meal prep. Cook a full batch, let them cool completely, and then store them in an airtight container in the fridge for up to 4 days or in the freezer for up to 3 months. Reheat in a toaster for the best texture.
Classic toppings like butter and maple syrup are always a win. Toasted pecans or walnuts add a wonderful crunch, while a dollop of Greek yogurt or whipped cream provides a creamy contrast to the warm spices.
Yes! For gluten-free, substitute the all-purpose flour with a good quality 1-to-1 gluten-free baking blend. For dairy-free, use a plant-based milk like almond or oat milk and replace the butter with melted coconut oil or a vegan butter alternative.
More Breakfast Recipes You’ll Love
If you enjoyed these sweet potato pancakes, we think you’ll love these other cozy breakfast ideas! For another seasonal favorite, try our incredible spiced pumpkin pancakes. And for a timeless classic, you can’t beat these simple and delicious fluffy buttermilk pancakes.
Rate This Recipe!
I hope you love this fluffy sweet potato pancake recipe as much as we do! If you try it, please leave a comment and a rating below to let us know how it turned out. And don’t forget to share a photo of your beautiful stack on Pinterest!
