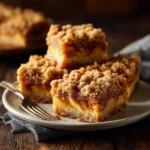
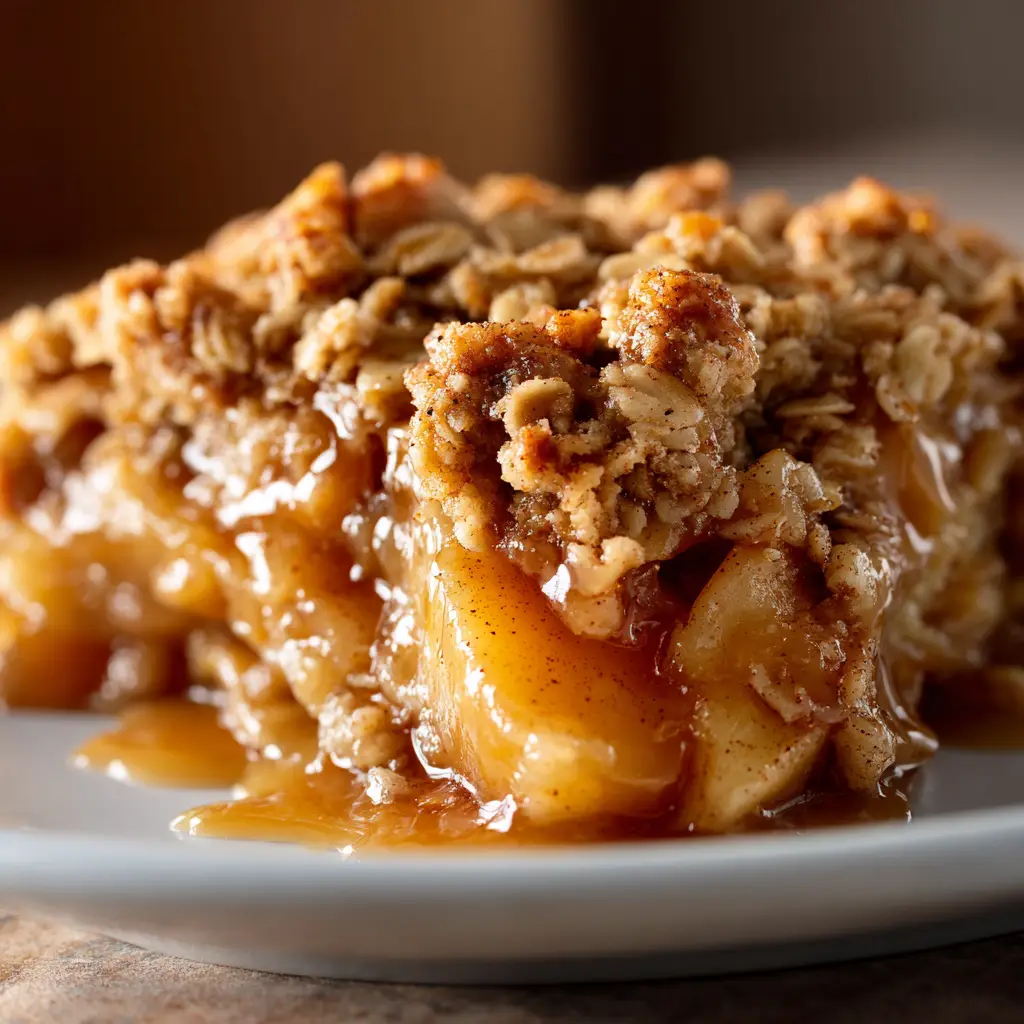
There’s nothing quite like the warm, comforting aroma of a classic apple crisp baking in the oven. This easy Apple Crisp Recipe delivers that nostalgic experience with a perfectly sweet, cinnamon-spiced apple filling and a crunchy, buttery oat topping. It’s the ultimate fall dessert that brings everyone to the table, and this guide will show you how to make it perfectly every single time. Whether you’re a seasoned baker or trying your first crisp, this recipe is foolproof and absolutely delicious.
Why You’ll Love This Easy Apple Crisp Recipe
This isn’t just another dessert; it’s a go-to for any occasion. It’s incredibly simple to prepare, using pantry staples to create a dessert that feels special. The contrast between the tender, juicy apples and the crunchy, golden-brown topping is simply irresistible. It’s less fussy than a full pie but delivers all the same comforting flavors. For another cozy classic, you might also love this Classic Pumpkin Roll Recipe.
The Key Ingredients for a Perfect Apple Crisp
The magic of this recipe lies in its simple, high-quality ingredients. Let’s break down what you’ll need for both the filling and the topping to achieve the best texture and flavor.
For the Apple Filling
- Apples: A firm, tart apple like Granny Smith is ideal, but Honeycrisp or Braeburn also work wonderfully. Using a mix of apples can add a lovely complexity to the flavor.
- Lemon Juice: This prevents the apples from browning and adds a touch of brightness to balance the sweetness.
- Brown Sugar: Adds a rich, caramel-like sweetness to the filling.
- Cinnamon & Nutmeg: These warm spices are essential for that classic apple crisp flavor.
- All-Purpose Flour: Just a little to help thicken the apple juices as they bake.
For the Crisp Topping
- Rolled Oats: Old-fashioned rolled oats provide the best chewy, crispy texture. Avoid instant oats.
- All-Purpose Flour: Forms the base of the topping structure.
- Brown Sugar: Sweetens the topping and helps it crisp up beautifully.
- Cinnamon: Adds extra warmth and spice to the crumble.
- Cold Butter: The secret to a perfectly crisp topping! Using cold, cubed butter creates a crumbly, tender texture that melts and browns as it bakes.
How to Make the Best Apple Crisp Recipe
Making this dessert is as easy as 1-2-3. Follow these simple steps for a perfect result.
- Preheat and Prep: Start by preheating your oven to 375°F (190°C). Butter an 8×8 inch baking dish.
- Make the Filling: Peel, core, and slice your apples about 1/4-inch thick. Place them in a large bowl and toss with the lemon juice. In a small bowl, whisk together the brown sugar, flour, cinnamon, and nutmeg. Pour this over the apples and toss gently to coat them evenly. Spread the apple mixture into your prepared baking dish.
- Mix the Topping: In a separate bowl, combine the rolled oats, flour, brown sugar, and cinnamon. Add the cold, cubed butter. Using a pastry cutter or your fingertips, cut the butter into the dry ingredients until the mixture resembles coarse crumbs with some pea-sized pieces remaining.
- Assemble and Bake: Sprinkle the topping mixture evenly over the apples. Bake for 40-50 minutes, or until the fruit filling is bubbly and tender, and the topping is golden brown and crisp.
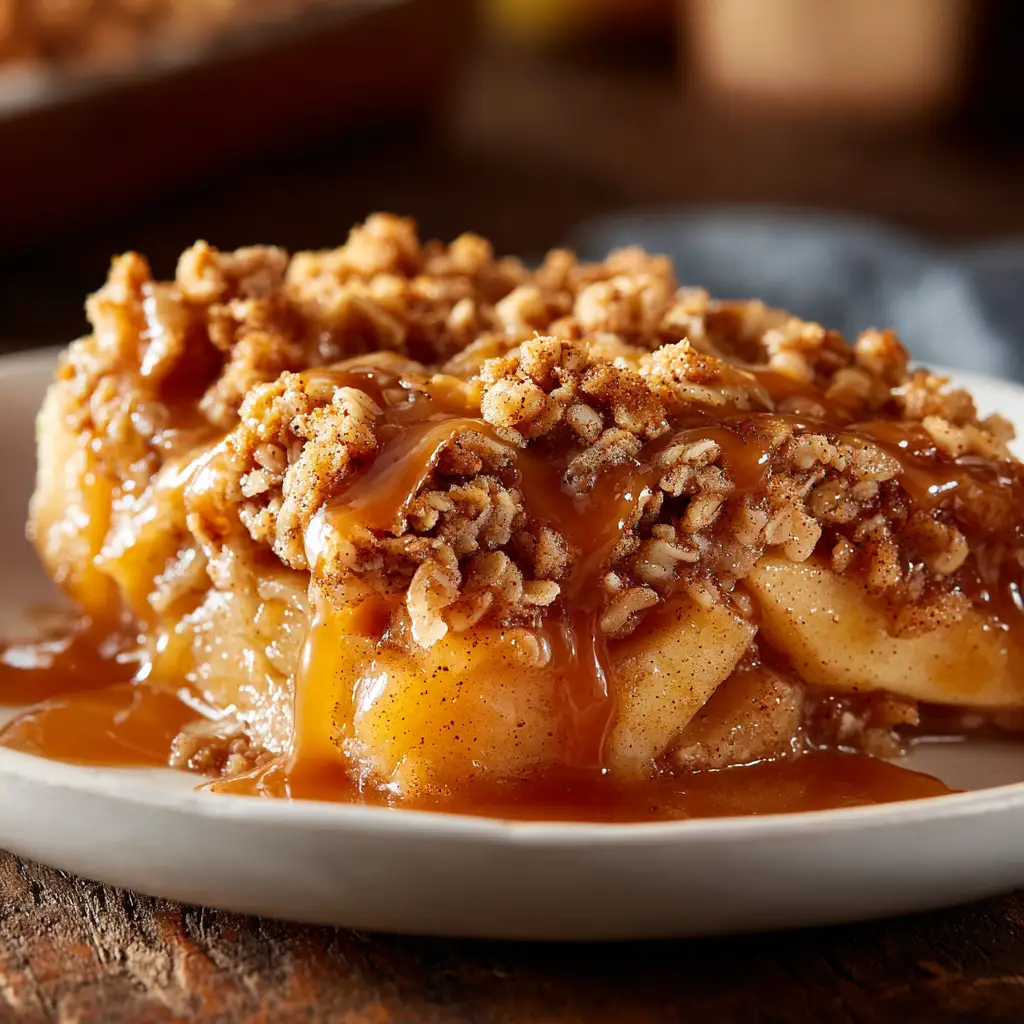
- Rest and Serve: Let the apple crisp cool for at least 15 minutes before serving. This allows the filling to set up. It’s delicious on its own, but even better served warm with a scoop of vanilla ice cream or a dollop of whipped cream.
Tips for the Ultimate Apple Crisp
Want to take your dessert from great to unforgettable? Here are a few expert tips for making the absolute best Apple Crisp Recipe.
- Choose the Right Apples: The type of apple you use is crucial. Firm apples that hold their shape, like Granny Smith or Honeycrisp, are best to avoid a mushy filling.
- Don’t Overmix the Topping: For a truly “crisp” topping, work the cold butter in just until crumbs form. Overmixing can make the topping tough instead of tender and crunchy.
- Ensure it’s Fully Baked: Look for a deep golden brown color on the topping and listen for the bubble of the fruit filling. This ensures the apples are tender and the topping is perfectly crisp.
If you’re looking for another comforting baked good, these 30-Minute Dinner Rolls are a fantastic savory option.
Delicious Apple Crisp Variations
While the classic recipe is a winner, it’s also a fantastic base for creativity. Try one of these simple variations to mix things up.
- Add Nuts: For extra crunch and nutty flavor, add 1/2 cup of chopped pecans or walnuts to the topping mixture. For a truly decadent treat, try adding these Slow Cooker Candied Pecans on the side.
- Gluten-Free Apple Crisp: Easily make this recipe gluten-free by substituting the all-purpose flour in both the filling and topping with a 1-to-1 gluten-free baking flour blend. Ensure your oats are certified gluten-free as well.
- Spice It Up: Add a pinch of cardamom or allspice to the filling for a more complex and aromatic flavor profile.
Serving and Storage Suggestions
This apple crisp is best served warm, shortly after it has had a chance to rest. It pairs perfectly with vanilla bean ice cream, which melts into the warm filling, or a simple drizzle of caramel sauce.
To store leftovers, cover the baking dish tightly with foil or a lid and refrigerate for up to 4 days. You can reheat individual portions in the microwave for 30-60 seconds or reheat the entire dish in a 350°F oven for 15-20 minutes, or until warmed through.
Frequently Asked Questions
The best apples are firm and hold their shape during baking. We recommend tart apples like Granny Smith for a classic flavor, or a mix of firm-sweet apples like Honeycrisp or Braeburn for a more complex taste.
Yes, we recommend peeling the apples for the best texture. Apple peels can become tough and chewy during baking, which can detract from the soft, tender filling.
Your apple crisp is done when the fruit filling is bubbly and tender (you can test with a knife) and the oat topping is a deep golden brown and feels crisp to the touch.
Yes, you can assemble the apple crisp a day in advance. Prepare the filling and topping, but store them in separate airtight containers in the refrigerator. Combine just before baking to prevent the topping from becoming soggy.
To prevent a soggy topping, make sure your butter is cold when you mix the topping, don’t overmix it, and ensure you bake it long enough for the topping to become golden and crisp. Letting it rest for 15 minutes after baking also helps the filling set.
The Best Apple Crisp Recipe

Apple Crisp Recipe (The Best Old-Fashioned Treat)
Ingredients
Equipment
Method
- Preheat your oven to 375°F (190°C). Butter an 8x8 inch baking dish.
- In a large bowl, toss the sliced apples with lemon juice. In a separate small bowl, whisk together 1/4 cup brown sugar, 1 tbsp flour, 1 tsp cinnamon, and nutmeg. Pour over the apples and toss to coat. Spread evenly in the prepared dish.
- In another bowl, combine the rolled oats, 1/2 cup flour, 1/2 cup brown sugar, and 1/2 tsp cinnamon. Add the cold cubed butter. Use a pastry cutter or your fingers to cut the butter into the mixture until it resembles coarse crumbs.
- Sprinkle the topping mixture evenly over the apple filling.
- Bake for 40-50 minutes, until the topping is golden brown and the filling is bubbly.
- Let the apple crisp cool for at least 15 minutes before serving. This helps the filling set. Serve warm.
Nutrition
Notes
Storage: Store leftovers covered in the refrigerator for up to 4 days. Reheat in the oven or microwave.
Tried this recipe?
Let us know how it was!Share Your Creation!
We hope you love this easy and delicious Apple Crisp Recipe! It’s a timeless dessert that’s perfect for any fall gathering, holiday meal, or cozy night in. If you make it, we’d love to see it! Share a photo on Pinterest and let us know how it turned out in the comments below.
