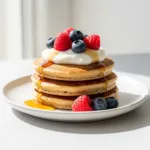
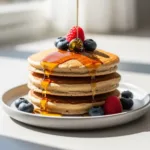
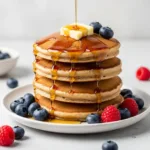
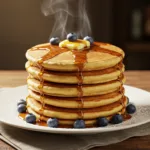
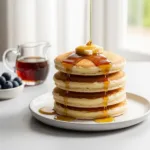
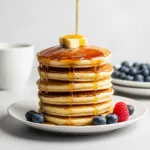
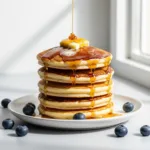
There’s nothing quite like waking up to the smell of freshly made pancakes, especially when they’re studded with warm, gooey chocolate chips. This is the ultimate chocolate chip pancake recipe, designed to be completely foolproof. Forget the boxed mix! We’re using simple pantry staples to create a stack of incredibly light, fluffy, and delicious pancakes from scratch. This recipe is your new go-to for lazy weekend mornings, special brunch gatherings, or even a fun “breakfast for dinner” night the whole family will adore.
Why You’ll Love This Chocolate Chip Pancake Recipe
This isn’t just another pancake recipe. This is the one you’ll save and make again and again. Here’s why it’s the best:
- Unbelievably Fluffy: We use the perfect ratio of leavening agents and a few simple techniques to guarantee a light, airy texture every single time.
- Simple Pantry Ingredients: No fancy ingredients needed. You likely have everything you need in your kitchen right now.
- Quick & Easy: The batter comes together in under 10 minutes, and the pancakes cook up in a flash. You can go from craving to eating in less than 30 minutes!
- Perfectly Chocolatey: We’ll show you the trick to get melted chocolate in every single bite without it all sinking to the bottom.
- Kid-Approved: This recipe is a guaranteed winner with kids and adults alike. It’s a breakfast that feels like a treat.
Key Ingredients for Perfect Pancakes
The magic of this easy chocolate chip pancake recipe lies in its simplicity. Each ingredient plays a crucial role in creating that perfect fluffy texture and rich flavor.
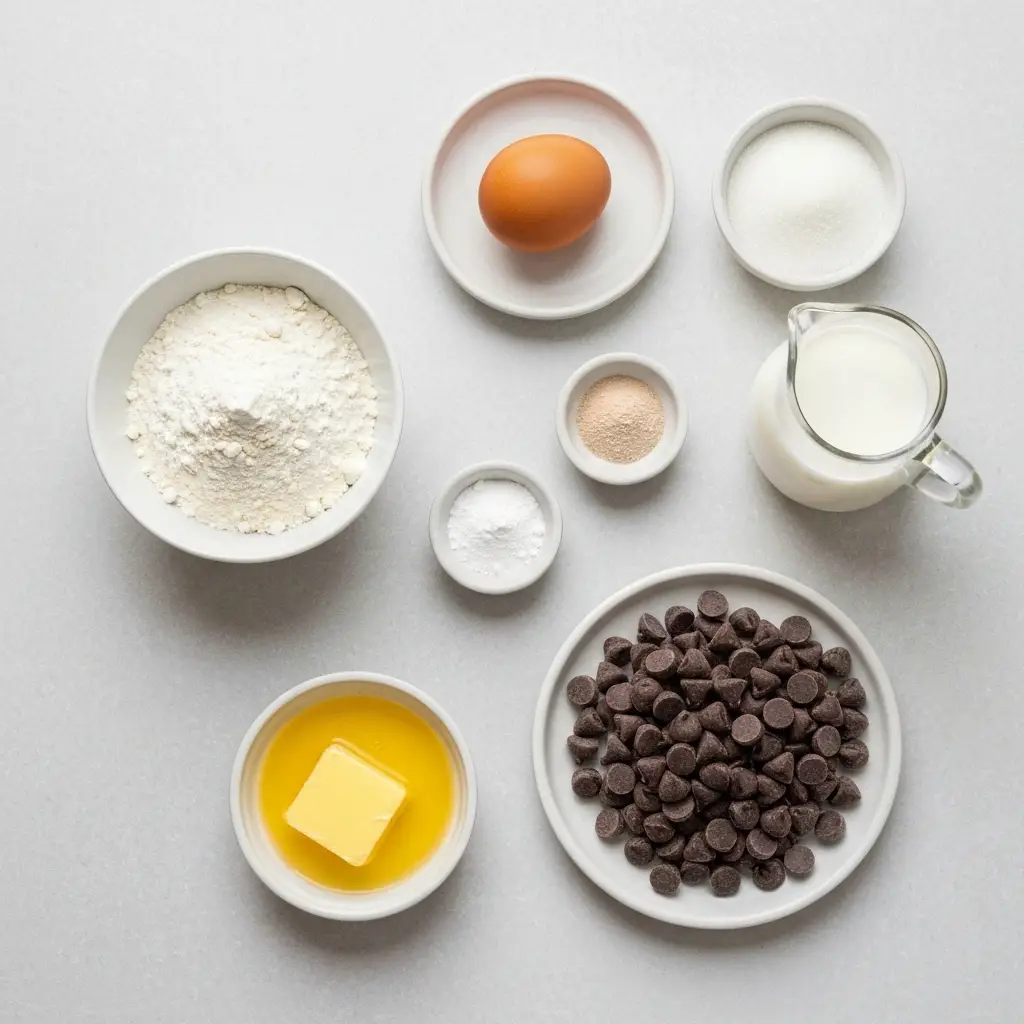
- All-Purpose Flour: Provides the structure for our pancakes. No need for special cake flour here.
- Granulated Sugar: Adds just a touch of sweetness to complement the chocolate chips.
- Baking Powder & Baking Soda: This dynamic duo is the secret to a super fluffy pancake. They react to create the air bubbles that give the pancakes their incredible lift.
- Salt: A pinch of salt balances the sweetness and enhances all the other flavors.
- Milk: Adds moisture and richness. Whole milk works best, but you can use 2% or even a dairy-free alternative. For an even richer flavor, check out our classic buttermilk pancakes.
- Egg: Binds the ingredients together and adds to the richness and structure.
- Melted Butter: The key to a tender crumb and rich, buttery flavor that boxed mixes just can’t match.
- Vanilla Extract: A splash of vanilla adds a wonderful warmth and depth of flavor.
- Chocolate Chips: The star of the show! Semi-sweet chocolate chips are a classic choice as they provide a nice balance to the sweet pancake.
The Best Chocolate Chip Pancake Recipe
Get ready to create the most delicious stack of pancakes. Follow these simple steps for guaranteed success.
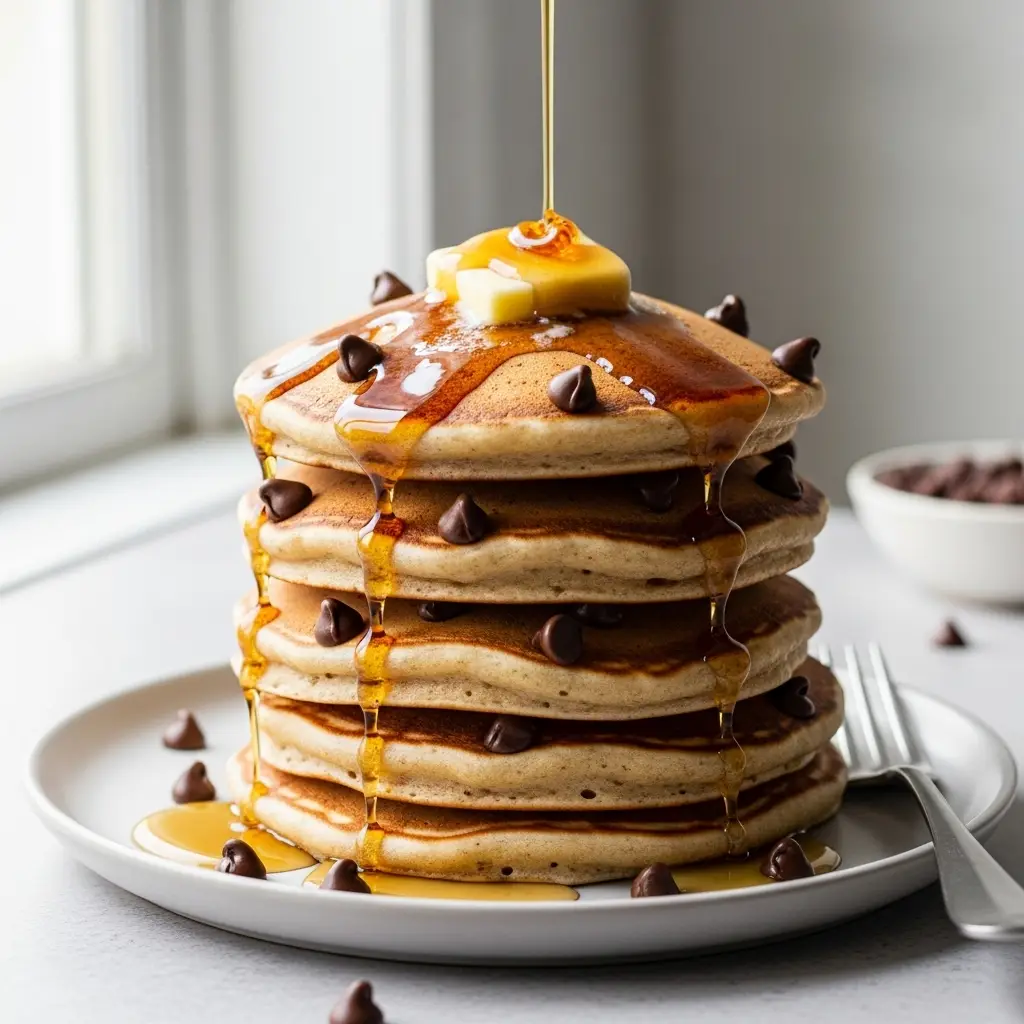
Chocolate Chip Pancake Recipe (Fluffy & Easy From Scratch!)
Ingredients
Equipment
Method
- In a large mixing bowl, whisk together the flour, sugar, baking powder, baking soda, and salt until well combined.
- In a separate medium bowl, whisk together the milk and egg. Then, slowly whisk in the melted butter and vanilla extract.
- Pour the wet ingredients into the dry ingredients. Mix with a whisk or spatula until just combined. Do not overmix; a few lumps are okay. Let the batter rest for 5-10 minutes.
- Gently fold the chocolate chips into the batter. For best results, toss the chips in 1 tbsp of the dry flour mixture before adding to prevent them from sinking.
- Heat a lightly buttered griddle or non-stick skillet over medium heat. Pour 1/4 cup of batter per pancake onto the griddle. Cook for 2-3 minutes, or until bubbles appear on the surface. Flip and cook for another 1-2 minutes until golden brown.
- Serve immediately with your favorite toppings like maple syrup, butter, or whipped cream.
Nutrition
Notes
Rest the Batter: Allowing the batter to rest for 5-10 minutes gives the baking powder time to activate, creating maximum fluffiness.
Medium Heat is Key: Cooking on medium heat ensures the pancakes cook through without the outsides burning.
Tried this recipe?
Let us know how it was!Step 1: Combine Dry Ingredients
In a large mixing bowl, add the all-purpose flour, granulated sugar, baking powder, baking soda, and salt. Use a whisk to combine them thoroughly. This step is important because it ensures the leavening agents are evenly distributed, which leads to a consistent rise in every pancake.
Step 2: Whisk Wet Ingredients
In a separate medium bowl, whisk together the milk and the egg until they are just combined. Then, slowly drizzle in the melted butter and add the vanilla extract, whisking continuously until everything is incorporated. Don’t worry if the butter clumps slightly when it hits the cold milk; it will smooth out in the batter.
Step 3: Combine and Rest the Batter
Pour the wet ingredients into the bowl with the dry ingredients. Using your whisk or a spatula, mix until they are just combined. It is crucial not to overmix! A few lumps in the batter are perfectly fine and are actually the sign of a tender pancake. Gently fold in the chocolate chips. Now, let the batter rest for 5-10 minutes. This allows the gluten to relax and the baking powder to start working its magic, resulting in exceptionally fluffy pancakes.
Step 4: Cook to Golden Perfection
Heat a non-stick skillet or griddle over medium heat. Lightly grease it with a little butter or cooking spray. You’ll know the griddle is ready when a drop of water sizzles and evaporates quickly. Pour about 1/4 cup of batter onto the hot griddle for each pancake. Cook for 2-3 minutes, or until you see bubbles forming on the surface and the edges look set. Flip carefully with a thin spatula and cook for another 1-2 minutes on the other side, until golden brown. Repeat with the remaining batter, greasing the pan as needed between batches.
Pro-Tips for Pancake Perfection
Want to elevate your pancake game? These simple tips make all the difference between good and great pancakes.
- Don’t Overmix the Batter: This is the most important rule of pancake making. Overmixing develops gluten, which results in tough, rubbery pancakes instead of light and fluffy ones. Mix only until the flour streaks disappear. Lumps are your friend!
- Let the Batter Rest: That 5-10 minute rest period is not optional! It gives the baking powder time to activate, creating more air bubbles and a fluffier result. For an even more detailed guide on this technique, see our guide to extra fluffy pancakes.
- Keep The Heat Medium: If the heat is too high, the outside of the pancakes will burn before the inside is cooked. Medium heat ensures they cook through evenly and develop that beautiful golden-brown color.
- Toss Chocolate Chips in Flour: To prevent all your chocolate chips from sinking to the bottom of the batter, toss them in 1 tablespoon of the dry flour mixture before folding them in. This helps them stay suspended throughout the pancake.
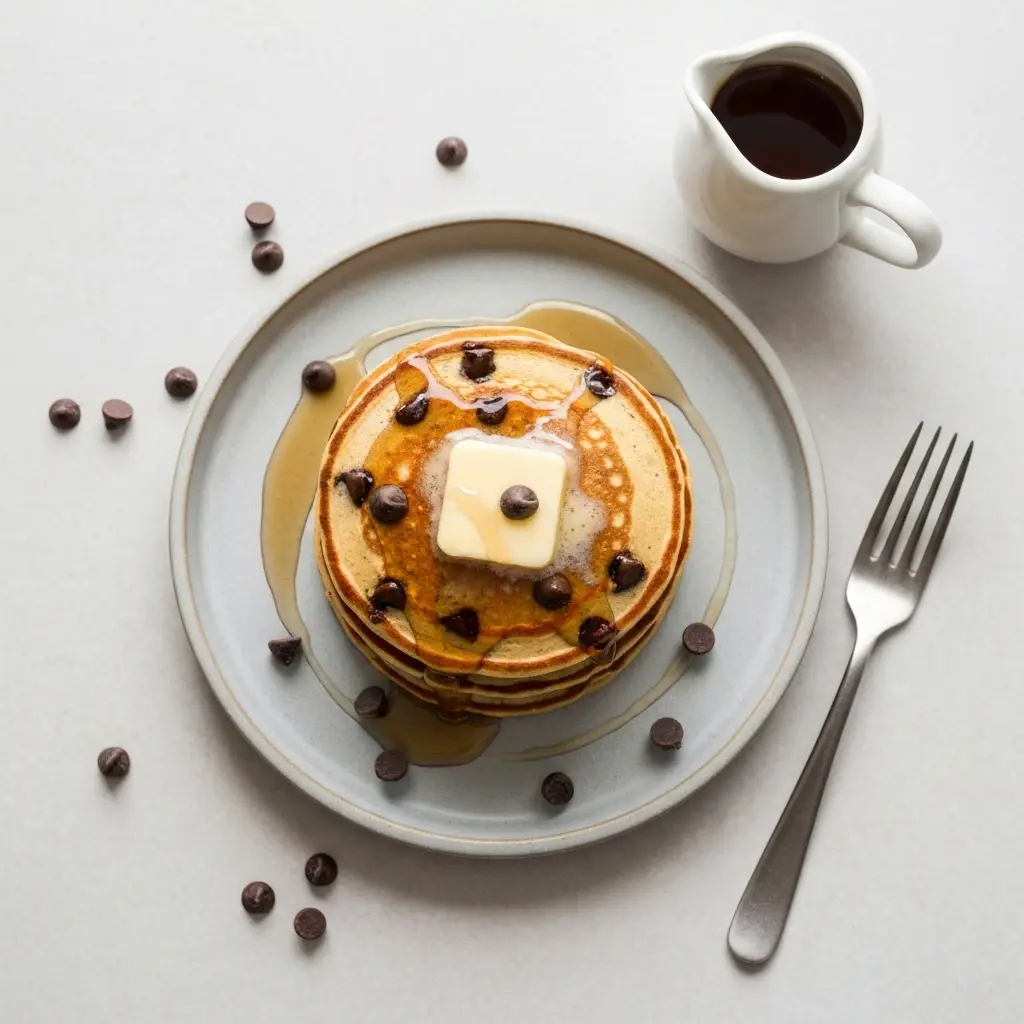
Topping and Serving Suggestions
These chocolate chip pancakes are fantastic on their own, but toppings make them a true celebration. Here are some of our favorite ways to serve them:
- A classic pat of salted butter and a generous drizzle of warm maple syrup.
- A dollop of fresh whipped cream and extra chocolate chips.
- Fresh fruit like sliced bananas or strawberries to add a fresh contrast.
- A dusting of powdered sugar for a simple, elegant finish.
Variations & Substitutions
This recipe is very flexible. Here are a few common substitutions and variations you can try:
| Ingredient | Substitution/Variation | Notes |
|---|---|---|
| Chocolate Chips | Milk chocolate, dark chocolate, white chocolate chips, or mini chocolate chips. | Mini chips distribute more evenly. You can also add fruit like in our favorite blueberry pancakes. |
| Milk | Buttermilk, almond milk, oat milk, or soy milk. | Buttermilk will create a slightly tangier and even more tender pancake. |
| Add-ins | 1/2 cup chopped nuts (walnuts or pecans), or 1 mashed ripe banana. | For a dedicated banana version, try our perfect banana pancake recipe. |
Storage, Freezing, and Reheating
One of the best things about pancakes is that they are perfect for making ahead! Having a stash in the freezer is a gift on busy mornings.
Storing Leftovers
Store any leftover cooled pancakes in an airtight container in the refrigerator for up to 3 days.
How to Freeze Pancakes
Allow the pancakes to cool completely on a wire rack. To prevent them from sticking together, stack them with a small piece of parchment or wax paper between each pancake. Place the stack in a freezer-safe zip-top bag or airtight container. They can be frozen for up to 2 months.
Reheating for Best Results
You can reheat pancakes directly from the fridge or freezer. For the best texture, pop them in a toaster or toaster oven until they are warm and slightly crispy on the edges. You can also microwave them for about 30-60 seconds, but they will be softer.
Frequently Asked Questions (FAQ)
This is usually due to overmixing the batter, which develops gluten and makes them tough, or using expired baking powder. Mix only until the ingredients are just combined—lumps are okay!
A great trick is to toss the chocolate chips with a tablespoon of your dry flour mixture before adding them to the batter. This light coating helps them stay suspended instead of sinking.
It’s best to cook the batter within an hour of mixing. The leavening agents (baking powder and soda) start working immediately. If you let it sit for too long, your pancakes won’t be as fluffy.
Let pancakes cool completely. Stack them with a small piece of parchment paper between each one and place them in a freezer-safe bag. Reheat in a toaster, toaster oven, or microwave until warm and ready to eat.
Semi-sweet chocolate chips are the classic choice as they provide a perfect balance of sweetness. However, milk chocolate, dark chocolate, or even mini chocolate chips work wonderfully too. Mini chips are great for getting more chocolate distribution in every bite.
Share Your Pancake Creations!
We are so excited for you to try this easy and fluffy chocolate chip pancake recipe! We know it will become a new family favorite. If you make it, please leave a comment and rating below to let us know how it turned out. And don’t forget to snap a picture and share it with us on Pinterest. Happy cooking!
