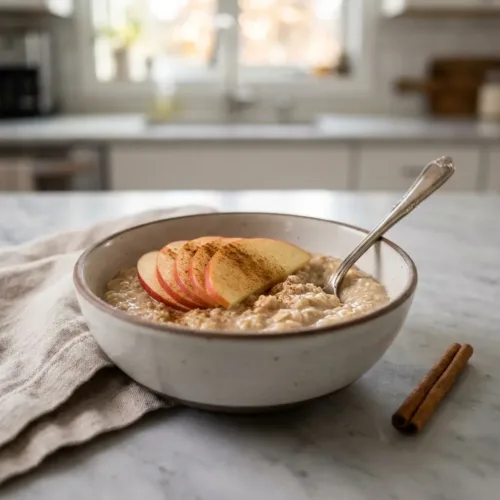
Recipe Overview
Why You’ll Absolutely Love This Pispili Recipe
Oh, friends, let me tell you about pispili. Just the word itself brings back the warmest memories of my grandmother’s cozy kitchen, filled with the aroma of baking dough and melting cheese. As a child, I’d perch myself on a stool, watching her nimble hands work magic with simple ingredients, transforming them into these golden, savory delights. Each bite was an explosion of flavor – the subtle tang of perfectly proofed dough, the creamy, melted cheese, and the fresh, fragrant herbs. It wasn’t just food; it was love baked into every single piece.
Life gets busy, doesn’t it? We’re all looking for those recipes that are not only delicious but also fit into our hectic schedules. That’s exactly why I adore this pispili recipe. It’s incredibly easy to throw together, perfect for a quick lunch, a satisfying snack, or even a delightful appetizer when you’re entertaining. The combination of cheese and herbs is simply divine, and trust me, the aroma while these bake is utterly intoxicating! Ready to make this at home and fill your kitchen with that same comforting, heartwarming smell? Let’s dive in!
Pispili Recipe Ingredients
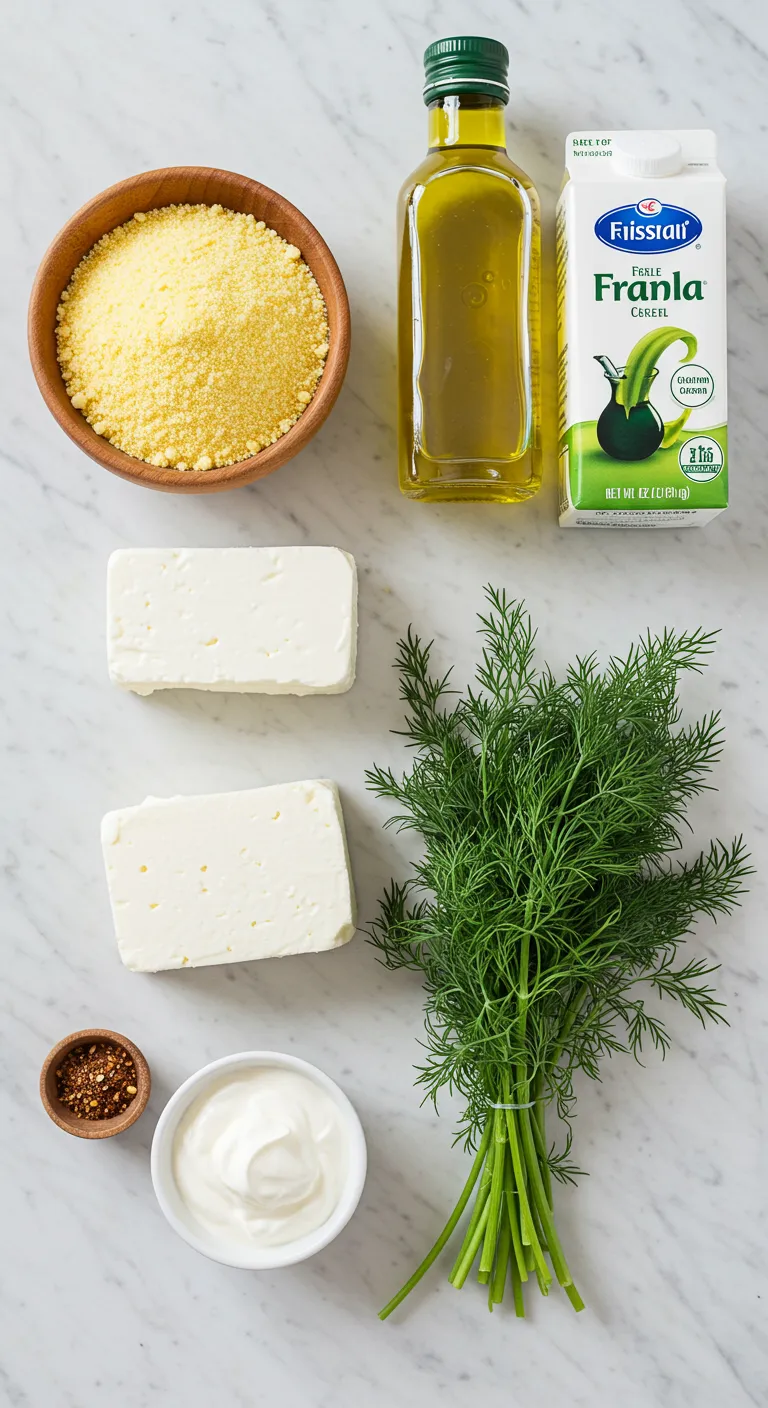
Full Ingredient List
- For the Dough:
- 1 cup warm water (105-115°F)
- 1 teaspoon granulated sugar
- 2 ¼ teaspoons (1 packet) active dry yeast
- 2 ½ cups all-purpose flour, plus more for dusting
- 1 teaspoon salt
- 2 tablespoons olive oil, plus more for greasing
- For the Filling:
- 1 cup shredded mozzarella cheese
- ½ cup crumbled feta cheese
- ¼ cup grated Parmesan cheese
- ¼ cup chopped fresh parsley
- 2 tablespoons chopped fresh oregano
- 2 cloves garlic, minced
- ¼ teaspoon black pepper
- 2 tablespoons olive oil, for brushing
Easy Ingredient Swaps & Simple Substitutions
Life in the kitchen is all about flexibility, isn’t it? Don’t worry if you’re missing an ingredient or want to make a tweak. Here are a few simple swaps for this pispili recipe:
- Dairy-Free: Want to make it dairy-free? No problem! Use your favorite vegan shredded cheese blend instead of mozzarella and feta. Nutritional yeast can add a cheesy depth of flavor if you like.
- Gluten-Free: For a gluten-free version, use a good quality gluten-free all-purpose flour blend. You might need to adjust the liquid slightly, so add water gradually until you get a workable dough.
- Herb Variations: Not a fan of oregano? Try thyme, rosemary, or even dill! Feel free to mix and match your favorite fresh herbs for a unique flavor profile. Dried herbs can also work in a pinch – just use about 1 teaspoon of dried herbs for every tablespoon of fresh.
Smart Shopping & Savvy Savings Tips
Let’s be honest, saving a few pennies here and there always feels good! Here are some quick tips to keep your grocery bill in check when making pispili:
- Cheese Blocks: Buying cheese in blocks and shredding it yourself is almost always cheaper than pre-shredded cheese. Plus, it melts better!
- Herb Gardens: If you love fresh herbs (and who doesn’t?), consider starting a small herb garden, even on your windowsill. It’s a fantastic way to have fresh herbs on hand and save money in the long run.
- Bulk Flour: If you bake often, buying flour in larger bags or bulk bins can be more economical. Just make sure to store it properly in an airtight container to keep it fresh.
- Fresh Herb Storage: To keep your fresh herbs vibrant longer, wrap them in a slightly damp paper towel and store them in a plastic bag in the crisper drawer of your fridge.
The Essential Equipment for This Recipe
- Large Mixing Bowl: You’ll need a spacious bowl to mix your dough.
- Measuring Cups and Spoons: Precision is key in baking, so make sure you have a good set of measuring tools.
- Baking Sheet: A standard baking sheet will work perfectly for baking your pispili.
- Parchment Paper (Optional): Lining your baking sheet with parchment paper makes for easy cleanup, but it’s not essential.
- Pastry Brush or Spoon: For brushing the pispili with olive oil before baking.
How to Make Pispili Recipe: Step-by-Step Instructions
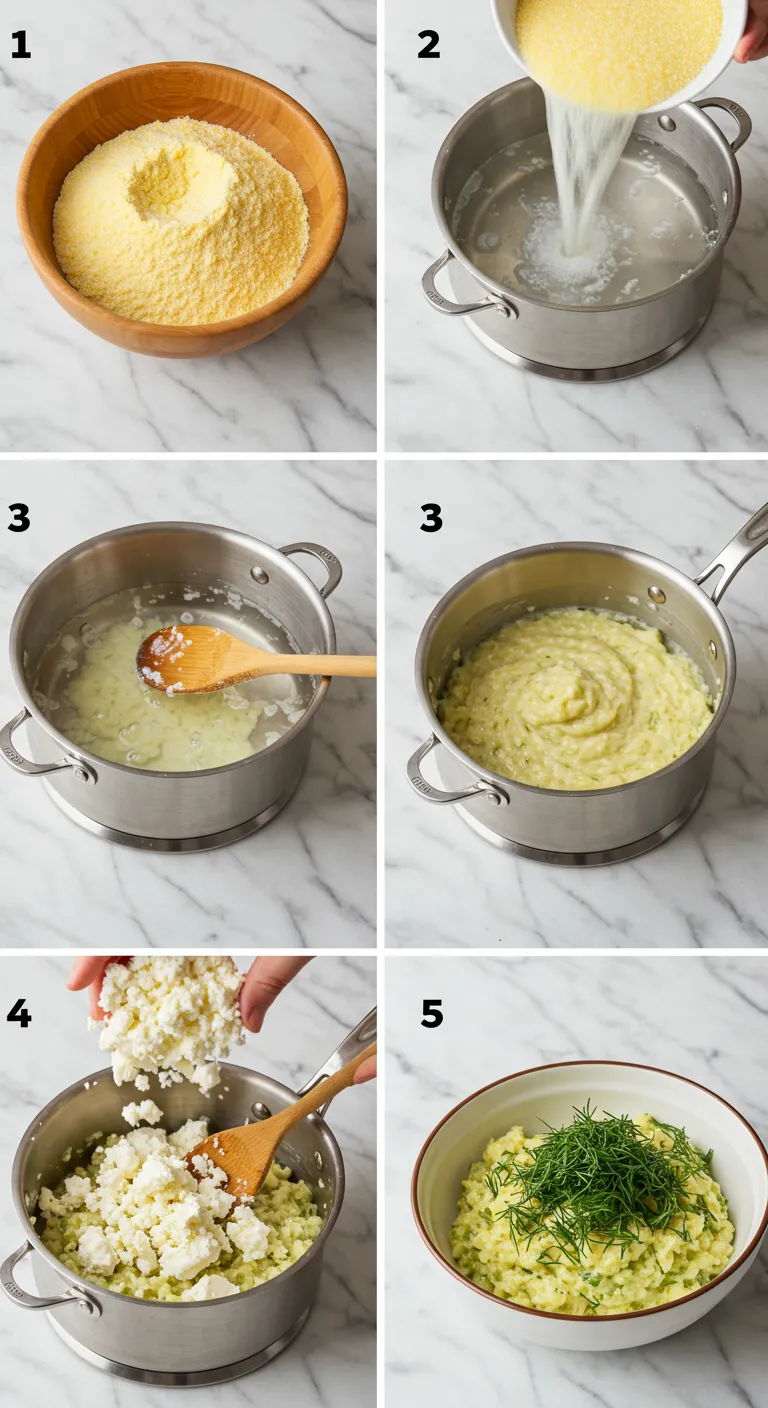
Follow these simple steps to create perfect pispili every time!
- Activate the Yeast: In a large mixing bowl, combine the warm water and sugar. Sprinkle the yeast over the top and let it stand for 5-10 minutes, until foamy. This step is crucial – it ensures your yeast is alive and ready to make your dough rise beautifully!
- Mix the Dough: Add the flour, salt, and olive oil to the yeast mixture. Stir with a wooden spoon or your hands until a shaggy dough forms.
- Knead the Dough: Turn the dough out onto a lightly floured surface. Knead for 5-7 minutes, until the dough is smooth and elastic. It should be slightly tacky but not sticky. Kneading develops the gluten, giving your pispili that wonderful chewy texture.
- First Rise: Lightly grease the mixing bowl with olive oil. Place the dough in the bowl, turning to coat with oil. Cover the bowl with plastic wrap or a clean kitchen towel and let it rise in a warm place for 1-1.5 hours, or until doubled in size. Patience is a virtue here – let the dough work its magic!
- Prepare the Filling: While the dough is rising, prepare your cheesy herb filling. In a medium bowl, combine the mozzarella, feta, Parmesan, parsley, oregano, minced garlic, and black pepper. Mix well to combine.
- Preheat Oven & Prepare Baking Sheet: Preheat your oven to 400°F (200°C). Line a baking sheet with parchment paper if desired.
- Shape the Pispili: Punch down the risen dough to release the air. Divide the dough into 12-16 equal pieces. Roll each piece into a small oval or round, about ¼ inch thick.
- Fill and Fold: Place a spoonful of the cheese filling in the center of each dough piece. Fold the dough over the filling to form a half-moon shape or a small bundle. Pinch the edges to seal securely, ensuring the cheesy goodness stays inside.
- Second Rise (Optional): For extra fluffy pispili, you can let them rise for another 15-20 minutes on the baking sheet. This is optional but adds a lovely lightness.
- Brush with Oil & Bake: Brush the tops of the pispili with olive oil. Bake for 15-20 minutes, or until golden brown and the cheese is melted and bubbly. Keep an eye on them – ovens can vary!
- Cool Slightly & Serve: Let the pispili cool on the baking sheet for a few minutes before serving. They are best enjoyed warm, with that irresistible cheesy filling oozing out!
Expert Insights: Tips, Tricks, and Culinary Hacks for Success
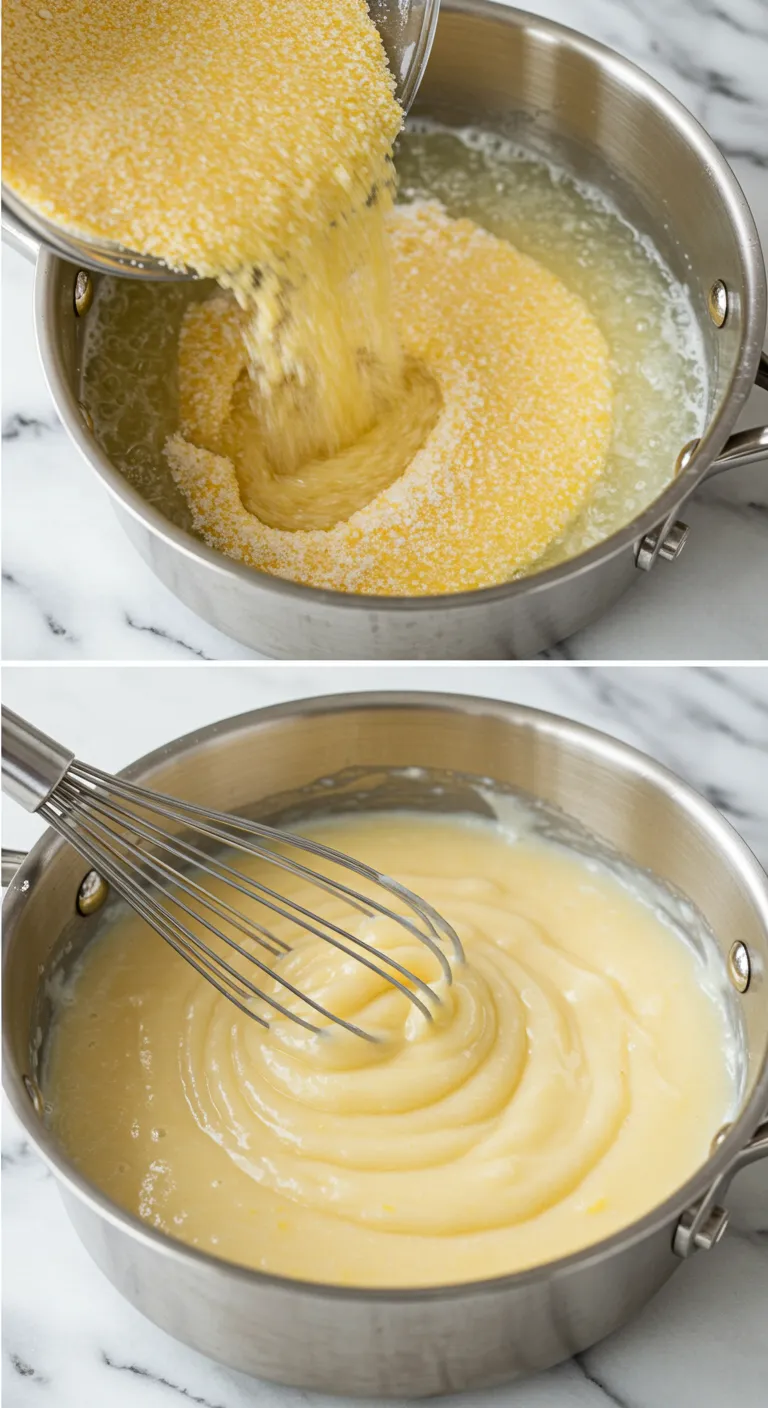
Master the art of pispili with these essential cooking tips!
Want to take your pispili from good to absolutely AMAZING? Here are a few of my tried-and-true tips and tricks:
- Warm Water Temperature: Make sure your water is warm, not hot, when activating the yeast. Too hot and you’ll kill the yeast; too cold and it won’t activate properly. Think lukewarm bathwater – that’s the sweet spot!
- Don’t Overknead: While kneading is important, overkneading can make your dough tough. Knead just until it’s smooth and elastic – you’ll feel the dough change as you knead.
- Warm Place for Rising: A warm, draft-free place is essential for proper dough rising. A slightly warmed oven (turned off!), a sunny spot, or even the top of your refrigerator can work wonders.
- Cheese Quality Matters: Use good quality cheese for the best flavor. Freshly shredded mozzarella melts beautifully, and a flavorful feta will add a lovely tang.
- Herbs at Their Best: Fresh herbs truly elevate the flavor of pispili. If you can, use fresh parsley and oregano. But don’t worry if you only have dried – they’ll still be delicious!
- Did you know? Brushing the pispili with a little garlic-infused olive oil before baking takes the flavor to another level! Simply mix a clove of minced garlic with the olive oil for brushing.
Recipe Swaps & Variations for Pispili Recipe
The beauty of cooking is that you can always put your own spin on things! Here are some fun variations to try with your pispili recipe:
- Spicy Pispili: Add a pinch of red pepper flakes to the cheese filling for a little kick.
- Mediterranean Pispili: Include sun-dried tomatoes, Kalamata olives, and a sprinkle of dried basil in the filling for a Mediterranean twist.
- Spinach and Feta Pispili: Sauté some spinach with garlic and add it to the feta cheese for a delicious and nutritious variation.
- Sweet Pispili (Pispilakia): For a sweet version, skip the herbs and garlic and fill with sweetened ricotta cheese, cinnamon, and a drizzle of honey after baking. These are often called “pispilakia” and are a lovely dessert treat!
Perfect Pairings: What to Serve with Pispili Recipe

Explore different ways to enjoy your flavorful pispili!
Pispili is incredibly versatile and pairs well with so many things! Here are a few ideas to create a complete and satisfying meal:
- Salads: A fresh Greek salad, a simple tomato and cucumber salad, or a vibrant arugula salad with lemon vinaigrette are all wonderful light pairings.
- Soups: Pispili is fantastic with a hearty lentil soup, a creamy tomato soup, or a comforting vegetable soup.
- Dips: Serve pispili with tzatziki sauce, hummus, or a roasted red pepper dip for dipping and extra flavor.
- Appetizer Platter: Include pispili on a mezze platter with olives, feta cheese, hummus, and pita bread for a delightful appetizer spread.
- Brunch: Pispili is a fantastic addition to a brunch spread alongside eggs, fruit, and yogurt.
Storing Your Pispili Recipe
Baked pispili is best enjoyed fresh and warm, but leftovers can be stored and enjoyed later! Here’s how:
- Storing: Let the pispili cool completely, then store them in an airtight container at room temperature for up to 2 days or in the refrigerator for up to 4 days.
- Reheating: To reheat, you can warm them in a preheated oven at 350°F (175°C) for about 5-10 minutes, or until heated through. You can also microwave them in short intervals, but they might lose some of their crispness. For best results, oven reheating is recommended.
- Freezing: Pispili can be frozen! Let them cool completely, then wrap them individually in plastic wrap and place them in a freezer-safe bag. They can be frozen for up to 2-3 months. Thaw them in the refrigerator overnight and reheat as directed above.
- Leftover Hack: Slice leftover pispili in half and use them as mini pizza pockets! Top with pizza sauce, extra cheese, and your favorite pizza toppings, then bake until heated through and the cheese is melted. Delicious!
Printable Recipe Card
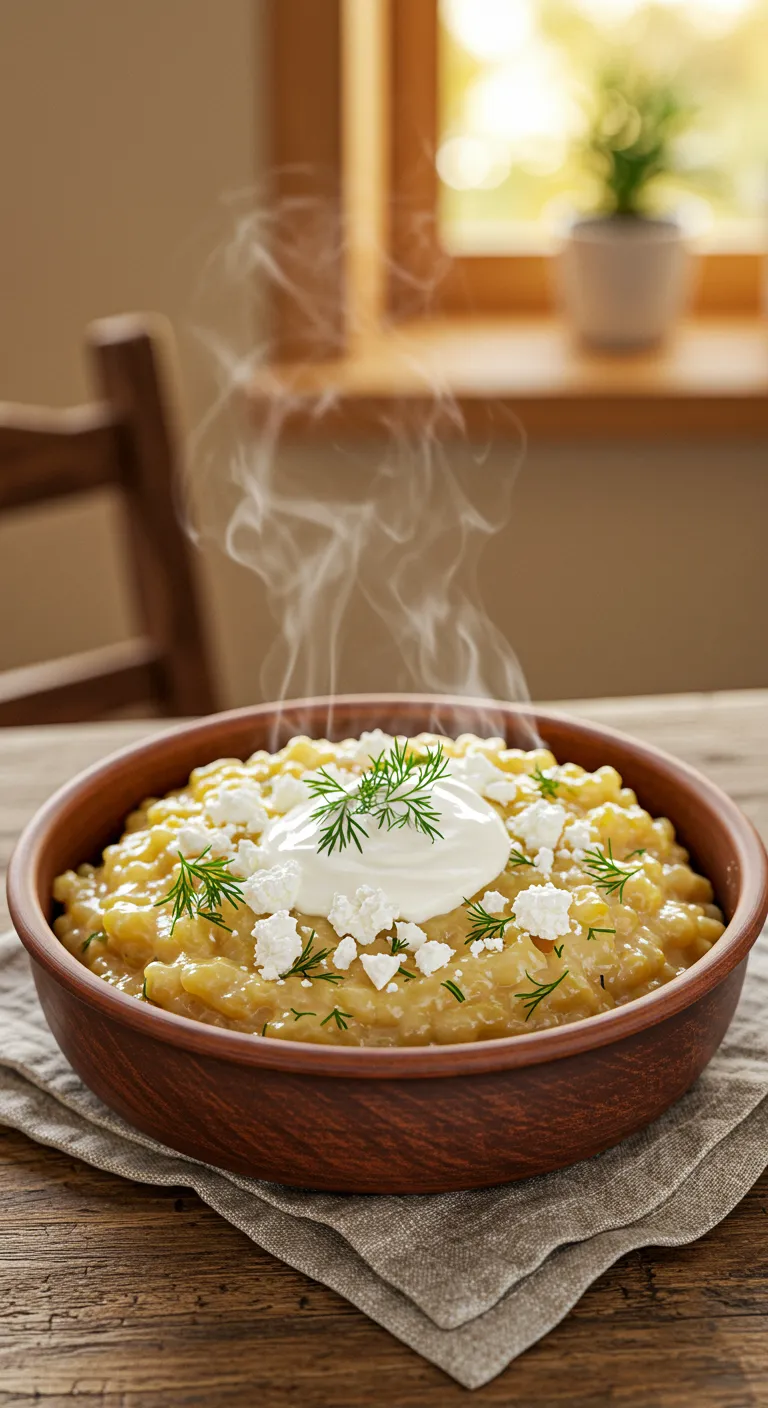
Cheesy Herb Pispili Recipe
Ingredients
Equipment
Method
- In a large mixing bowl, combine the warm water and sugar. Sprinkle the yeast over the top and let it stand for 5-10 minutes, until foamy.
- Add the flour, salt, and olive oil to the yeast mixture. Stir until a shaggy dough forms.
- Turn the dough out onto a floured surface. Knead for 5-7 minutes, until smooth and elastic.
- Grease a bowl, place dough in, turn to coat. Cover and let rise in a warm place for 1-1.5 hours, or until doubled.
- In a medium bowl, combine mozzarella, feta, Parmesan, parsley, oregano, garlic, and pepper. Mix well.
- Preheat oven to 400°F (200°C). Line a baking sheet with parchment paper.
- Punch down dough. Divide into 12-16 pieces. Roll each into a small oval.
- Place filling in the center of each dough piece. Fold dough over, pinch edges to seal.
- Let pispili rise for 15-20 minutes on the baking sheet (optional).
- Brush tops with olive oil. Bake for 15-20 minutes, until golden brown and cheese is melted.
- Let cool slightly before serving. Best enjoyed warm.
Nutrition
Notes
Tried this recipe?
Let us know how it was!Nutrition Breakdown: Calories, Protein, Fats & More
Here’s an estimated nutritional breakdown per pispili (based on 16 servings, approximate values):
- Calories: 180
- Protein: 7g
- Fat: 8g
- Saturated Fat: 4g
- Carbohydrates: 20g
- Sugar: 2g
- Sodium: 250mg
Disclaimer: Nutritional information is an estimate and may vary based on specific ingredients and portion sizes.
Recipe FAQ
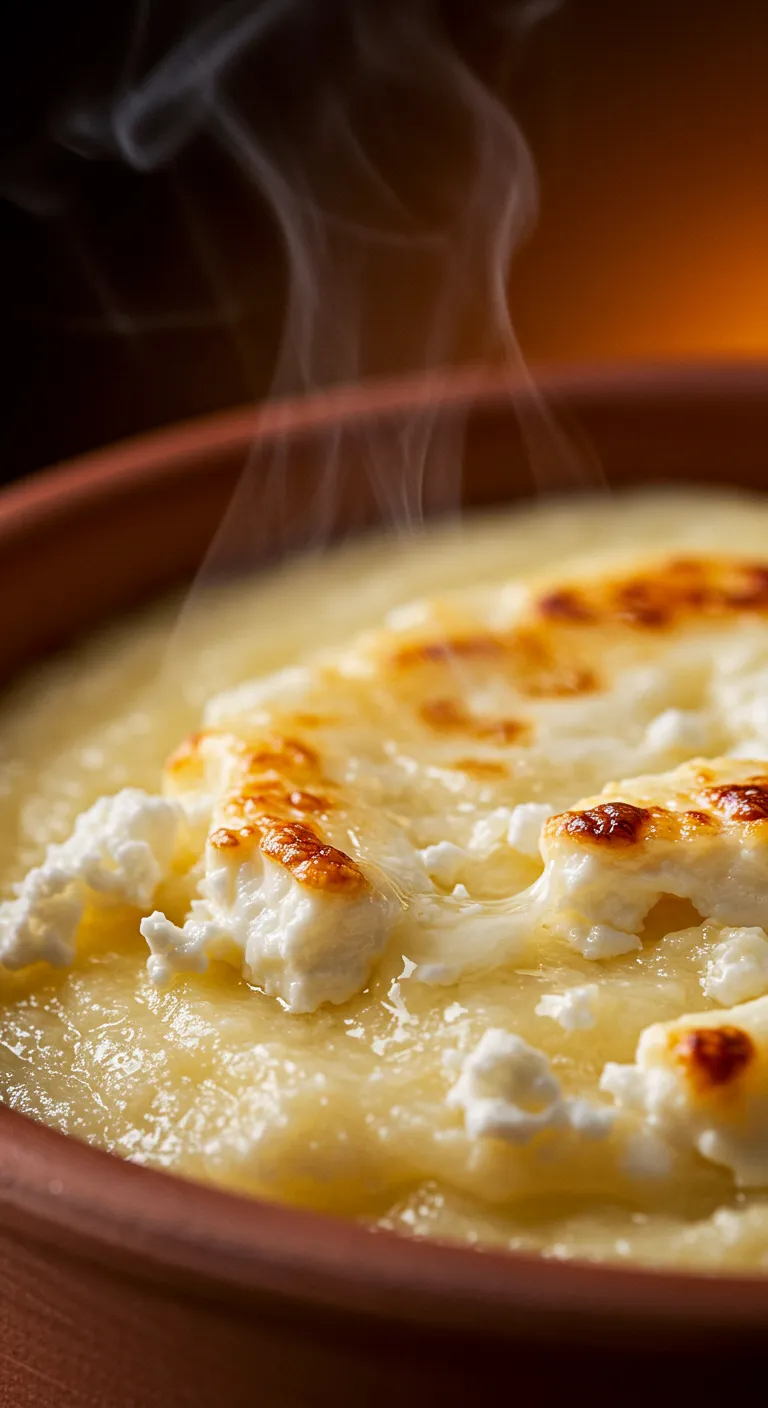
Dive into the creamy and delightful texture of homemade pispili.
- Can I make the dough ahead of time? Yes! You can prepare the dough, let it rise, and then store it in the refrigerator for up to 24 hours. Let it come to room temperature for about 30 minutes before shaping and filling.
- What if my dough isn’t rising? Make sure your yeast is fresh and your water is the right temperature (105-115°F). Also, ensure you are letting the dough rise in a warm place.
- Can I use different cheeses? Absolutely! Feel free to experiment with different cheese combinations. Provolone, ricotta, or even a sharp cheddar would be delicious.
- Can I make these larger or smaller? Yes, you can adjust the size to your preference. Just keep in mind that baking time may need to be adjusted accordingly.
- Are pispili kid-friendly? Yes! Kids generally love these cheesy pastries. They are a great snack or lunchbox addition.
- Can I freeze unbaked pispili? While it’s best to bake them before freezing for optimal texture, you can freeze unbaked pispili. Freeze them on a baking sheet until solid, then transfer to a freezer bag. Bake from frozen, adding a few extra minutes to the baking time.
Happy Cooking & Share Your Results!
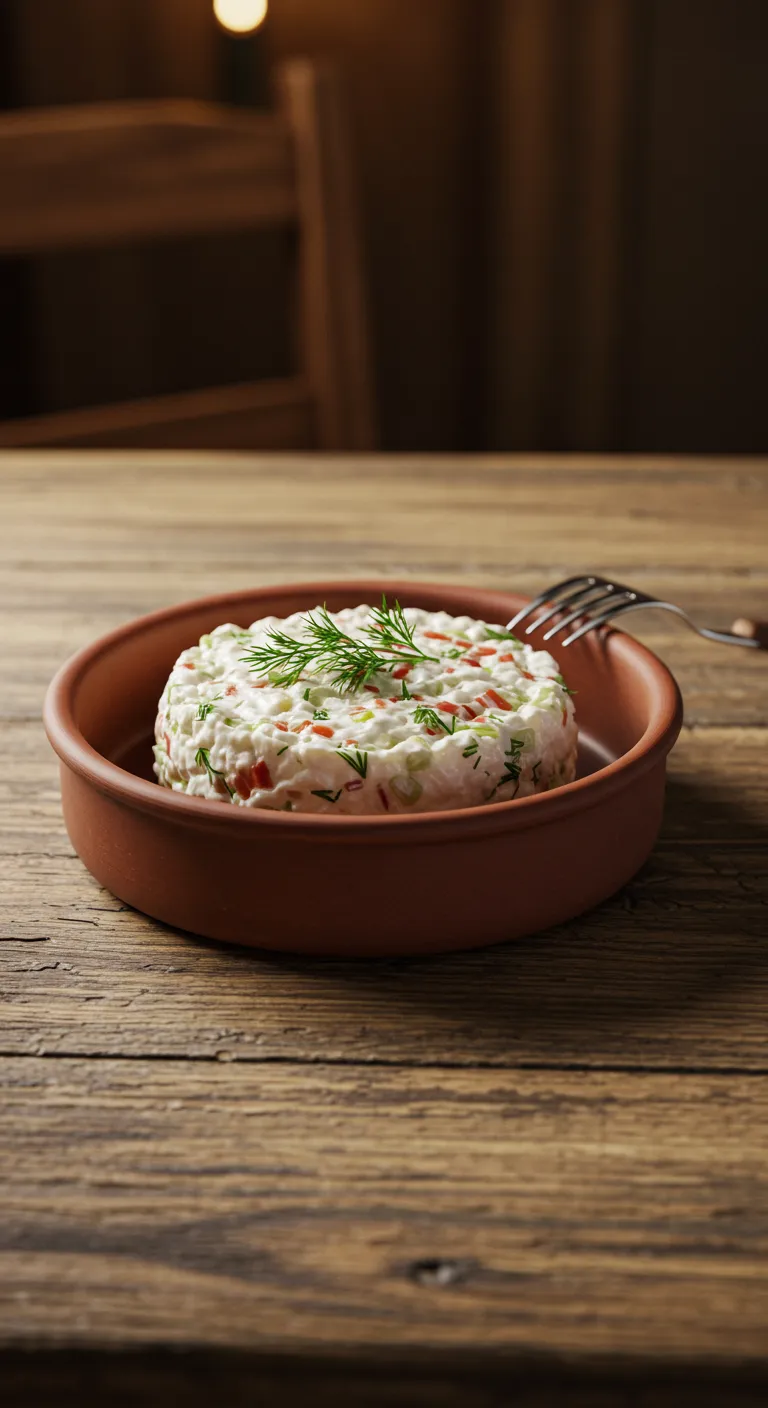
Enjoy a comforting bowl of pispili, perfect for a cozy meal!
There you have it – my cherished pispili recipe, straight from my kitchen to yours! I truly hope you enjoy making and savoring these warm, cheesy delights as much as my family and I do. They are perfect for any occasion, bringing a touch of homemade comfort to your table.
Now, I’d absolutely love to see your pispili creations! Don’t forget to leave a comment below and tell me how yours turned out – any variations you tried, or maybe a special serving suggestion you discovered? And please, do share your photos on social media! Tag me on Instagram and Pinterest using #FingerLickingRecipes – I can’t wait to see your masterpieces!
Happy baking, my friends! What other family favorites would you love to see me share next?


