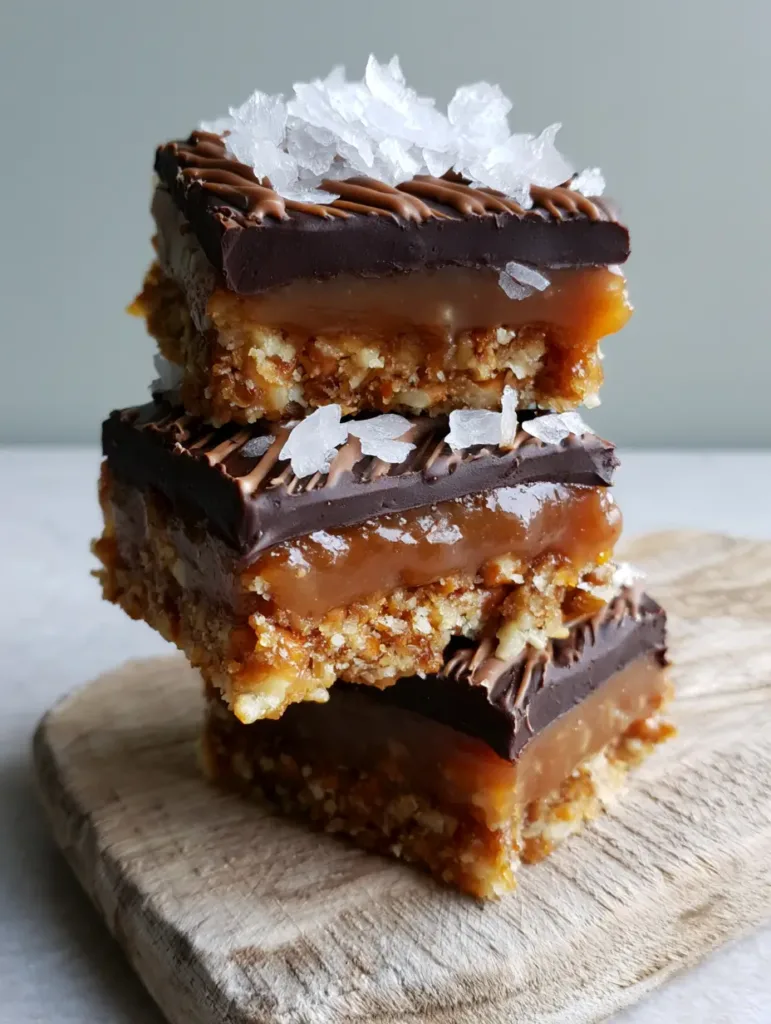
There is a specific kind of magic that happens when the crunch of a salty snack meets the velvety depth of dark chocolate. These No-Bake Salted Caramel Pretzel Bars are the ultimate realization of that culinary harmony, featuring three distinct, decadent layers that require zero time in the oven.
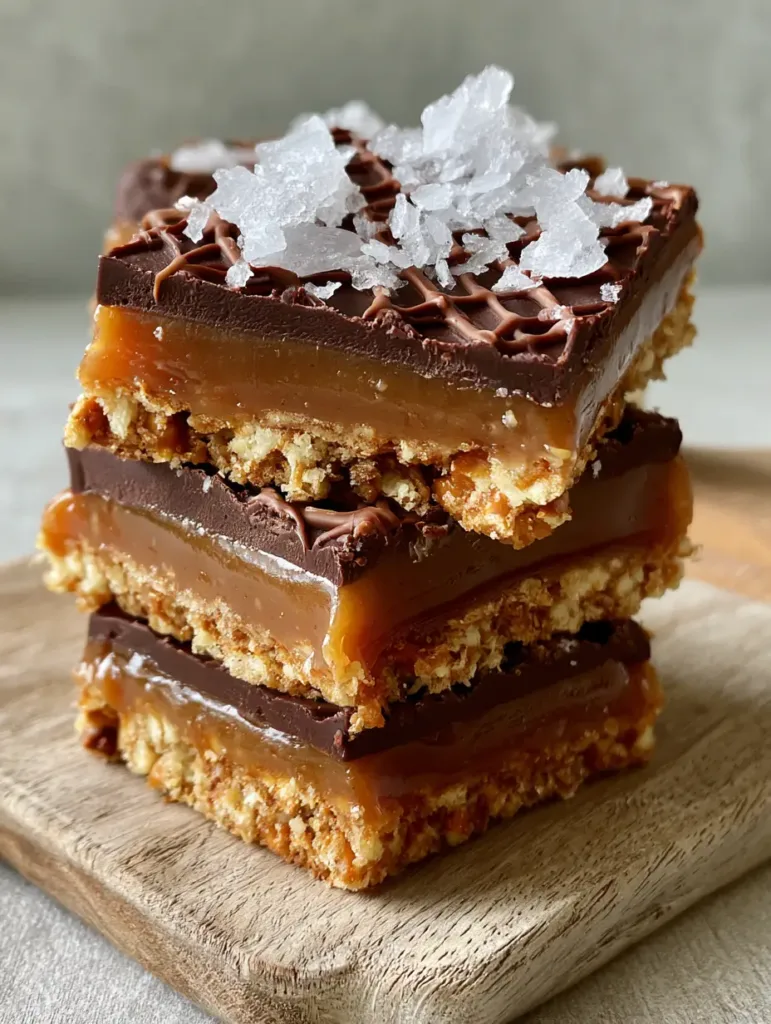
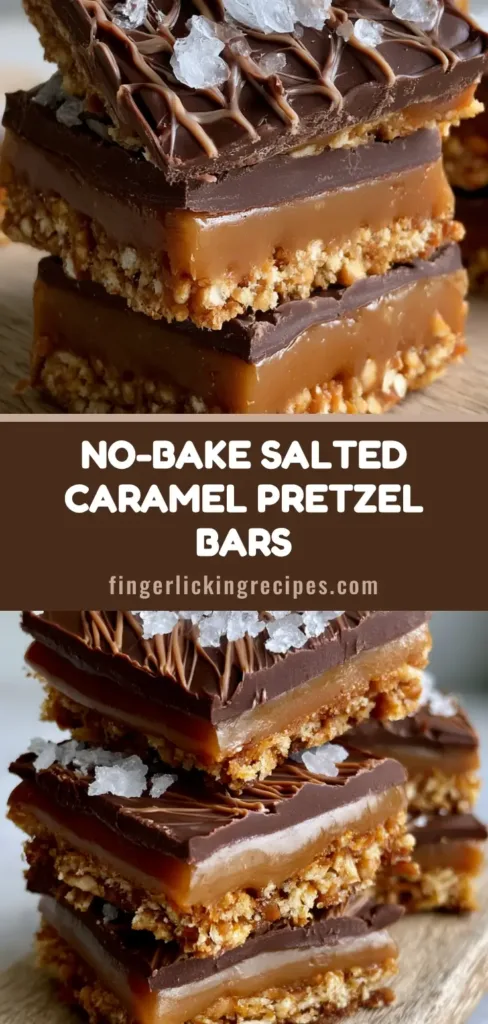
Imagine biting through a matte dark chocolate shell, sinking into a dense, glossy amber caramel, and finally hitting a compressed foundation of golden-brown crushed pretzels. This recipe is designed to deliver a professional-grade confectionery experience right in your own kitchen with minimal effort.
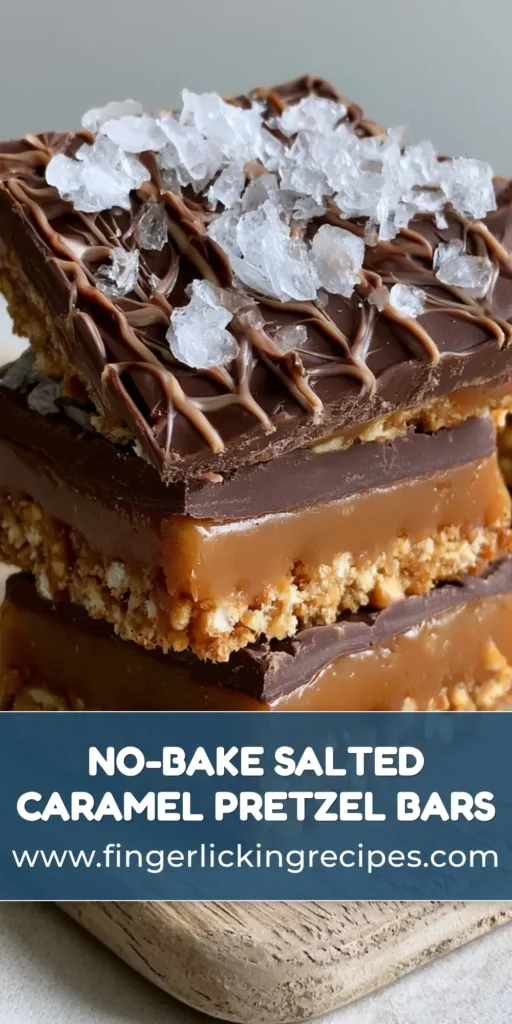
Whether you are preparing a spread for a weekend gathering or looking for the perfect “thank you” gift, these bars stand out. Their visual appeal—defined by a fine zigzag of milk chocolate and large, translucent sea salt flakes—makes them look like they walked straight out of a high-end boutique bakery.
Why These No-Bake Salted Caramel Pretzel Bars Are a Total Game Changer
Textural Trifecta: You get the rhythmic snap of the pretzel base, the chewy resistance of homemade caramel, and the crisp “crack” of tempered dark chocolate.
Zero-Oven Precision: Achieve professional results without worrying about hot spots in your oven or over-baking your delicate crust.
The Salty-Sweet Threshold: Using crushed salted pretzels instead of a standard graham cracker base elevates the flavor profile from “just sweet” to sophisticated.
Visual Sophistication: The contrast between the matte dark chocolate and the lighter milk chocolate drizzle creates a professional finish that is easy to master.
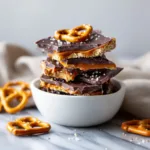
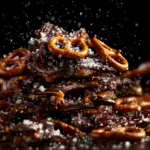
A professional matte dark chocolate finish with artistic drizzling.
Pantry Essentials for the Perfect Golden Foundation and Amber Heart
To achieve the visual and structural integrity seen in our blueprint, every ingredient serves a scientific purpose. We are not just mixing things together; we are building a structural dessert masterpiece.
Crushed Salted Pretzels: You will need 2 ½ cups (approx. 200g) of pretzel bits. These provide the structural “rebar” for our bars, offering a savory counterpoint to the sugar-heavy layers above.
Unsalted Melted Butter: Use 10 tbsp (140g) for the crust and 4 tbsp (55g) for the caramel. Butter acts as the primary binder for the pretzel base and provides the silky mouthfeel in our amber middle layer.
Heavy Cream: Use ½ cup (120ml) of full-fat heavy cream. This is essential for emulsifying the caramel, ensuring it stays opaque and glossy rather than turning into hard candy.
Granulated Sugar: 1 cup (200g) of sugar will be caramelized to a deep amber. This provides the “burnt sugar” complexity that distinguishes a gourmet bar from a simple sweet treat.
Dark Chocolate Chips: 1 ½ cups (255g) of high-quality dark chocolate (60% cacao or higher). Dark chocolate provides the necessary matte finish and a bitter edge to balance the caramel’s sweetness.
Milk Chocolate: Just 2 tbsp (30g) is needed for the decoration. Its lower melting point and lighter color create that perfect zigzag drizzle contrast against the dark base.
Flaky Sea Salt: 1 tsp (5g) of large, translucent flakes. This is the “jewelry” of the dish, providing a sharp burst of salinity that awakens the palate with every bite.
Essential Equipment for Confectionery Success
While this is a no-bake recipe, using the right tools ensures that your layers remain distinct and your caramel reaches the perfect setting temperature.
First, you will need an 8×8 inch (20x20cm) square baking pan. Lining this with parchment paper with an overhang is non-negotiable for lifting the bars out cleanly.
A heavy-bottomed saucepan is vital for the caramel. Thin pans have hot spots that can scorch your sugar before it reaches that beautiful amber color.
Finally, a kitchen scale is highly recommended. While we provide volume measurements, weighing your crushed pretzels ensures your base is never too crumbly or too greasy.
Mastering the Golden Pretzel Base
Step 1: Achieving the Perfect Pretzel Crumb
Place your pretzels in a large freezer bag and use a rolling pin to crush them. You are looking for a mix of fine dust and small, pea-sized bits to ensure the base is compressed yet crunchy.
In a medium bowl, combine the crushed pretzels with your 10 tbsp (140g) of melted butter. Stir until every crumb looks like wet sand and is thoroughly coated.
Transfer the mixture to your lined pan and press down firmly. Use the bottom of a flat measuring cup to pack the pretzels into a tight, golden-brown foundation, then chill for 20 minutes.
Step 2: Crafting the Glossy Amber Caramel
In your heavy-bottomed saucepan, melt 1 cup (200g) of granulated sugar over medium heat. Do not stir; instead, gently swirl the pan as the sugar liquefies and turns a pale straw color.
Continue heating until the sugar reaches a deep, opaque amber. Immediately whisk in the 4 tbsp (55g) of butter until melted and combined.
Slowly pour in the heavy cream while whisking constantly. The mixture will bubble violently—this is normal. Continue to simmer for 2-3 minutes until the sauce is thick and coats the back of a spoon.
Pour the warm caramel over your chilled pretzel base. Tilt the pan to ensure it spreads into a smooth, glossy layer, then return it to the refrigerator for at least 1 hour to set.
Three distinct layers of crunchy, chewy, and smooth textures.
Step 3: The Dark Chocolate Coating and Decorative Drizzle
Once the caramel is firm to the touch, melt your dark chocolate in a heat-proof bowl over a pot of simmering water. This “bain-marie” method ensures the chocolate stays smooth and matte.
Pour the dark chocolate over the caramel layer, using an offset spatula to create an even, smooth surface. Let it sit at room temperature for 5 minutes.
Melt your milk chocolate and transfer it to a small piping bag or a sandwich bag with a tiny corner snipped off. Create a fine zigzag drizzle across the dark chocolate in one fluid motion.
While the chocolate is still slightly tacky, sprinkle the large, translucent sea salt flakes evenly across the top. This ensures the salt “sticks” rather than falling off once the chocolate hardens.
Expert Tips for Bakery-Quality Results
The Clean Cut Secret: To get perfectly sharp edges, dip your knife in hot water and wipe it dry between every single cut. This melts through the chocolate and caramel without crushing the pretzel base.
Avoid Caramel Separation: Ensure your heavy cream is at room temperature before adding it to the hot sugar. Cold cream can cause the caramel to “seize” or the butter to separate.
Pretzel Ratio: If your base feels too loose, you may need a few more tablespoons of melted butter. The crust should feel like wet sand that holds its shape when squeezed in your palm.
Patience is Key: Do not rush the chilling process. If the caramel is too soft when you pour the warm chocolate on top, the layers will bleed into each other.
The Best Ways to Store and Serve Your Bars
These No-Bake Salted Caramel Pretzel Bars are best kept in an airtight container in the refrigerator for up to 10 days. The cold temperature keeps the caramel dense and the chocolate crisp.
If you prefer a softer bite, take them out of the fridge 15 minutes before serving. This allows the caramel to regain its chewy, glossy texture while maintaining its structural integrity.
For long-term storage, you can freeze these bars for up to 3 months. Wrap them individually in plastic wrap and store them in a freezer bag; just thaw in the fridge overnight before eating.
Perfect Pairings and Menu Inspiration
These bars are an incredible “finale” to a savory meal. If you are planning a dinner party, consider starting with a light and flavorful dish like high-protein honey garlic shrimp (coming soon) or a lemon garlic butter salmon (coming soon).
For those who can’t get enough of the chocolate-on-chocolate experience, try serving these alongside a small slice of hot fudge sundae brownie cheesecake.
This usually happens if the caramel wasn’t simmered long enough after adding the cream. Ensure it cooks for a full 2-3 minutes until it noticeably thickens and coats a spoon.
Most store-bought sauces are too thin for layering. If you use one, you must ensure it is a ‘thick’ variety or boil it down slightly so the bars hold their shape.
Let the bars sit at room temperature for 10 minutes before slicing, and always use a hot, dry knife. The slight warmth prevents the cold chocolate from shattering.
A rolling pin and a freezer bag work best. You want a combination of fine ‘sand’ to act as a binder and small chunks for that signature pretzel crunch.
Yes, you can substitute the butter with a plant-based stick butter, use coconut cream for the caramel, and ensure your dark chocolate is dairy-free.
Ready to Make These No-Bake Salted Caramel Pretzel Bars?
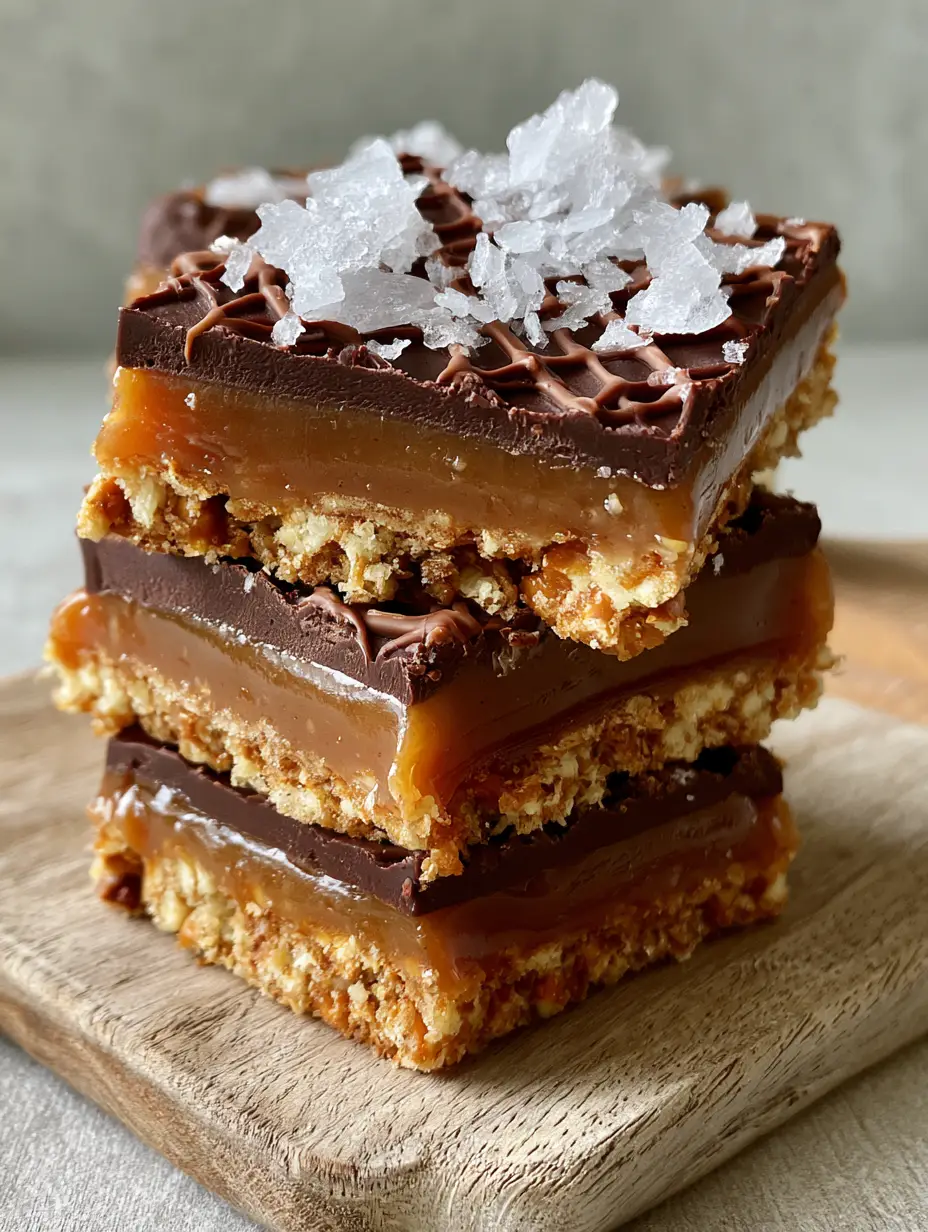
The ultimate stack of no-bake perfection.
FL Recipes
No-Bake Salted Caramel Pretzel Bars with Dark Chocolate and Flaky Sea Salt
These decadent No-Bake Salted Caramel Pretzel Bars feature a crunchy pretzel base, a thick layer of homemade amber caramel, and a smooth dark chocolate finish topped with a milk chocolate drizzle and flaky sea salt.
Making your own No-Bake Salted Caramel Pretzel Bars is a rewarding experience that proves you don’t need an oven to create a five-star dessert. The interplay of the crunchy pretzel base and the silky caramel heart is a testament to the power of high-quality ingredients and simple techniques.
We would love to see how your bars turned out! Did you go for the classic zigzag drizzle or try your own decorative style? Leave a comment below and share your success with us.
Don’t forget to save this recipe to your favorite dessert board on Pinterest so you can find it the next time that salty-sweet craving hits!
Hi, I’m Emily Carter, and welcome to FL Recipes! I share simple, healthy recipes that make cooking easy, fun, and delicious for everyone. more about me »