Recipe Overview
Here’s Why You’ll Love This cachopo recipe
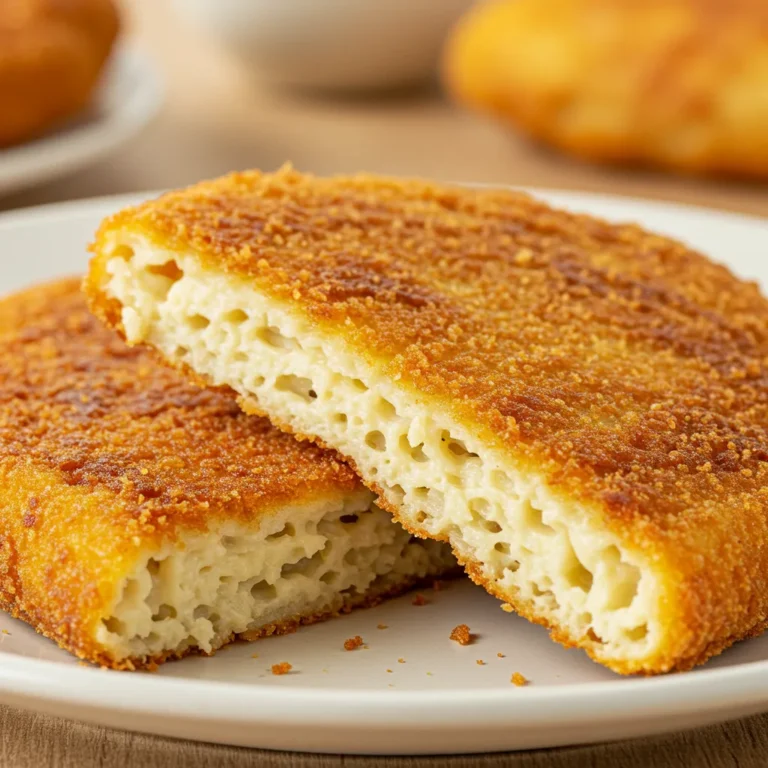
Craving a meal that’s both incredibly satisfying and surprisingly simple to whip up? Look no further! This cachopo recipe is your ticket to a restaurant-quality dish right in your own kitchen, without any of the fuss. Imagine sinking your teeth into a crispy, golden-brown exterior, only to discover a melt-in-your-mouth filling of savory ham and gooey cheese. Sounds dreamy, right?
This easy cachopo recipe is perfect for busy weeknights when you want something special but don’t have hours to spend cooking. We’ve broken down each step to make it foolproof, even if you’re just starting your culinary journey. Get ready to impress your family and friends (or just treat yourself!) with this incredibly flavorful and comforting dish. Let’s get cooking and discover just how simple and utterly delicious homemade cachopo can be!
Printable Recipe Card: Your Easy cachopo recipe Guide!

Easy Cachopo Recipe – Crispy & Delicious, Perfect for Weeknights
Ingredients
Equipment
Method
- Place beef fillets between plastic wrap. Pound to ¼ inch thickness. Season with salt and pepper.
- Lay two fillets flat. On one, layer ham and cheese, leaving edges. Top with other fillet to sandwich.
- Prepare three dishes: flour, whisked eggs, breadcrumbs.
- Dredge in flour, dip in egg, coat in breadcrumbs, pressing to adhere.
- Heat olive oil in skillet over medium-high. Fry cachopos 3-4 mins per side, until golden and cheese melted. Don’t overcrowd.
- Remove, drain on rack or paper towels. Rest briefly. Serve halved or quartered.
Nutrition
Notes
Ham Alternatives: Prosciutto or cooked ham slices can substitute Serrano ham.
Breadcrumb Options: Regular breadcrumbs work, or gluten-free for dietary needs.
Tried this recipe?
Let us know how it was!Let’s Gather Our Ingredients for This cachopo recipe
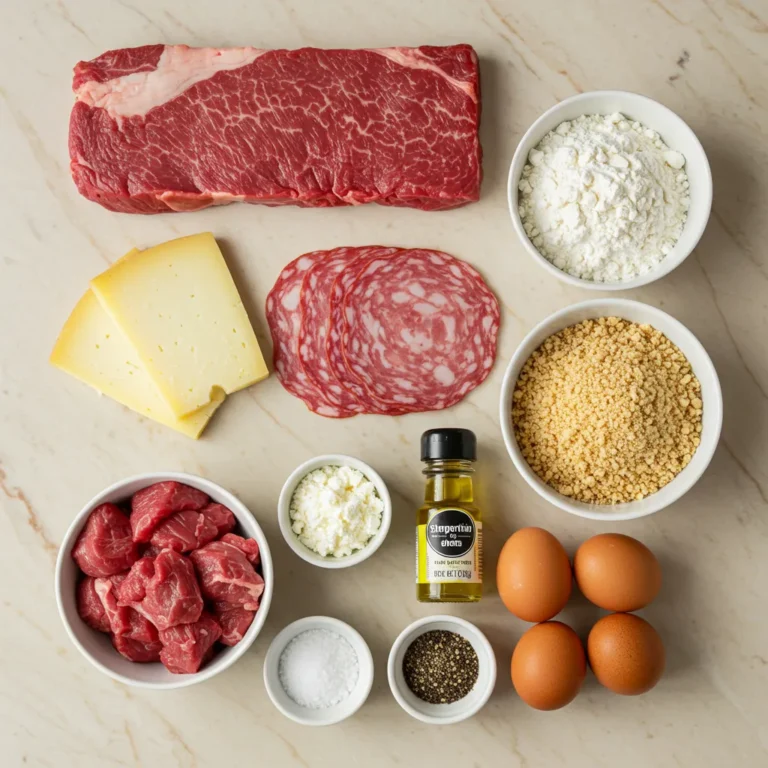
Full Ingredient List
- 4 thin **beef fillets** (about 4-6 ounces each, such as sirloin or top round)
- 4 slices of **Serrano ham** (or Prosciutto)
- 4 slices of **Manchego cheese** (or Swiss, Gruyère, or mozzarella)
- 2 large **eggs**
- 1 cup **all-purpose flour**
- 1 ½ cups **breadcrumbs** (panko or regular)
- ½ teaspoon **salt**
- ¼ teaspoon **black pepper**
- ½ cup **olive oil** (for frying)
Smart Ingredient Swaps and Easy Substitutions
- Cheese Variety: Don’t have Manchego? No problem! Use Swiss, Gruyère, or even mozzarella for a similar melt and flavor.
- Ham Alternatives: If you can’t find Serrano ham, Prosciutto or even cooked ham slices work wonderfully.
- Breadcrumb Options: Panko breadcrumbs give an extra crispy coating, but regular breadcrumbs are just as delicious. For a gluten-free option, use gluten-free breadcrumbs.
Budget-Friendly Tips and Finding Ingredients
- Choose Affordable Beef Cuts: Sirloin or top round are great choices that are flavorful and won’t break the bank. Ask your butcher for thinly sliced fillets to save time.
- Shop Smart for Cheese and Ham: Check for deals on cheese and ham at your local supermarket. Buying larger blocks of cheese and slicing it yourself can often be more economical. Cooked ham is a budget-friendly alternative to Serrano or Prosciutto.
- Homemade Breadcrumbs: Turn stale bread into breadcrumbs! Simply pulse old bread in a food processor until you get coarse crumbs. Toast them in a pan for extra flavor and crispness.
Time to Cook! Your Step-by-Step Guide for cachopo recipe
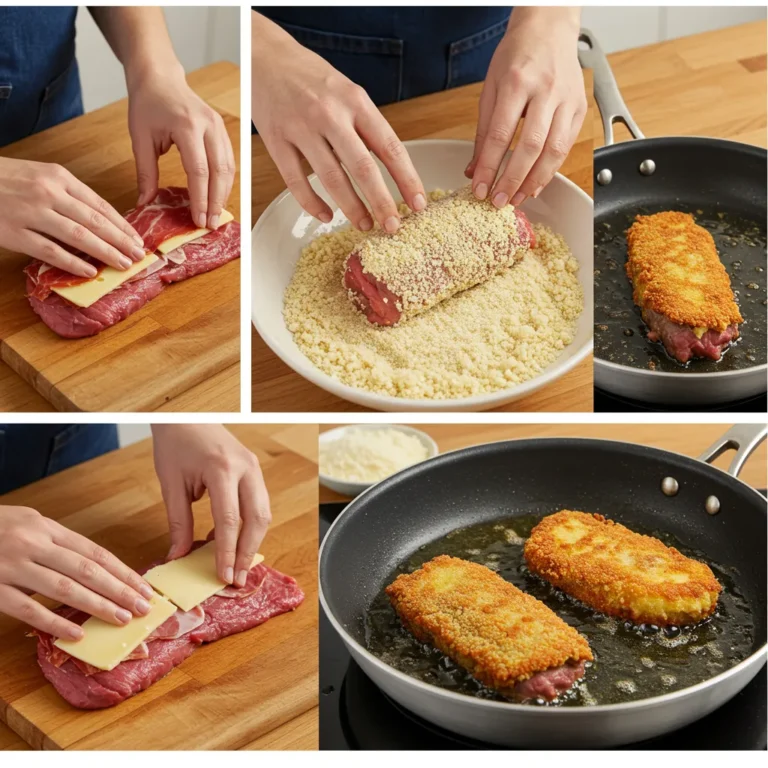
Prep the Beef: Place each beef fillet between two sheets of plastic wrap. Using a meat mallet or rolling pin, gently pound the fillets to about ¼ inch thickness. This tenderizes the meat and helps it cook evenly. Season both sides with salt and pepper. Tip: Don’t pound too hard, you want them thin but not torn!
Assemble the Cachopos: Lay two beef fillets flat on a clean surface. On one fillet, layer 2 slices of Serrano ham and 2 slices of Manchego cheese, leaving a small border around the edges. Top with the other beef fillet, creating a sandwich. Technique Tip: Make sure the ham and cheese are within the beef edges to prevent leaks during frying.
Set Up the Breading Station: Prepare three shallow dishes. In the first dish, place the flour. In the second, whisk the eggs. In the third, place the breadcrumbs. Pro Tip: A well-organized breading station makes the process smoother and less messy!
Bread the Cachopos: Dredge each cachopo sandwich in the flour, ensuring it’s fully coated. Then, dip it into the whisked eggs, letting any excess drip off. Finally, coat it thoroughly with breadcrumbs, pressing gently to help them adhere. Safety First: Ensure your hands are clean and dry when handling raw meat and eggs.
Fry the Cachopos: Heat olive oil in a large skillet over medium-high heat. Once the oil is hot (a breadcrumb should sizzle immediately when dropped in), carefully place the breaded cachopos in the skillet, being careful not to overcrowd the pan. Fry for about 3-4 minutes per side, until golden brown and cooked through, and the cheese is melted and gooey. Cooking Tip: Maintain medium-high heat to get a crispy exterior without burning the breadcrumbs. If they brown too quickly, reduce the heat slightly.
Rest and Serve: Remove the cachopos from the skillet and place them on a wire rack or paper towel-lined plate to drain excess oil. Let them rest for a couple of minutes before serving. This helps the juices redistribute, making them even more tender. Serving Suggestion: Cut each cachopo in half or quarters for easier serving and sharing. They’re fantastic on their own or with your favorite sides!
Our Best Tips & Tricks for a Perfect cachopo recipe
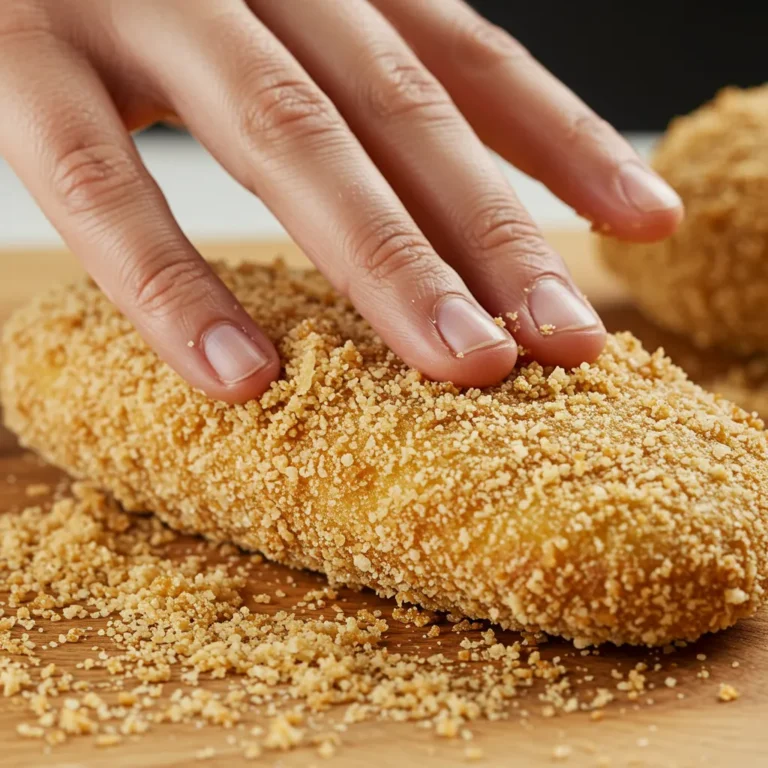
- Pound Evenly for Even Cooking: Pounding the beef fillets to an even thickness ensures they cook at the same rate. Thicker parts might remain undercooked while thinner parts become dry.
- Don’t Overfill: Resist the urge to overstuff the cachopos with ham and cheese. Too much filling can make them difficult to seal and fry, leading to leaks and uneven cooking.
- Seal Edges Properly: Press the edges of the beef fillets together firmly after adding the filling to create a good seal. This prevents the cheese from oozing out during frying.
- Hot Oil, Crispy Coating: Ensure the oil is hot enough before adding the cachopos. This is crucial for achieving that perfect crispy, golden-brown crust without the breadcrumbs becoming soggy or oily.
- Don’t Overcrowd the Pan: Fry cachopos in batches to avoid overcrowding the skillet. Overcrowding lowers the oil temperature, resulting in less crispy and potentially greasy cachopos.
- Rest Before Serving for Juiciness: Letting the cachopos rest for a few minutes after frying is essential. It allows the juices to redistribute throughout the meat, resulting in a more tender and flavorful bite.
What to Serve with Your Delicious cachopo recipe: Perfect Pairings
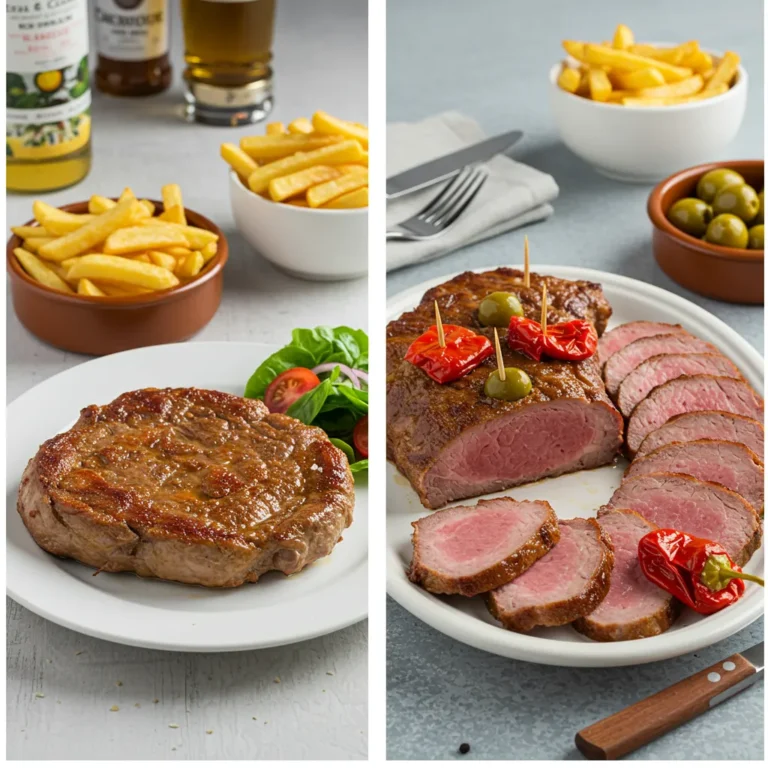
- Classic Spanish Sides: Serve your cachopo with patatas fritas (Spanish fries) or papas arrugadas (Canarian wrinkled potatoes) for an authentic Spanish experience.
- Fresh Salad: A simple green salad with a light vinaigrette provides a refreshing contrast to the richness of the cachopo.
- Roasted Vegetables: Roasted bell peppers, asparagus, or zucchini are excellent healthy and flavorful side options.
- Salsa or Allioli: A zesty tomato salsa or creamy allioli (garlic mayonnaise) adds a delicious dipping sauce option.
- Spanish Cider or Beer: Pair your cachopo with a traditional Spanish cider (sidra) or a cold Spanish beer for the perfect beverage accompaniment.
How to Store and Reheat Your Delicious cachopo recipe
Storing Leftover cachopo recipe:
- Cool Completely: Allow the cooked cachopos to cool completely to room temperature before storing. This prevents condensation from forming in the container, which can make them soggy.
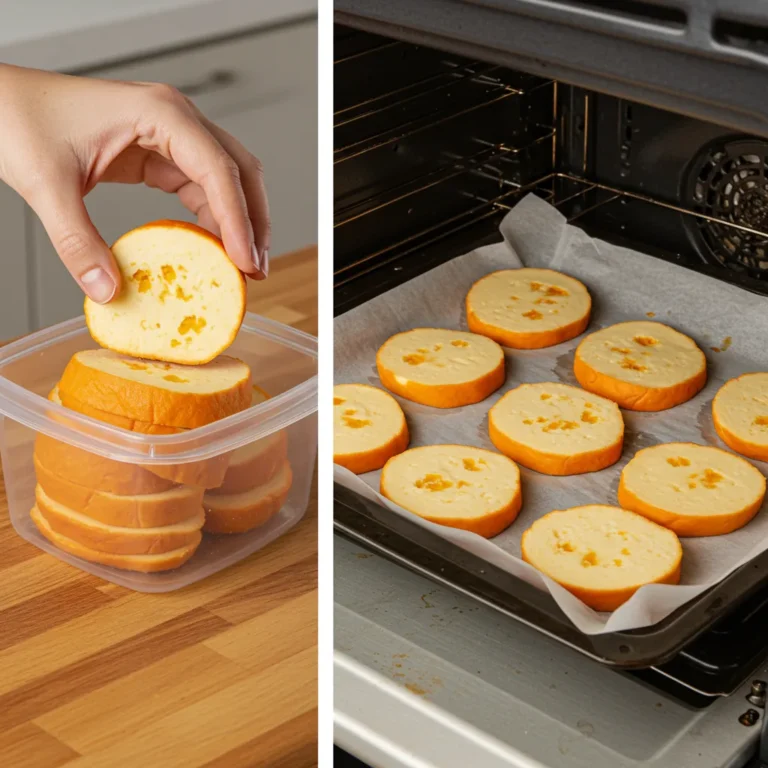
- Airtight Container: Place the cooled cachopos in an airtight container. Store them in the refrigerator within two hours of cooking.
- Refrigerate: Store in the refrigerator for up to 3-4 days.
Reheating Your cachopo recipe:
- Oven Reheating (Best Method): Preheat your oven to 350°F (175°C). Place the cachopos on a baking sheet lined with parchment paper. Reheat for 10-15 minutes, or until heated through and crispy again. This method helps to retain the crispiness.
- Skillet Reheating (Good for Crispiness): Heat a little olive oil in a skillet over medium heat. Reheat the cachopos for about 5-7 minutes per side, until heated through and crispy. Be careful not to burn them.
- Air Fryer (Quick and Crispy): Preheat your air fryer to 350°F (175°C). Place the cachopos in the air fryer basket and reheat for 8-10 minutes, or until heated through and crispy.
- Microwave (Quick but Less Crispy): While not ideal for crispiness, you can microwave cachopos on medium power for 1-2 minutes. Place a paper towel underneath to absorb some moisture. They will be softer, but still tasty.
Your cachopo recipe FAQ: Simple Answers for Confident Cooking
- Can I prepare cachopos ahead of time?
Yes, you can prepare the cachopos up to the breading stage ahead of time. Assemble and bread them, then store them in the refrigerator, covered, for up to 4 hours before frying. Fry them just before serving for the best crispiness.
- What’s the best cheese for cachopo?
Manchego is traditional and melts beautifully, but you can also use Swiss, Gruyère, provolone, or mozzarella. Choose a cheese that melts well and has a flavor you enjoy.
- Can I use different fillings for cachopo?
Absolutely! While ham and cheese are classic, you can get creative. Try fillings like mushrooms and cheese, roasted peppers and cheese, or even chorizo and cheese for a spicier kick.
- How do I know when the cachopos are cooked through?
The cachopos are cooked through when the beef is no longer pink inside and the internal temperature reaches 145°F (63°C). The breadcrumbs should be golden brown and crispy, and the cheese should be melted and gooey.
- Why are my cachopos soggy?
Soggy cachopos can be caused by frying in oil that isn’t hot enough or overcrowding the pan. Make sure the oil is at the correct temperature and fry in batches to maintain the oil temperature and achieve a crispy crust.
Time to Savor Your Delicious cachopo recipe and Share the Joy
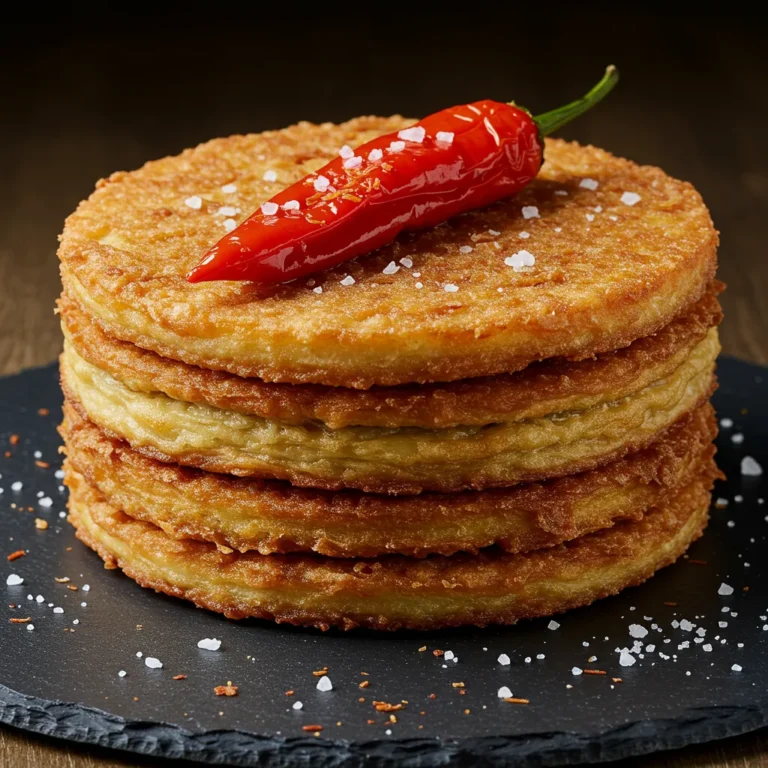
Congratulations, you’ve just created a mouthwatering cachopo recipe that’s sure to impress! This dish is all about simple steps and big flavors, proving that delicious meals don’t have to be complicated. Enjoy every crispy, cheesy bite!
Loved this recipe? We’d love to see your creations! Share your photos on social media and tag us! Join our friendly community of home cooks for more easy and delicious recipes. Follow us for daily inspiration and cooking tips!
Find us on Instagram and Pinterest. Happy cooking!


