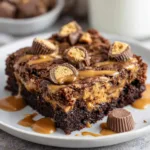
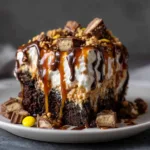
There is something inherently magical about the way a few pantry staples can transform into a decadent, restaurant-quality masterpiece with almost zero effort. This Chocolate Peanut Butter Dump Cake is the personification of that magic, offering a deep, dark cocoa base that contrasts beautifully with thick, golden rivers of peanut butter.
Inspired by the classic combination of salty and sweet, this recipe isn’t your average dry box cake; it’s a forensic study in texture. We are aiming for a moist chocolate cake sponge that remains dense and fudgy, topped with semi-sweet chocolate chips that melt into a glossy, irresistible layer.
If you have ever craved the intensity of a Dark Chocolate Mount Doom Cake but only had ten minutes to prep, this is your solution. Every bite delivers a symphony of molten peanut butter and snap-crisp edges that only a high-heat glass dish bake can provide.
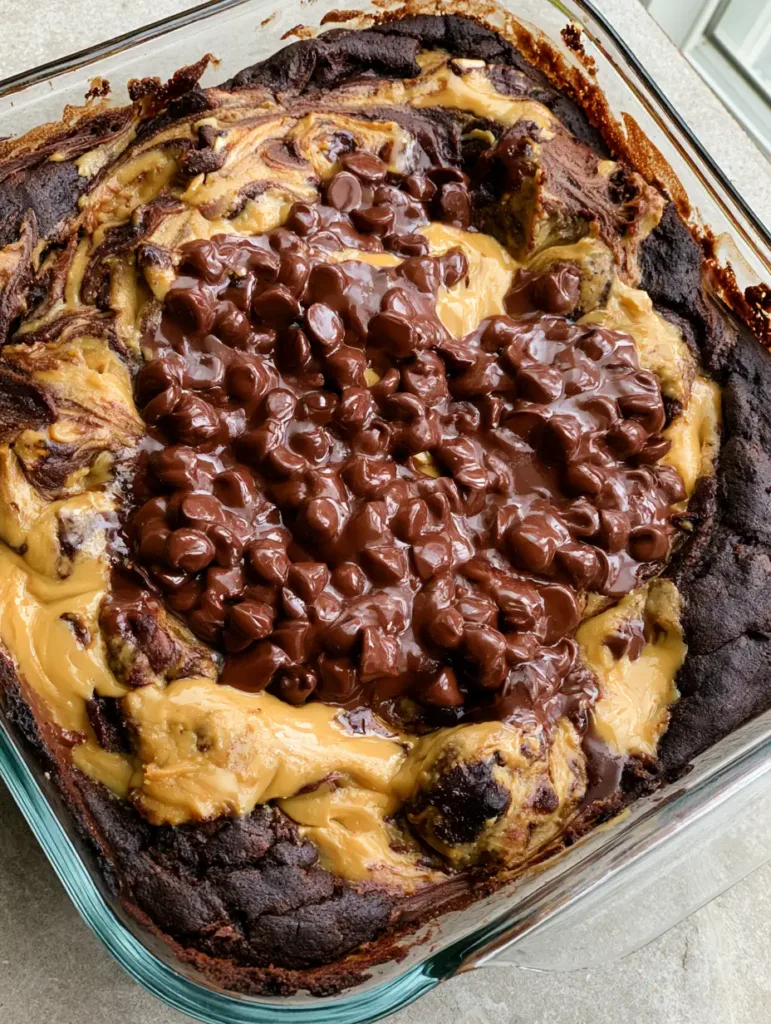
The chocolate chips create a glossy, molten layer that catches the light.
Why This Chocolate Peanut Butter Dump Cake Is a Viral Sensation
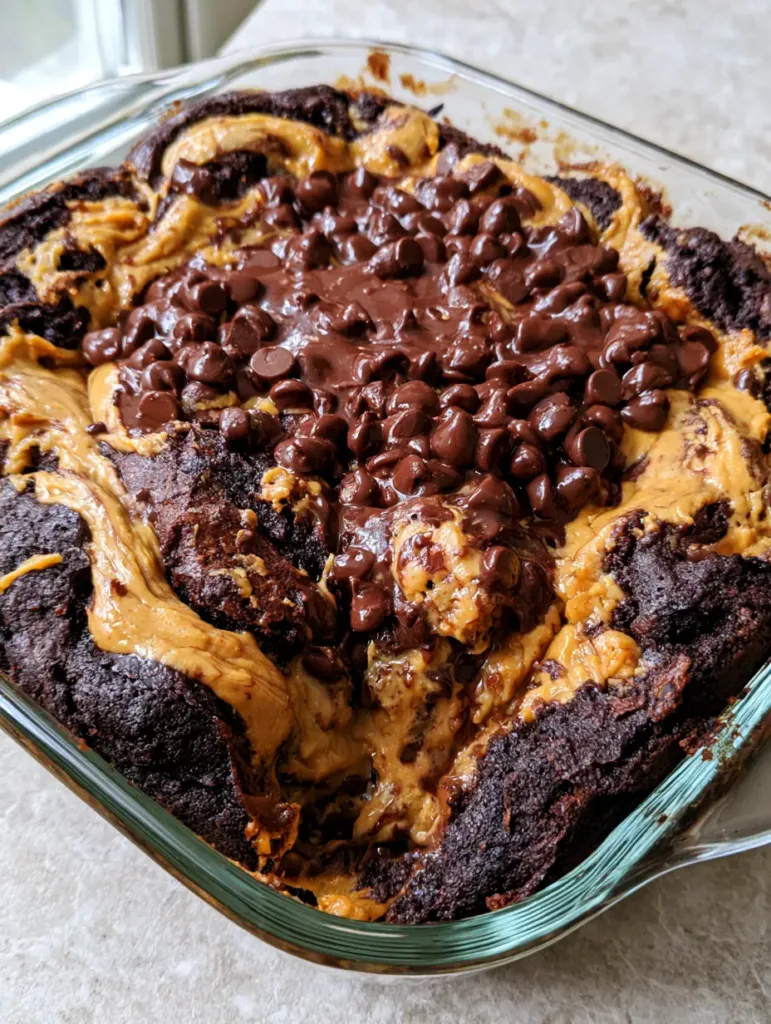
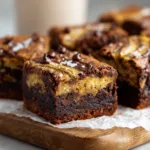
The Marbled Texture: Unlike traditional dump cakes that can be powdery, our technique ensures heavy, thick swirls of creamy light-brown peanut butter are integrated into the dark cocoa base.
The Molten Factor: While the edges set into a slightly crisp, brownie-like texture, the center remains gooey and molten, mimicking a high-end lava cake.
Glossy Visuals: We use a specific ratio of semi-sweet chocolate chips to ensure a dense, glossy layer that catches the light perfectly for your next social media post.
Scientific Balance: By layering the fat (butter and peanut butter) strategically, we protect the moisture of the cake sponge, preventing the common “dry patch” issue found in lesser dump cakes.
The Essential Pantry Staples for Chocolate Perfection
To achieve the visual and structural results seen in our professional test kitchen, you will need the following ingredients. Each serves a specific purpose in creating that dark, moist crumb and the signature peanut butter marbling.
1 Box (432g) Dark Chocolate Cake Mix: This provides the dark cocoa base and the structural foundation; look for “Devil’s Food” or “Deep Dark Chocolate” varieties for the most intense color.
1 ½ Cups (375g) Creamy Peanut Butter: The peanut butter must be the “no-stir” creamy variety to ensure it melts into those thick, light-brown swirls without becoming oily or gritty.
2 Cups (340g) Semi-Sweet Chocolate Chips: These create the glossy, partially melted top layer; using semi-sweet balances the richness of the peanut butter better than milk chocolate.
¾ Cup (170g) Unsalted Butter, Thinly Sliced: The butter acts as the hydrating agent for the dry mix, creating a rich, velvet-like sponge as it melts downward in the oven.
1 Cup (240ml) Whole Milk: Adding a splash of milk ensures the “dump” method results in a moist chocolate cake sponge rather than a crumbly topping.
1 Tsp (5ml) Vanilla Extract: This “invisible” ingredient acts as a flavor enhancer, rounding out the bitterness of the dark cocoa.
½ Tsp (3g) Sea Salt: A crucial scientific addition to brighten the chocolate and cut through the heavy fats of the peanut butter.
If you love the textural complexity of a Dubai chocolate filling, you will recognize the same satisfying mouthfeel in the way the molten peanut butter interacts with the chocolate chips here.
Professional Equipment for the Perfect Bake
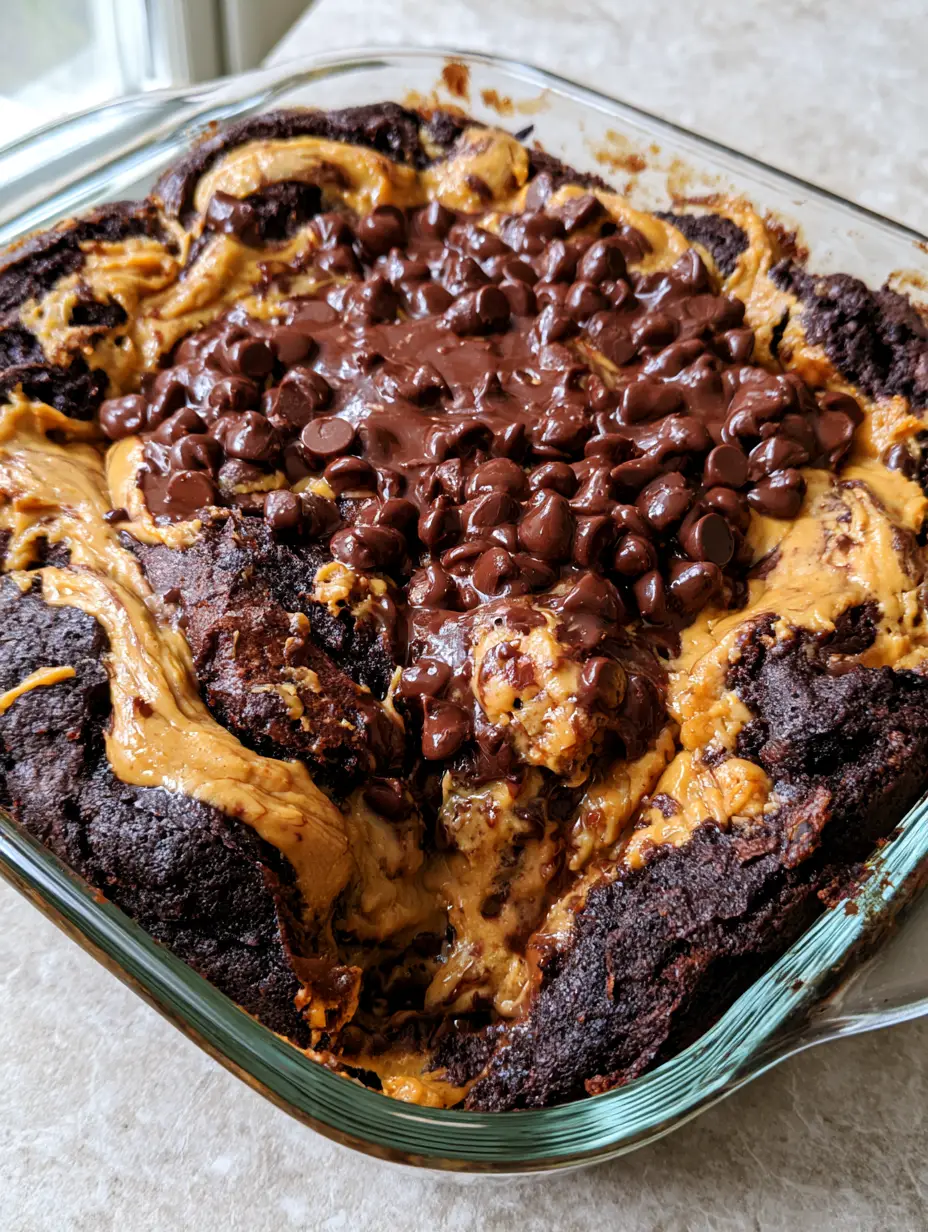
To achieve the exact look of our recipe—a rectangular glass baking dish filled with a moist, dark chocolate cake base—you need the right tools. The glass is non-negotiable for those crispy, set edges.
9×13 Inch (23x33cm) Glass Baking Dish: Glass conducts heat more slowly than metal, allowing the center to remain molten while the edges caramelize and set.
Offset Spatula: This tool is essential for creating the thick swirls and marbling the peanut butter into the dark cocoa base without over-mixing.
Wire Cooling Rack: Allowing air to circulate under the glass dish prevents the bottom from becoming soggy as the cake cools.
Observe the heavy marbling of the peanut butter against the dark cocoa base.
Mastering the Art of the Marbled Dump Cake
Preparing the Dark Cocoa Base
Start by preheating your oven to 350°F (175°C). Lightly grease your glass baking dish with butter or non-stick spray. Pour the dry dark chocolate cake mix into the dish, spreading it into an even layer with your offset spatula.
Slowly pour the 1 cup (240ml) of milk over the dry mix. Do not stir vigorously! Use a fork to gently “zig-zag” through the mix just until the large dry patches are gone. This ensures the cake stays moist and develops that dense, dark cocoa base texture.
Executing the Peanut Butter Swirls
Warm your 1 ½ cups (375g) of creamy peanut butter in the microwave for 30 seconds until it is pourable but not liquid. Drop large, tablespoon-sized dollops across the surface of the chocolate base.
Using a knife or a skewer, gently drag the peanut butter through the chocolate to create heavy marbled swirls. You want to see distinct lines of light brown against the dark chocolate; over-swirling will result in a muddy color rather than the striking visual contrast we desire.
Achieving the Glossy Melted Topping
Evenly distribute the 2 cups (340g) of semi-sweet chocolate chips over the top. Then, place your thinly sliced butter squares over the entire surface, ensuring every inch is covered. This is the secret to a golden, slightly crisp edge.
Bake for 35-40 minutes. Watch for the visual cues: the edges should be set and slightly pulled away from the glass, while the center should still have a slight “jiggle” when moved. The chocolate chips should look glossy and partially melted, catching the soft natural daylight from your kitchen window.
Expert Tips for a Perfectly Molten Result
The “Jiggle” Test: Do not overbake! The Chocolate Peanut Butter Dump Cake is meant to be fudgy. If a toothpick comes out clean from the center, you’ve gone too far.
Temperature of Ingredients: Ensure your peanut butter is slightly warm before swirling. Cold peanut butter will stay in clumps and won’t create those beautiful ribbons.
Butter Placement: If you see dry spots of cake mix halfway through baking, simply place a tiny extra sliver of butter on that spot to hydrate it.
The Salt Secret: A light sprinkle of flaky sea salt right after removing from the oven will make the peanut butter flavor pop against the dark cocoa.
The Science of Storage and Reheating
This cake is best served warm, ideally 15 minutes after it comes out of the oven. However, it stores remarkably well if you have leftovers (though that is unlikely!).
Keep the cake in the glass dish, covered tightly with plastic wrap or a lid. It will stay moist at room temperature for up to 2 days or in the refrigerator for 5 days. To regain the molten center, microwave individual portions for 20-30 seconds.
You can also freeze individual squares. Wrap them tightly in foil and store in a freezer bag for up to 3 months. This is a great way to have a “molten lava” experience on demand!
Creative Pairings and Serving Suggestions
While this Chocolate Peanut Butter Dump Cake is a star on its own, you can elevate the experience by serving it with complementary flavors. The richness of the chocolate pairs beautifully with something light and airy.
Consider a side of freshly whipped cream or a scoop of Madagascar vanilla bean ice cream. If you are a fan of complex textures, try crumbling a perfect chocolate chip cookie over the top for extra crunch.
For a brunch twist, these decadent flavors aren’t far off from the profile of our nutella banana muffins, making this a daring but delicious weekend treat. Serve it alongside a strong espresso to cut through the sugar.
It is not recommended. Natural peanut butter tends to separate and become oily, which can ruin the texture of the swirls. Use no-stir creamy peanut butter for best results.
Dry spots occur when the butter or milk doesn’t reach the cake mix. Ensure you slice the butter thinly and cover the surface entirely, and gently ‘zig-zag’ the milk into the mix before baking.
No! The beauty of a dump cake is the layering. Only light swirling of the peanut butter and a gentle fork-mix of the milk into the dry base is needed to achieve the marbled look.
You can, but glass is preferred. Glass heats more evenly and allows the edges to crisp up while keeping the center molten, which is the signature texture of this recipe.
Look for set, slightly crisp edges and a center that still has a slight jiggle. The chocolate chips on top should be glossy and partially melted.
The Ultimate Chocolate Peanut Butter Dump Cake Recipe
FL Recipes
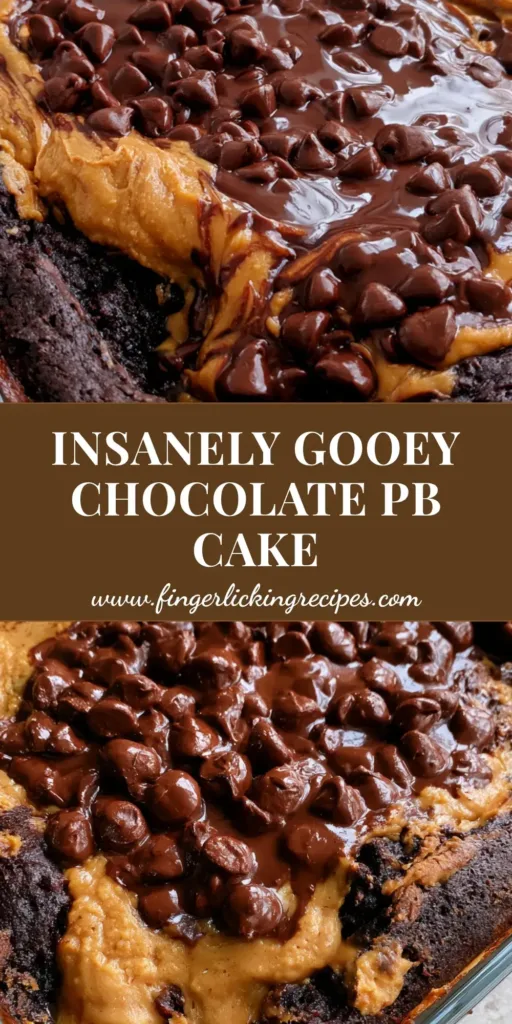
Chocolate Peanut Butter Dump Cake: The Ultimate Gooey Marbled Dessert
An easy, decadent Chocolate Peanut Butter Dump Cake featuring a moist dark cocoa base, thick creamy peanut butter swirls, and a glossy melted chocolate chip finish. Perfect for home cooks seeking a molten, fudgy dessert.
The ultimate gooey dessert: Chocolate Peanut Butter Dump Cake.
Closing Thoughts: Join Our Baking Community
Creating this Chocolate Peanut Butter Dump Cake is more than just baking; it is about embracing the joy of simple, effective culinary techniques. The way the light hits those glossy melted chips and the deep dark cocoa base is a testament to the beauty of home cooking.
If you enjoyed this recipe, please leave a comment below and let us know how your swirls turned out! Don’t forget to follow us on Pinterest for more visually stunning and delicious desserts. Sharing this recipe with your friends is the best way to support our kitchen!
Hi, I’m Emily Carter, and welcome to FL Recipes! I share simple, healthy recipes that make cooking easy, fun, and delicious for everyone. more about me »