Recipe Overview
Why You’ll Absolutely Love This Kmart Sub Sandwich
Oh, friends, let me tell you about this sub sandwich. It’s not just any sandwich; it’s *the* sandwich that brings back a flood of happy memories. Growing up, Saturdays meant family trips to Kmart, and without fail, those trips ended with us huddled around a big, glorious sub sandwich from their deli. I can still taste it – the soft, chewy bread, the layers of savory deli meats, the crisp lettuce, and that perfect tang of Italian dressing. It was pure, unadulterated sandwich bliss!
Life gets busy, doesn’t it? But craving that nostalgic flavor doesn’t just disappear! That’s why I’ve perfected my own Kmart-inspired sub sandwich recipe. It’s incredibly quick to throw together, perfect for a fuss-free lunch, a casual dinner, or even game day gatherings. Plus, it’s budget-friendly without skimping on flavor. Imagine sinking your teeth into a sandwich bursting with classic deli flavors, totally customizable to your liking… Ready to make this at home? Let’s dive in!
Kmart Sub Sandwich Recipe Ingredients
Full Ingredient List
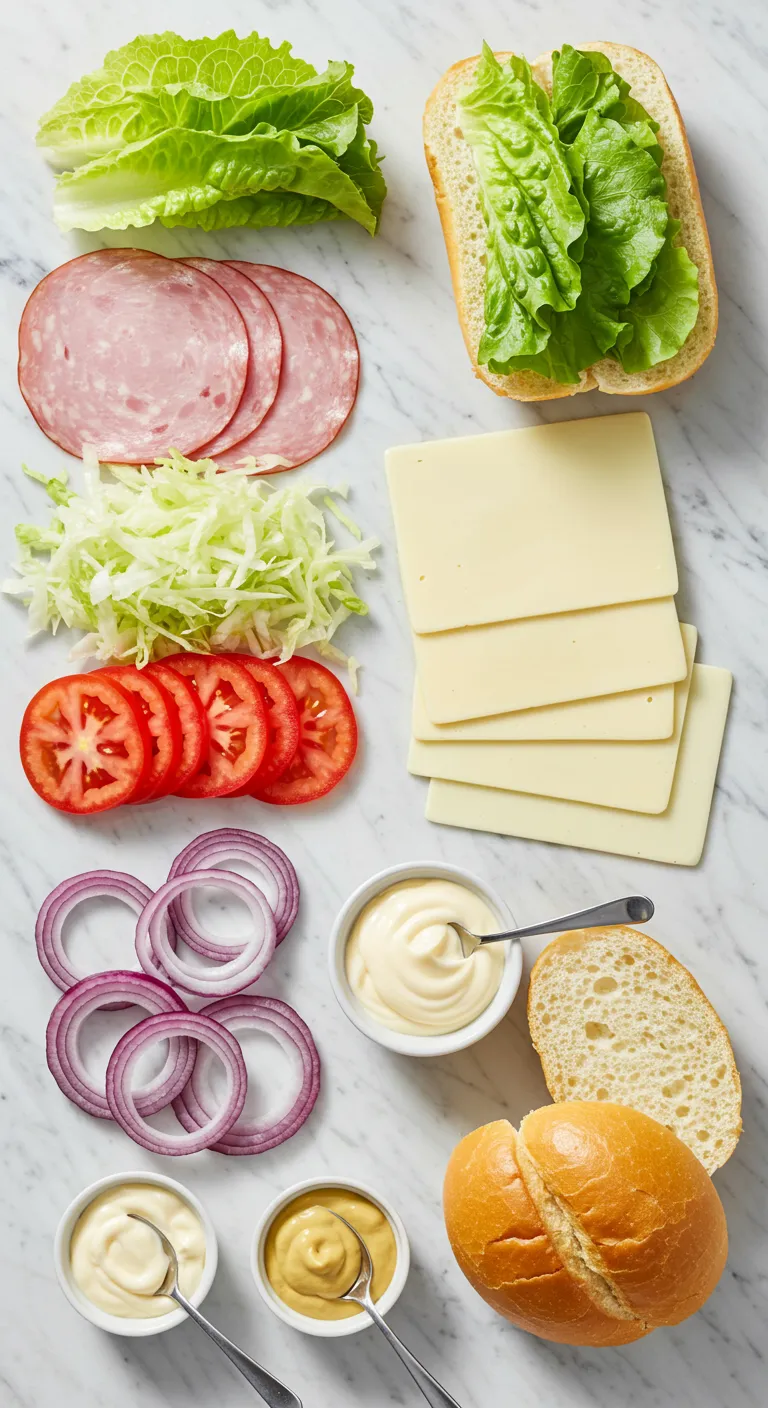
- 1 loaf (12-14 inches) **Italian or French bread**, preferably soft and chewy
- ½ cup **mayonnaise**
- ¼ cup **yellow mustard**
- 2 tablespoons **Italian dressing**
- ½ teaspoon **dried oregano**
- ½ teaspoon **garlic powder**
- 8 ounces **sliced deli ham**
- 6 ounces **sliced salami**
- 4 ounces **sliced pepperoni**
- 8 slices **provolone cheese**
- 4 slices **mozzarella cheese**
- ½ head **iceberg lettuce**, shredded
- 1 **tomato**, thinly sliced
- ½ **red onion**, thinly sliced
- ¼ cup **sliced dill pickles**
- ¼ cup **kalamata olives**, halved
- ¼ cup **banana peppers**, sliced (optional)
- **Salt** and freshly ground **black pepper**, to taste
Easy Ingredient Swaps & Simple Substitutions
- Vegan Option: Swap out the deli meats and cheeses for your favorite plant-based alternatives! There are some fantastic vegan ham, salami, and cheese slices available now. For the mayo, use a vegan mayonnaise.
- Gluten-Free Option: The biggest swap here is the bread. Gluten-free bread loaves can be a bit trickier for subs, but look for wider, more robust gluten-free baguette-style loaves. You might need to use two smaller loaves to get the length.
- Dairy-Free Option: Simply replace the provolone and mozzarella with your preferred dairy-free cheese slices. Many brands offer delicious dairy-free provolone and mozzarella alternatives.
Smart Shopping & Savvy Savings Tips
- Deli Counter Deals: Check your local deli counter for weekly specials on deli meats and cheeses. Buying in bulk, if you’re making subs for a crowd, can also save you money.
- Bread from the Bakery Outlet: Bakery outlets often sell day-old bread at a significant discount, and it’s perfect for sub sandwiches! Just make sure it’s still soft.
- DIY Italian Dressing: Italian dressing is super easy to make at home with pantry staples like olive oil, vinegar, and dried herbs. It’s often cheaper and healthier than store-bought versions.
- Storage Tip for Bread: To keep your Italian or French bread fresh for longer, store it at room temperature in a bread box or loosely wrapped in paper bag. Avoid storing bread in the refrigerator, as it can dry it out.
The Essential Equipment for This Recipe
- Large Bread Knife: A serrated bread knife is essential for cleanly slicing through the crusty bread without squishing it.
- Cutting Board: A large cutting board gives you ample space to prep your veggies and assemble the sandwich.
- Serving Platter or Large Plate: For presenting your beautiful sub sandwich!
- Optional – Toaster Oven or Broiler: If you like a toasted sub, these will come in handy for a quick toast. A regular oven works too, but these are faster.
How to Make Kmart Sub Sandwich: Step-by-Step Instructions
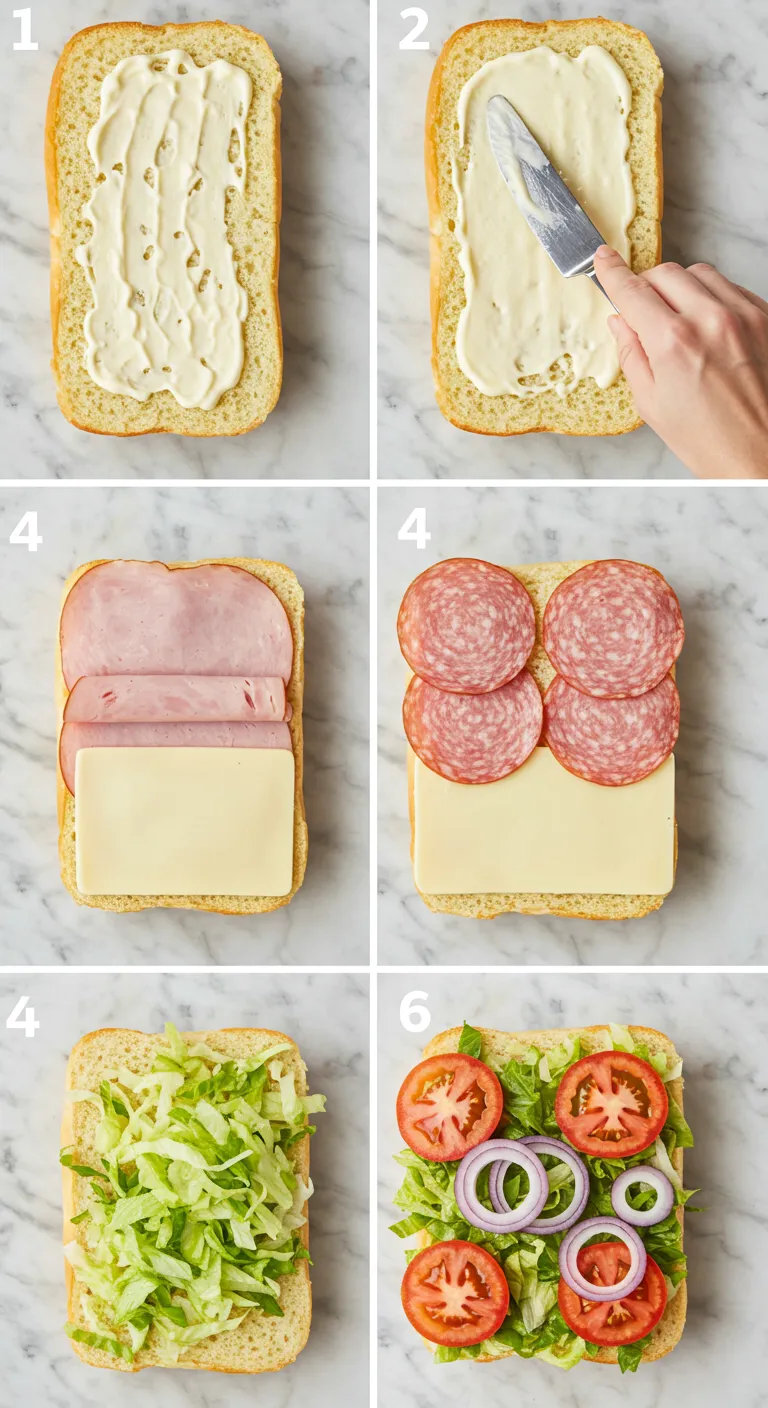
- Prepare the Bread: Gently slice the Italian or French bread horizontally, being careful not to cut all the way through. You want to create a hinge so you can open it like a book.
- Make the Dressing Base: In a small bowl, whisk together the mayonnaise, yellow mustard, Italian dressing, dried oregano, and garlic powder. This creamy, flavorful base is key!
- Spread the Sauce: Generously spread the mayonnaise mixture evenly over the cut surfaces of both the top and bottom halves of the bread. Don’t be shy – this adds moisture and flavor to every bite!
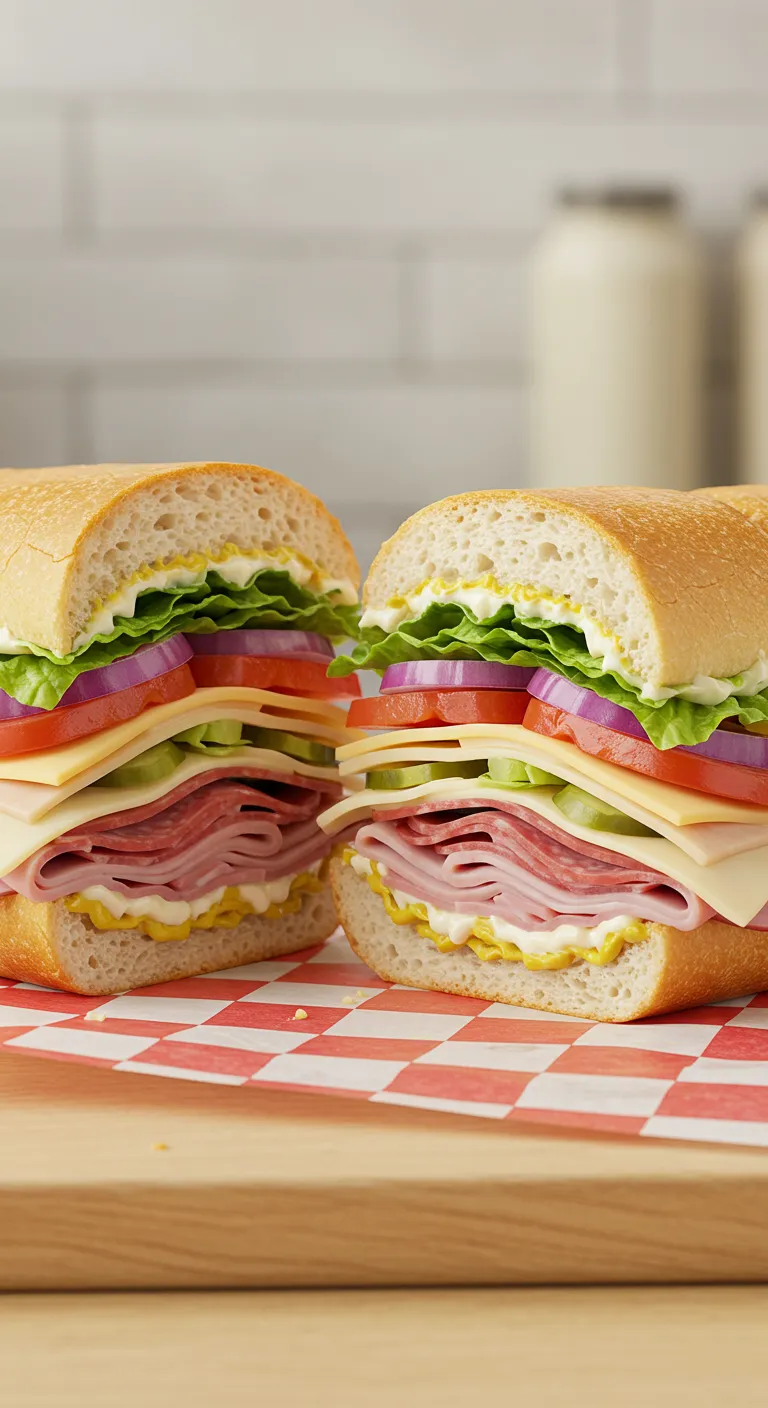
- Layer the Meats and Cheeses: On the bottom half of the bread, create layers starting with the ham, then salami, and finally pepperoni. Next, layer on the provolone cheese slices, followed by the mozzarella. This order helps the cheese melt nicely if you choose to toast it later.
- Add the Veggies: Now comes the fresh crunch! Layer the shredded lettuce over the cheese, followed by the tomato slices, red onion, dill pickles, kalamata olives, and banana peppers (if using). Distribute them evenly for the best flavor in every bite.
- Season and Finish: Sprinkle a pinch of salt and freshly ground black pepper over the vegetables. Carefully close the top half of the bread over the fillings, pressing down gently to secure the sandwich.
- Slice and Serve: Using your bread knife, slice the sub sandwich into your desired portions – usually 4-6 servings. Serve immediately and enjoy every delicious bite!
Prep Time: 15 minutes | Cook Time: 0 minutes (unless toasting) | Total Time: 15 minutes
Expert Insights: Tips, Tricks, and Culinary Hacks for Success
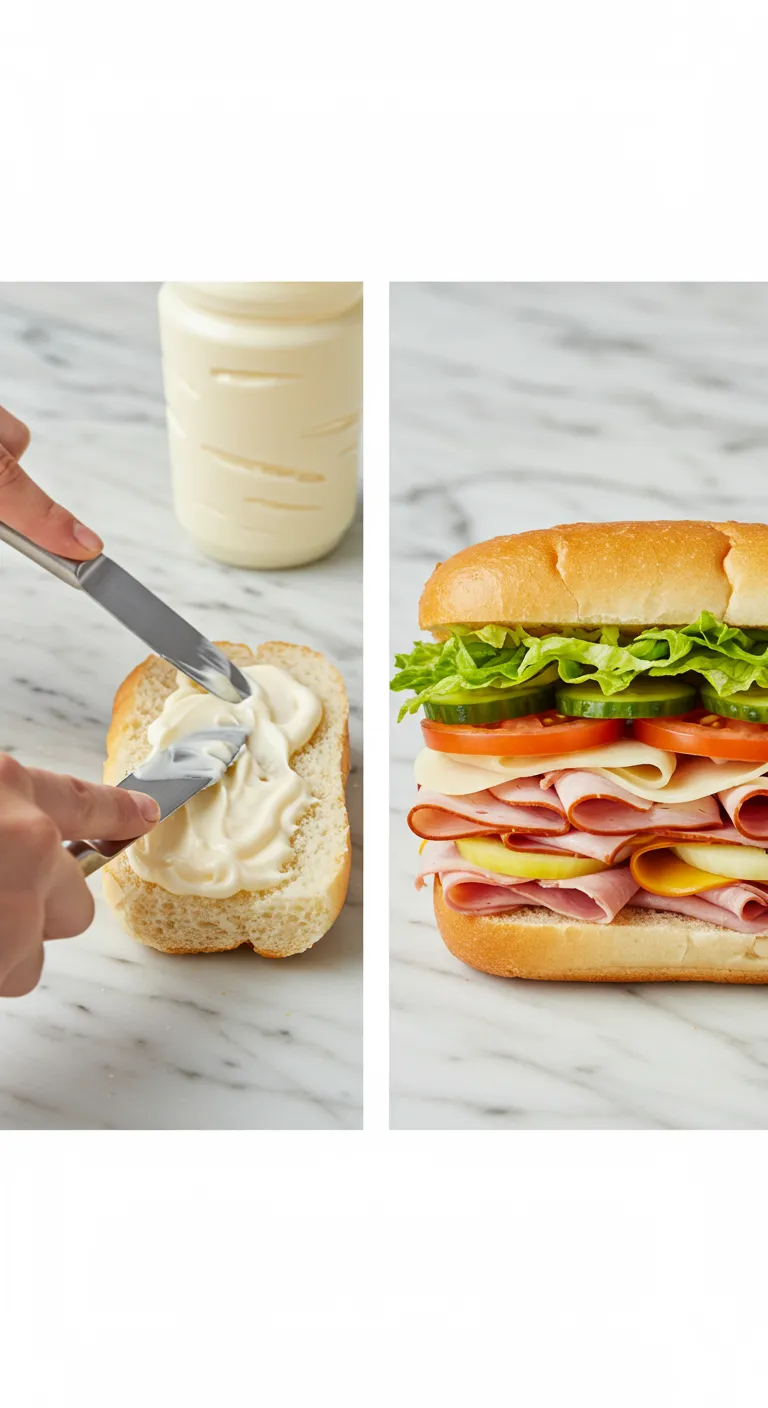
- Quality Bread Matters: The bread is the foundation of a great sub. Opt for fresh, soft but sturdy Italian or French bread. Chewy texture is ideal!
- Don’t Overload the Fillings: While it’s tempting to pile everything high, too many fillings can make the sub hard to eat and the flavors can get muddled. Balance is key!
- Layer Strategically: Layering meats under the cheese helps protect the bread from getting soggy from the veggies. Cheese on top of the meats also melts beautifully if you decide to toast it.
- Toast it for Warmth: For a warm and melty sub, you can toast it! Preheat your toaster oven or broiler to low heat. Assemble the sub up to step 5 (with cheese on top of the meats). Place the open-faced bottom half in the toaster oven or under the broiler just until the cheese is melted and bubbly, about 2-3 minutes. Then add the cold veggies and close the sandwich. Be watchful when broiling to prevent burning!
- Make-Ahead Tip (Components Only): You can prep all your veggies and even mix the dressing base ahead of time and store them separately in the fridge. Assemble the subs just before serving for the freshest taste.
- Did you know? The secret to that classic deli sub flavor is often in the Italian dressing and oregano! Don’t skip these key seasonings in the mayo base.
Recipe Swaps & Variations for Kmart Sub Sandwich
- Spicy Kick: Add a pinch of red pepper flakes to the dressing base, or include sliced jalapeños or pepperoncini peppers in your veggie toppings for a spicy twist.
- Italian Herb Boost: Mix in a teaspoon of dried Italian seasoning to the dressing base for a more herbaceous flavor.
- Cheese Variations: Experiment with different cheese types! Try provolone with a sharper cheddar, or swap mozzarella for Monterey Jack for a milder flavor.
- Meat Swaps: Turkey, roast beef, or even grilled chicken strips can be delicious substitutes or additions to the classic ham, salami, and pepperoni combo.
- Vegetarian Delight: Load up on marinated artichoke hearts, roasted red peppers, grilled zucchini, and extra olives for a hearty vegetarian sub.
- Keto-Friendly Sub “Bowl”: For a low-carb option, skip the bread entirely and create a “sub bowl”! Layer all the meat, cheese, and veggie fillings in a bowl and drizzle with the dressing.
Perfect Pairings: What to Serve with Kmart Sub Sandwich
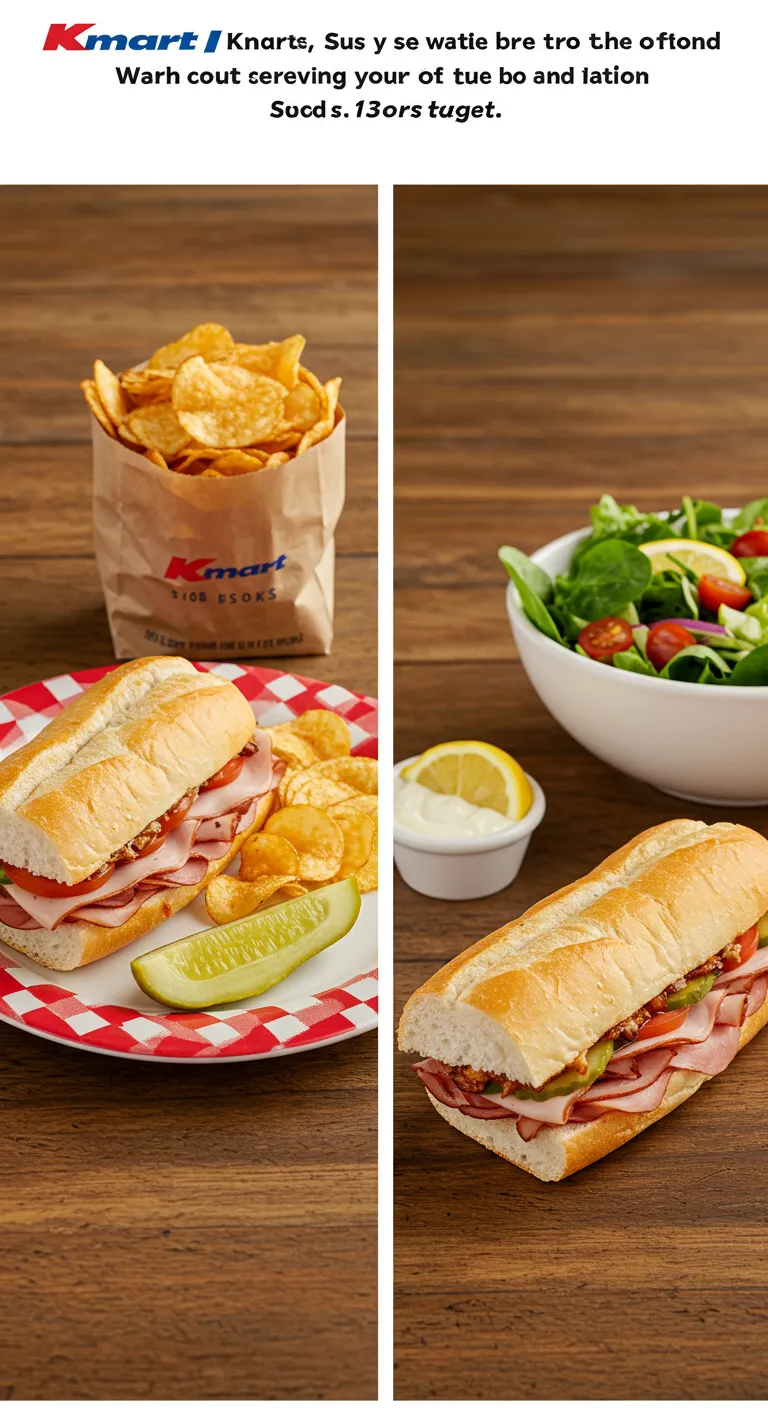
- Classic Sides: Crispy potato chips, a simple garden salad, or creamy coleslaw are perfect classic pairings for a sub sandwich.
- Soup it Up: A light and refreshing tomato soup or a hearty minestrone soup complements the sub beautifully, especially on a cooler day.
- Fruity Freshness: A side of fresh fruit salad or sliced watermelon adds a sweet and juicy contrast to the savory sub.
- Drink Pairings: Iced tea, lemonade, soda, or a light and crisp pilsner beer are all great beverage choices.
- For a Crowd: Sub sandwiches are fantastic for parties and gatherings! Set up a “sub bar” with all the ingredients and let everyone customize their own.
- Plating Tip: Slice the sub into portions and arrange them artfully on a platter, garnished with a few extra olives or banana peppers for visual appeal.
Storing Your Kmart Sub Sandwich
Sub sandwiches are truly best enjoyed fresh, but if you have leftovers, here’s how to handle them:
- Best Way to Store: Wrap leftover sub slices tightly in plastic wrap or aluminum foil and store them in the refrigerator.
- Reheating (Not Recommended for Whole Sub): Reheating a fully assembled sub can make the bread soggy and the veggies wilt. It’s generally not recommended.
- Reheating Leftover Meats and Cheese (Option): If you only have leftover meat and cheese fillings, you can gently reheat them in a skillet or microwave and use them for a next-day sandwich or in a salad.
- Food Safety Pointer: Consume leftover sub sandwiches within 1-2 days for the best quality and food safety.
- Signs of Spoilage: Discard the sub if you notice any signs of spoilage, such as a sour smell, slimy texture on the veggies or meats, or mold.
- Leftover Hack – Deconstructed Sub Salad: If you have leftover sub fillings, deconstruct it into a salad! Chop up the meats, cheeses, and veggies, and toss them with a fresh bed of lettuce and a drizzle of Italian dressing for a delicious and refreshing next-day meal.
Printable Recipe Card
Kmart Sub Sandwich Recipe
Ingredients
Equipment
Method
- Gently slice the Italian or French bread horizontally, being careful not to cut all the way through. You want to create a hinge so you can open it like a book.
- In a small bowl, whisk together the mayonnaise, yellow mustard, Italian dressing, dried oregano, and garlic powder. This creamy, flavorful base is key!
- Generously spread the mayonnaise mixture evenly over the cut surfaces of both the top and bottom halves of the bread. Don’t be shy – this adds moisture and flavor to every bite!
- On the bottom half of the bread, create layers starting with the ham, then salami, and finally pepperoni. Next, layer on the provolone cheese slices, followed by the mozzarella. This order helps the cheese melt nicely if you choose to toast it later.
- Now comes the fresh crunch! Layer the shredded lettuce over the cheese, followed by the tomato slices, red onion, dill pickles, kalamata olives, and banana peppers (if using). Distribute them evenly for the best flavor in every bite.
- Sprinkle a pinch of salt and freshly ground black pepper over the vegetables. Carefully close the top half of the bread over the fillings, pressing down gently to secure the sandwich.
- Using your bread knife, slice the sub sandwich into your desired portions – usually 4-6 servings. Serve immediately and enjoy every delicious bite!
Nutrition
Notes
- Vegan Option: Swap out the deli meats and cheeses for your favorite plant-based alternatives! There are some fantastic vegan ham, salami, and cheese slices available now. For the mayo, use a vegan mayonnaise.
- Gluten-Free Option: The biggest swap here is the bread. Gluten-free bread loaves can be a bit trickier for subs, but look for wider, more robust gluten-free baguette-style loaves. You might need to use two smaller loaves to get the length.
- Dairy-Free Option: Simply replace the provolone and mozzarella with your preferred dairy-free cheese slices. Many brands offer delicious dairy-free provolone and mozzarella alternatives.
Tried this recipe?
Let us know how it was!Nutrition Breakdown: Calories, Protein, Fats & More (per serving, estimate)
- Calories: Approximately 650-800 kcal
- Protein: 35-45g
- Fat: 40-55g
- Saturated Fat: 15-25g
- Carbohydrates: 40-50g
- Sugar: 5-8g
- Sodium: 1500-2000mg
Disclaimer: Nutritional information is an estimate and may vary based on specific ingredients and portion sizes. For the most accurate nutritional data, use a nutrition calculator with your exact ingredients.
Recipe FAQ

- Can I use different types of bread? Yes! While Italian or French bread is classic, you can use hoagie rolls, ciabatta rolls, or even sourdough bread. Just ensure the bread is sturdy enough to hold the fillings.
- What if I don’t have Italian dressing? You can substitute with a vinaigrette dressing or even a simple mix of olive oil and red wine vinegar with a pinch of oregano.
- Can I make this sub ahead of time for a party? It’s best to assemble subs closer to serving time to prevent sogginess. However, you can prep all the components (veggies, dressing base, meats, cheeses) ahead and assemble just before your party.
- How do I prevent my sub from getting soggy? Spreading the dressing base on both sides of the bread acts as a moisture barrier. Also, layering meats and cheeses under the veggies helps. Don’t add very juicy or wet ingredients directly onto the bread.
- Can I add other veggies? Absolutely! Feel free to add roasted red peppers, spinach, sprouts, cucumbers, or any other veggies you enjoy.
- Is it okay to skip the olives or banana peppers if I don’t like them? Definitely! Customize your sub with your favorite ingredients and omit anything you don’t prefer. That’s the beauty of a homemade sub!
Happy Cooking & Share Your Results!
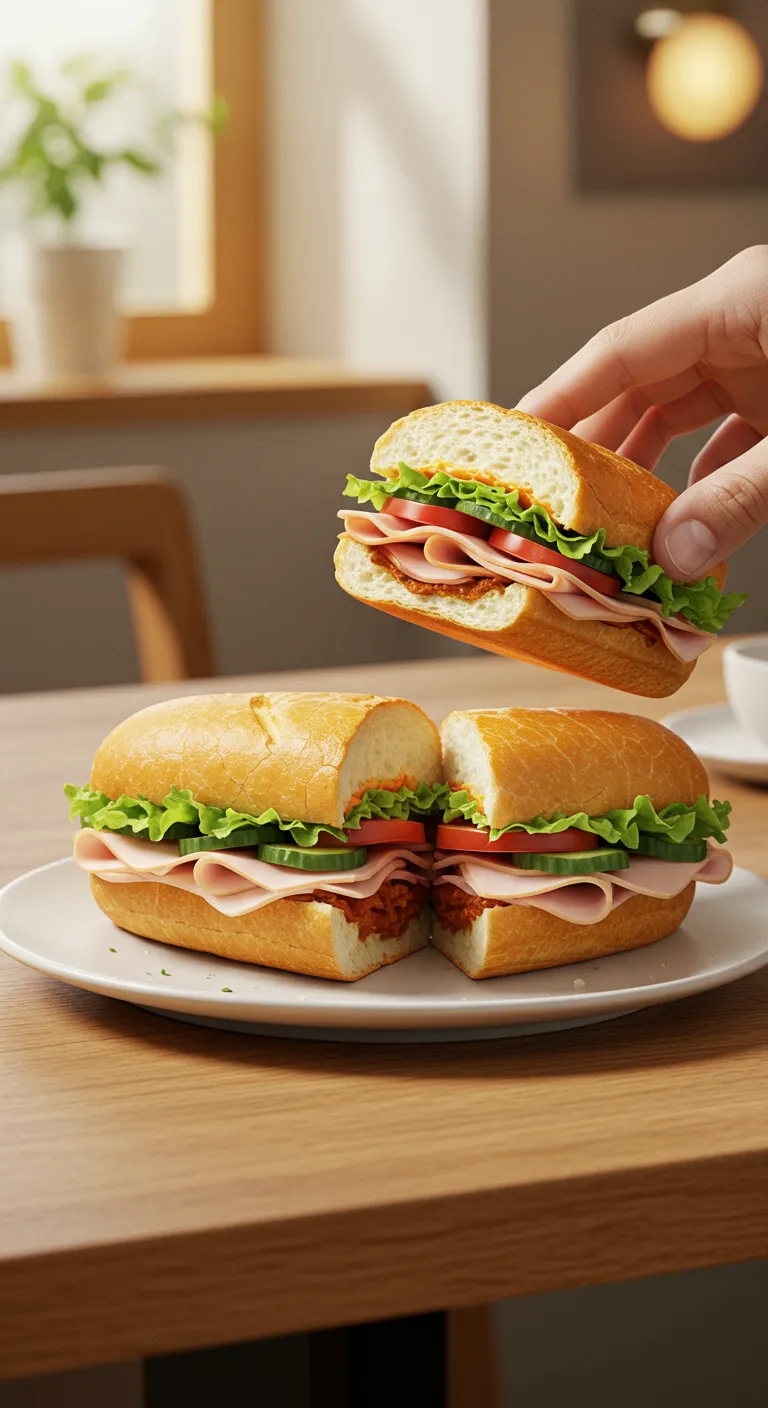
There you have it – my take on the nostalgic and utterly delicious Kmart sub sandwich! I truly believe this recipe captures the essence of that classic deli favorite with a touch of homemade love. It’s quick, customizable, and always a crowd-pleaser. The taste? Oh, it’s just finger-licking good! (Yep, that’s my little signature phrase! 😉)
Now, it’s your turn to bring this sandwich magic to your kitchen. Give it a try, and I promise you’ll be transported back to those happy, simple moments with every bite. What are your favorite sub sandwich fillings? And if you make this recipe, please snap a pic and share it with me! Tag me on Instagram and Pinterest – I can’t wait to see your delicious creations! Happy sub-making, friends!


