Walking Taco Casserole is the definitive answer to the “what’s for dinner” dilemma, blending the nostalgic crunch of a concession stand favorite with the comforting warmth of a home-cooked bake. This Walking Taco Casserole features layers of salty corn chips, zesty seasoned beef, and a molten blanket of sharp cheddar cheese that will have your family begging for seconds. If you are looking for a crowd-pleasing meal that captures the viral energy of Pinterest-trending dinners, this visually stunning dish is your new go-to.
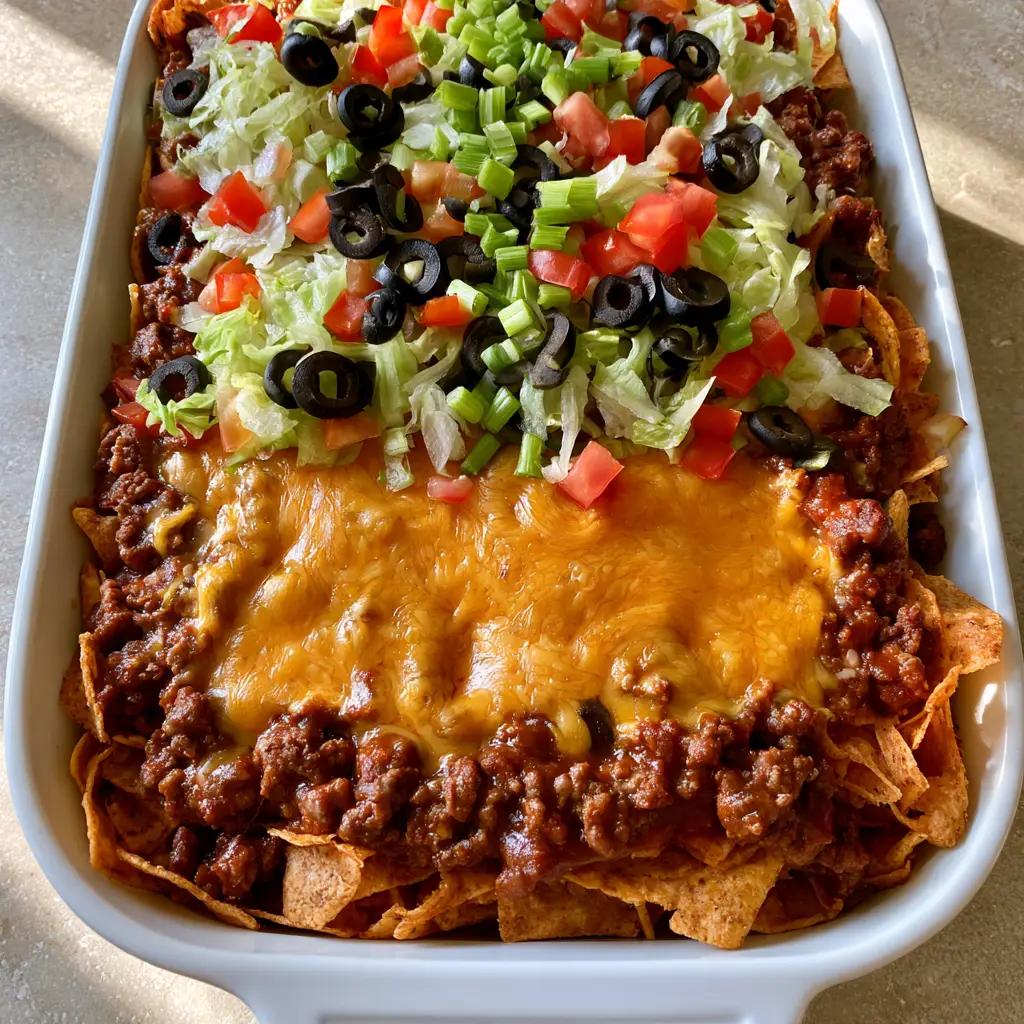
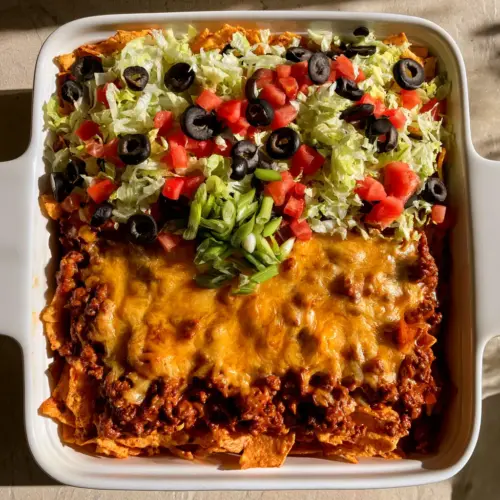
Vibrant fresh garnishes complete this easy oven-baked meal.
Why This Oven-Baked Taco Casserole Rules the Dinner Table
Textural Contrast: You get the perfect bite of crunchy corn chips combined with the “melt-in-your-mouth” texture of seasoned ground beef.
Fresh Finishes: The contrast of the hot, bubbly cheese against the finely shredded iceberg lettuce and diced raw tomatoes provides a refreshing culinary balance.
Programmatic Prep: This recipe is designed for busy weeknights, requiring minimal cleanup while maximizing vertical height for that perfect “cheese pull” photo.
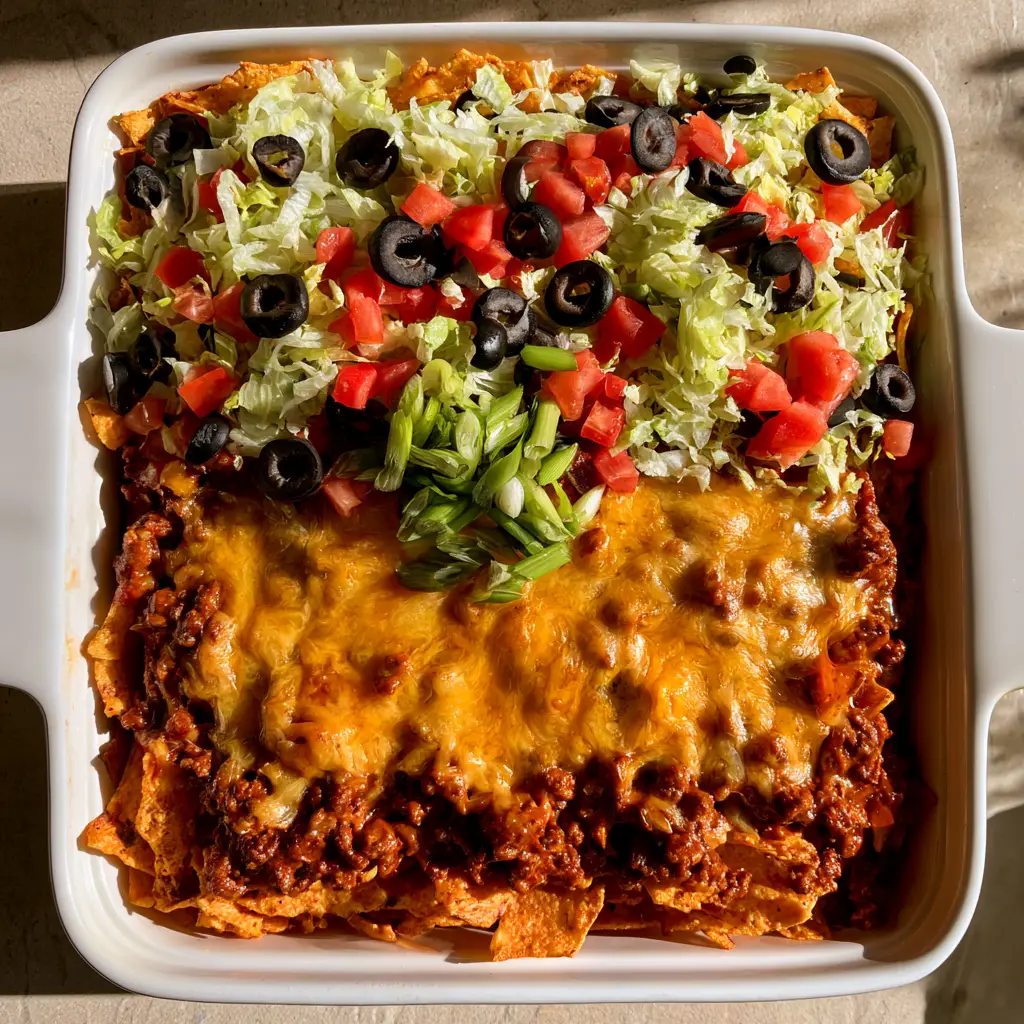
Visual Appeal: With vibrant red tomatoes, uniform black olive rings, and bright green onions, it looks just as good as it tastes.
If you love hearty, family-style meals like our cheesy ground beef casserole, then this taco-inspired bake is going to be your next obsession. It’s essentially a deconstructed taco that’s easier to serve and impossible to resist.
The Essential Inventory for Your Walking Taco Casserole
To achieve the professional results seen in our Visual Recipe Blueprint, high-quality ingredients are non-negotiable. Each component serves a specific structural or flavor-profile purpose.
1 lb (454g) Lean Ground Beef: We recommend 80/20 or 90/10 fat content. This provides enough rendered fat to carry the spices without making the corn chips soggy.
9.25 oz (262g) Corn Chips: These provide the golden-brown, crunchy foundation. Use a sturdy variety that won’t collapse under the weight of the meat.
1 cup (240ml) Tomato-Based Taco Sauce: This creates the matte, deep red glaze on the beef, keeping it moist during the baking process.
2 cups (226g) Sharp Cheddar Cheese: Freshly grated cheese is superior to pre-shredded bags as it provides that signature visible oil glisten and superior meltability.
1/4 cup (60ml) Water: Used to bloom the spices and incorporate the taco sauce into the beef evenly.
Fresh Garnishes: You will need 2 cups (150g) of shredded iceberg lettuce, 1/2 cup (75g) diced tomatoes, 1 can (2.25oz/64g) sliced black olives, and a handful of chopped green onions.
Looking for a side dish? Pair this with our Mexican street corn chowder for a full-on fiesta theme that your guests will rave about for weeks.
Golden-brown corn chips meet savory beef and melted cheese.
How to Construct the Perfect Layered Taco Bake
Step 1: Searing and Seasoning the Protein
Begin by browning your ground beef in a large skillet over medium-high heat. As the meat cooks, use a wooden spoon to break it into dense, crumbled pieces.
Once the pink color is gone, drain any excess grease. Stir in your taco seasoning and the savory tomato-based taco sauce. Let this simmer for 3-5 minutes until the beef is fully coated in a matte, deep red glaze. The smell of cumin and chili powder should be aromatic and bold.
Step 2: Building the Foundation
Preheat your oven to 350°F (175°C). Take a rectangular white ceramic baking dish and create a thick, uneven layer of corn chips at the bottom. Do not crush them too finely; you want those large, architectural shards to provide maximum crunch.
Step 3: The Melty Middle Layer
Carefully pour the seasoned beef mixture over the chips. Use a spatula to spread it evenly, ensuring the meat gets into all the nooks and crannies of the chips.
Top this immediately with a thick, bubbly blanket of shredded sharp cheddar. The heat from the beef will start the melting process before it even hits the oven.
Step 4: The Final Bake
Slide the dish into the center rack of the oven. Bake for 15-20 minutes. You are looking for the cheese to be fully melted with a visible oil glisten on the surface. The edges of the corn chips should be toasted to a deeper golden-brown.
Step 5: Applying the Cold Inventory
Once removed from the oven, let the casserole rest for 5 minutes. This is crucial for structural integrity. Top the hot cheese with a heavy scattering of pale green iceberg lettuce, followed by the vibrant red tomatoes, uniform black olive rings, and a final garnish of finely chopped green onion stalks.
Expert Tips for Success
The Soggy Chip Hack: To prevent the chips from getting soft, ensure your meat mixture is thick and glazed, not watery. Simmering the sauce down is key.
Cheese Selection: For the best “Pinterest-worthy” stretch, mix sharp cheddar with a little bit of Monterey Jack.
Vegetable Prep: Pat your diced tomatoes dry with a paper towel before adding them to the top to prevent excess moisture from weeping into the cheese.
Spice Level: If you like heat, add diced jalapeños into the meat mixture before baking.
For those who love a good crunch, you might also enjoy our crispy parmesan potato rounds as a savory snack while you wait for the oven to preheat.
Storage, Reheating, and Freezing
Storage: Keep leftovers in an airtight container for up to 3 days. Note that the lettuce and tomatoes should be stored separately if possible, or removed before reheating.
Reheating: For the best texture, reheat in the oven or air fryer at 325°F (160°C) to crisp up the chips. The microwave works but will result in softer chips.
Freezing: You can freeze the meat mixture separately, but we do not recommend freezing the fully assembled casserole, as the chips and fresh produce do not thaw well.
What to Serve With This Dish
This Walking Taco Casserole is a complete meal on its own, but it pairs beautifully with a side of Mexican rice or a zesty creamy corn salad. For dessert, round out the meal with something sweet like our cinnamon roll breadtwists.
The secret is to simmer your beef and taco sauce until it forms a thick glaze rather than a watery sauce. Also, avoid adding the fresh lettuce and tomatoes until just before serving.
Typically, yes, as most corn chips are gluten-free. However, always check the labels on your taco seasoning and corn chips to ensure they are certified gluten-free.
You can prepare the seasoned beef mixture up to 2 days in advance. We recommend assembling and baking just before eating to maintain the crunch of the chips.
The Official FingerLicking_Recipes Walking Taco Casserole
The ultimate Walking Taco Casserole for your next family dinner.
Join the Community & Share Your Bake!
Did you make this Walking Taco Casserole? We want to see your results! Save this recipe to your Dinner Ideas board on Pinterest so you never lose it. If you loved the crunch, please leave a 5-star rating in the recipe card below and drop a photo of your masterpiece in the comments. Following FingerLicking_Recipes ensures you never miss a viral weeknight win!
Hi, I’m Emily Carter, and welcome to FL Recipes! I share simple, healthy recipes that make cooking easy, fun, and delicious for everyone. more about me »