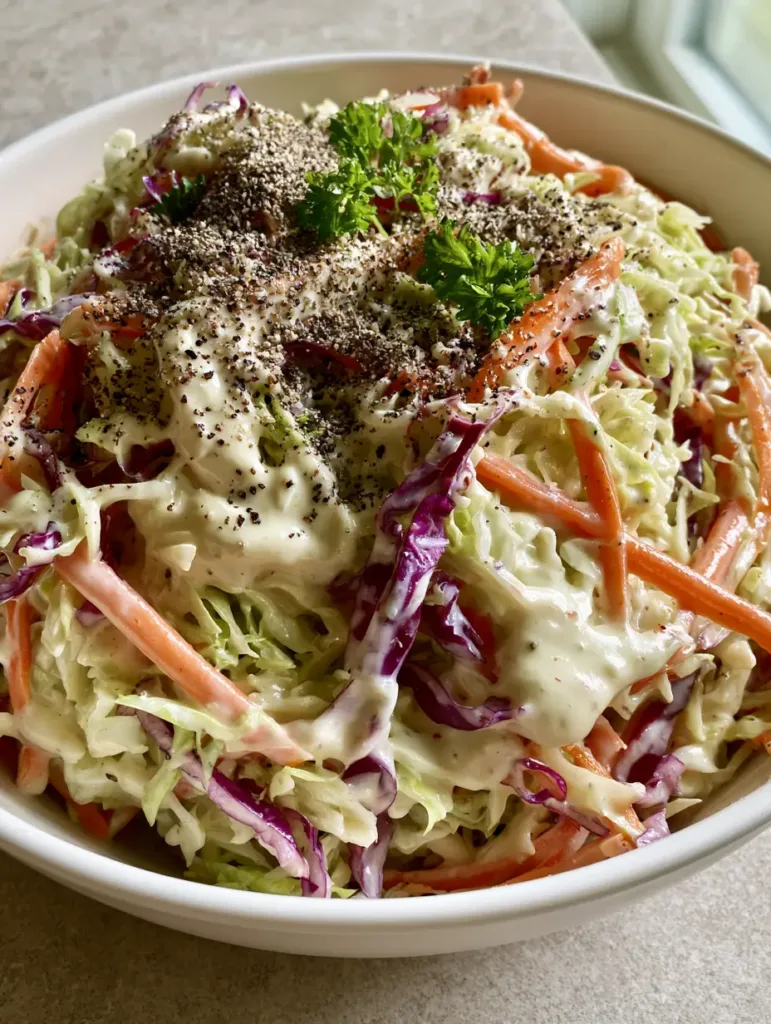
When it comes to the quintessential summer side dish, nothing rivals a bowl of perfectly executed Homemade Coleslaw. Imagine a handheld smartphone photo of a white ceramic bowl, catching the soft natural daylight from a nearby window, filled to the brim with vibrant, crisp vegetables. The visual appeal of this dish lies in the contrast: the pale, neon-green ribbons of green cabbage against the deep, royal purple of the red cabbage, all tied together by long, thin julienned orange carrots.
But the real magic happens in the coating. This isn’t a watery, thin dressing; we are crafting a glossy, thick, creamy white mayonnaise-based sauce that clings to every single strand of cabbage. To finish, a generous dusting of cracked black pepper and a few delicate sprigs of fresh green parsley provide that professional, “fresh-from-the-garden” aesthetic. Whether you are hosting a backyard BBQ or looking for the perfect crunch to top your favorite sandwiches, this Homemade Coleslaw is the gold standard of side dishes.
Why This Homemade Coleslaw Defines the Perfect Side Dish
Structural Integrity: By using specific shredding techniques, we ensure the cabbage maintains its “snap” even after being dressed, preventing that dreaded soggy texture.
Visual Vibrancy: The dual-cabbage approach provides a high-contrast color palette that makes any plate look like a professional culinary production.
The “Gloss” Factor: Our specific dressing ratio creates a thick, reflective coating that captures light beautifully, as seen in the most appetizing food photography.
Balanced Flavor Profile: We bridge the gap between sharp acidity and mellow sweetness, accented by the earthy heat of freshly cracked black pepper.
The Botanical Breakdown: Choosing the Right Cabbage
To achieve the visual result of our Homemade Coleslaw, we start with the anatomy of the cabbage. Green cabbage provides the bulk and the classic “peppery-sweet” foundation. You’ll want a head that feels heavy for its size, indicating high water content and crispness.
The purple cabbage (often called red cabbage) is used more sparingly but is visually vital. It provides those “thin ribbons of vibrant purple” mentioned in our blueprint. Be aware that purple cabbage can sometimes bleed its color into the white dressing if left to sit for too long, so we will discuss the “rinse and dry” method to keep your dressing pristine white.
The Essential Ingredients for a Glossy, Creamy Result
Green Cabbage (approx. 1 lb / 450g): This is the backbone of the dish. It must be shredded finely to allow the dressing to coat the maximum surface area without becoming a mushy mess.
Purple Cabbage (1/4 head / 150g): Use this for a pop of color and an extra layer of crunch. It’s slightly more fibrous than green cabbage, adding a pleasant resistance to the bite.
Julienned Carrots (2 medium / 120g): Instead of grating them, which releases too much moisture, we julienne them into “long thin orange ribbons.” This maintains the architectural structure of the salad.
High-Quality Mayonnaise (1 cup / 240ml): This is the “foundational invisible” ingredient that creates the thick, creamy base. It provides the fat necessary to carry the flavors of the vinegar and sugar.
Apple Cider Vinegar (2 tbsp / 30ml): The acid is required to cut through the richness of the mayo. It also helps slightly tenderize the cabbage fibers without making them limp.
Granulated Sugar (2 tbsp / 25g): Sugar is the secret to that classic deli-style flavor. It balances the vinegar and enhances the natural sweetness of the carrots.
Celery Seed (1/2 tsp / 1g): An “invisible” but essential spice. It provides that nostalgic, savory undertone that people love but can’t quite identify in restaurant slaws.
Cracked Black Pepper (1 tsp / 2g): This is a key visual element. We want large, visible flecks of pepper rather than fine dust to give the dish a rustic, handcrafted feel.
Fresh Parsley Sprigs: Used as a final garnish, these provide a burst of “green” that signals freshness to the eye and the palate.
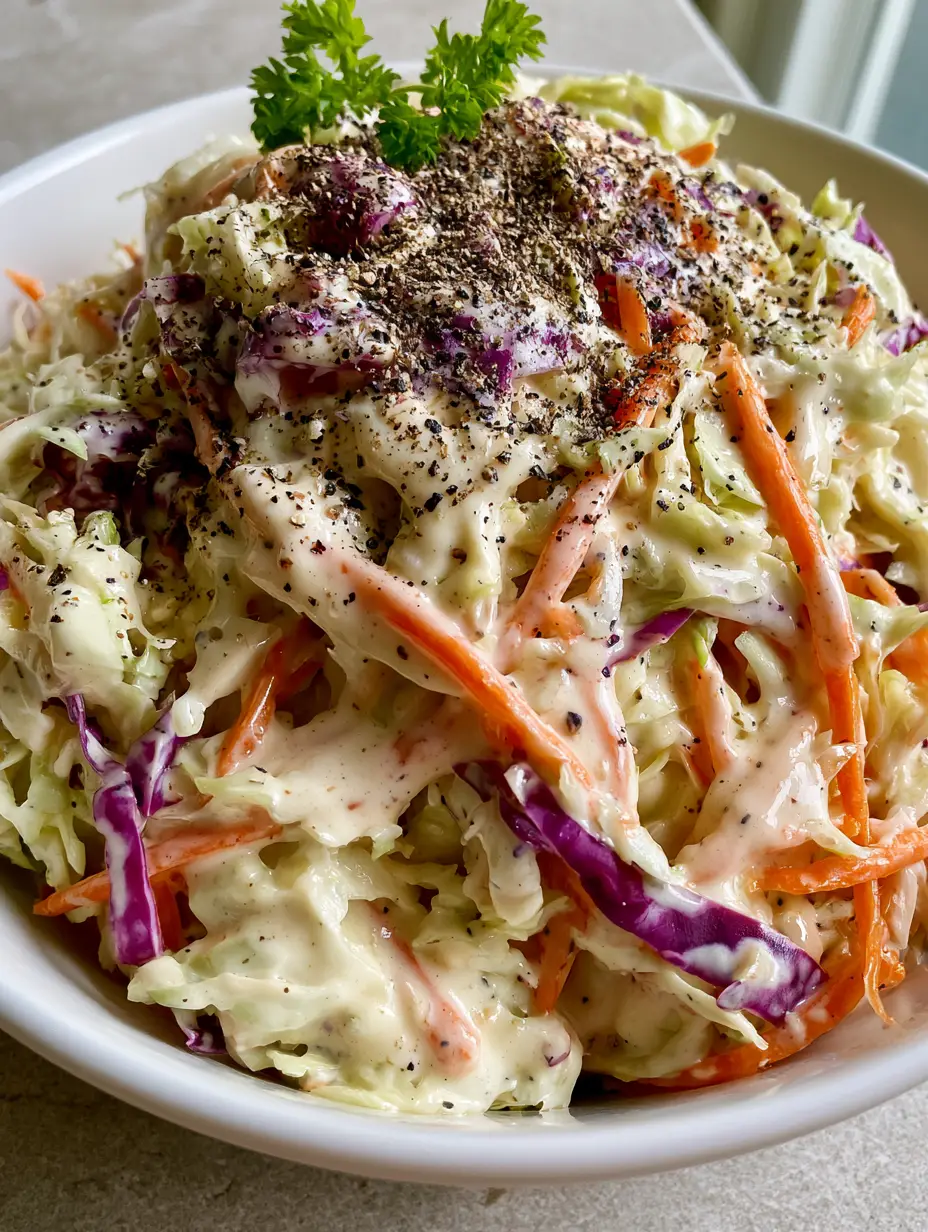
Natural daylight highlights the fresh, creamy finish of our coleslaw.
The Geometry of the Crunch: Professional Prep Tools
To get the look of a professional Homemade Coleslaw, your equipment matters. A sharp Chef’s Knife is essential for hand-shredding cabbage into thin ribbons. If you prefer precision, a mandoline slicer set to 1/8 inch (3mm) is the gold standard for uniformity.
For the carrots, a julienne peeler is your best friend. It creates those long, thin strands that look much more elegant than the “mush” created by a box grater. Finally, a large stainless steel or ceramic mixing bowl (like the white ceramic bowl in our visual prompt) allows enough room for a “gravity toss,” which coats the vegetables without bruising them.
Step-by-Step Instructions for the Perfect Toss
1. Preparing the Cabbage Ribbons
Remove the outer, wilted leaves of the green and purple cabbages. Quarter the heads and remove the tough inner cores. Using a sharp knife or mandoline, shred the green cabbage into 1/8 inch (3mm) strips. Repeat with the purple cabbage, but keep it in a separate bowl for a moment. Rinse the shredded purple cabbage in ice-cold water and pat it extremely dry; this prevents the purple pigment from turning your dressing pink.
2. The Carrots and Aromatics
Peel your carrots and use a julienne peeler to create long, elegant strands. If you don’t have a julienne peeler, slice the carrot into thin planks and then cut those planks into matchsticks. Finely chop your parsley, keeping a few whole sprigs aside for the final presentation. The contrast of the orange against the two shades of cabbage is a hallmark of a great Homemade Coleslaw.
3. Emulsifying the Glossy Dressing
In a medium mixing bowl, whisk together the mayonnaise, apple cider vinegar, sugar, salt, and celery seed. Whisk vigorously until the sugar is fully dissolved and the dressing looks glossy and unified. You should see a thick, spoon-coating consistency. If it’s too thick, add a teaspoon of milk; if too thin, add another tablespoon of mayonnaise.
4. The Assembly and “Visual Toss”
Combine the cabbages and carrots in your large white ceramic bowl. Pour the dressing over the vegetables. Using two large spoons or clean hands, toss the mixture from the bottom up. Ensure every strand is “thoroughly coated in a glossy, thick, creamy white mayonnaise-based dressing.” You are looking for a reflective quality on the surface of the cabbage under the light.
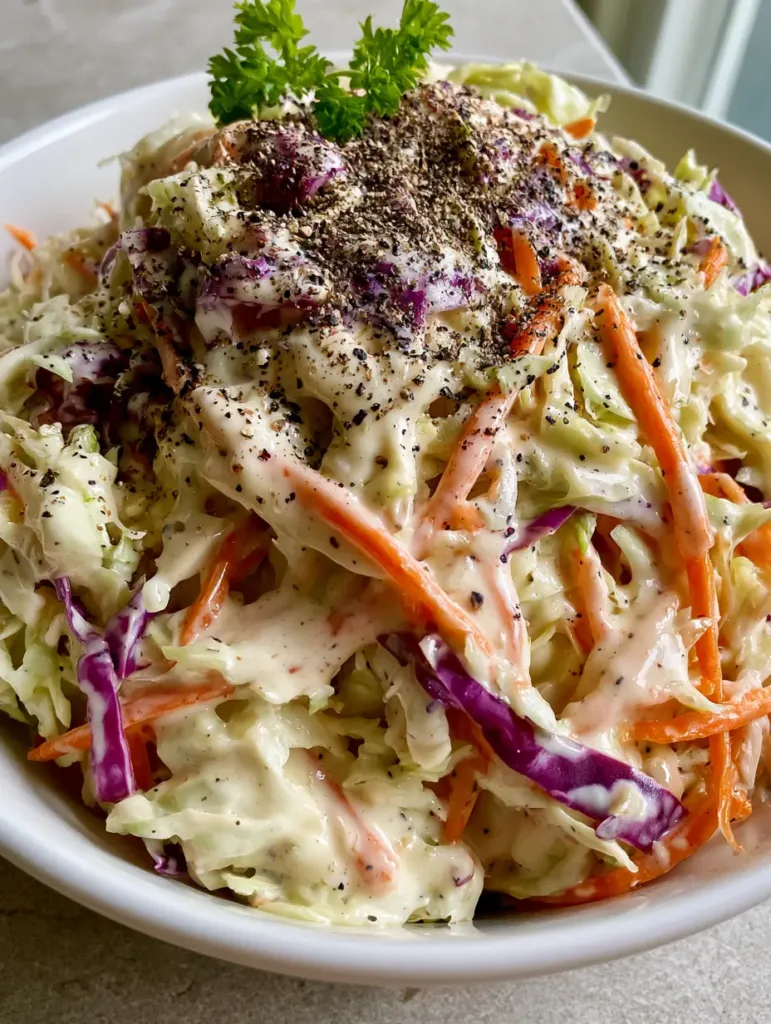
A close-up look at the crisp texture and glossy dressing.
5. The Final Flourish
Once tossed, clean the inner rim of your bowl for a professional presentation. Just before serving, take your pepper grinder and add a “generous dusting of cracked black pepper.” Top with the reserved fresh parsley sprigs. Place the bowl on a light gray stone surface to mimic that soft, natural daylight aesthetic from our blueprint.
Expert Tips for Coleslaw Success
The Salt Sweat: If you plan on keeping the slaw for more than 4 hours, toss the shredded cabbage with a teaspoon of salt and let it sit in a colander for 30 minutes. Rinse and dry thoroughly. This removes excess water that would otherwise thin out your dressing later.
Chilling is Key: While it looks beautiful freshly tossed, Homemade Coleslaw benefits from 30-60 minutes in the fridge. This allows the flavors to meld and the cabbage to slightly soften while remaining crisp.
Mayo Matters: Use a full-fat, high-quality mayonnaise. “Light” versions often contain thickeners that can give the dressing a gummy, rather than glossy, texture.
Acid Adjustments: If the slaw feels too heavy, add a squeeze of fresh lemon juice just before serving. The citrus brightens the “glossy” dressing and makes the flavors pop.
The Science of Storage: Keeping it Crisp
Homemade Coleslaw is a living dish. Because of the salt and acid in the dressing, the cabbage will slowly release its moisture over time. In a sealed container, it will stay safe to eat for up to 3-5 days. However, for that peak “Visual Recipe Blueprint” look, it is best enjoyed within the first 12 hours.
Never freeze coleslaw. The emulsion of the mayonnaise will break upon thawing, and the cellular structure of the cabbage will collapse, leaving you with a soggy, unappealing mess. If you have leftovers, they make an incredible topping for crispy smash burgers the next day.
What to Serve With This Homemade Coleslaw
This creamy slaw is the ultimate balancing act for rich, savory meats. The acidity cuts through the fat of a well-marbled protein perfectly. We highly recommend serving it alongside bbq brisket egg rolls for a fusion twist on a classic picnic.
If you’re keeping things light for lunch, it pairs beautifully with greek chicken gyros, adding a cool crunch to the warm pita. For a full-spread BBQ feel, serve it with frito cowboy cabbage (coming soon) or as a refreshing side to perfectly grilled shrimp. The creamy texture also complements the crunch of grilled chicken bacon ciabatta sandwiches.
To prevent watery coleslaw, salt the shredded cabbage and let it sit for 30 minutes to draw out excess moisture. Rinse and pat it completely dry before adding the dressing.
Yes, you can use a 16oz (450g) bag of mix, but for the specific visual appeal of thin purple ribbons and julienned carrots, hand-shredding fresh vegetables is recommended.
The pigment in purple cabbage bleeds when it touches acid. To prevent this, rinse the shredded purple cabbage in cold water and dry it thoroughly before tossing it with the dressing.
Apple cider vinegar offers a fruity, mild tang that complements the sugar and cabbage better than the sharp, harsh bite of plain white distilled vinegar.
For the best balance of texture and flavor, let the coleslaw sit in the refrigerator for at least 30 minutes and up to 2 hours before serving.
The Best Creamy Homemade Coleslaw Recipe
FL Recipes
Homemade Coleslaw: The Ultimate Creamy and Crunchy Restaurant-Style Recipe
This Homemade Coleslaw features crisp green and purple cabbage ribbons and julienned carrots tossed in a glossy, thick mayonnaise dressing. Finished with cracked black pepper and fresh parsley for the perfect BBQ side dish.
Finely shred the green cabbage and purple cabbage into thin ribbons using a knife or mandoline. Rinse the purple cabbage separately in cold water and pat dry.
Peel and julienne the carrots into long, thin orange strands to match the cabbage ribbons.
Mix and Toss
In a separate bowl, whisk together mayonnaise, apple cider vinegar, sugar, and celery seed until thick and glossy.
Pour the dressing over the vegetables in a large white ceramic bowl and toss until every strand is thoroughly coated.
Dust the top with freshly cracked black pepper and garnish with small sprigs of fresh parsley.
Nutrition
Calories: 185kcalProtein: 1gFat: 14gFiber: 3g
Notes
For the best flavor, let the coleslaw chill in the refrigerator for at least 30 minutes before serving. If the dressing seems too thick, whisk in a teaspoon of milk to reach your desired consistency.
Keyword bbq side dish,Creamy Coleslaw,Homemade Coleslaw
The perfect Homemade Coleslaw for your next summer BBQ.
Closing & Call to Action
Mastering Homemade Coleslaw is a rite of passage for any home cook. By focusing on the visual details—the thin ribbons of purple cabbage, the julienned carrots, and that glossy, pepper-flecked dressing—you turn a simple side dish into the star of the show. This recipe provides the crunch, the creaminess, and the aesthetic appeal that keeps everyone coming back for seconds.
Did you try this recipe? We’d love to hear how it turned out! Leave a comment below or share your photos with us. Don’t forget to follow FingerLicking_Recipes on Pinterest for more visually stunning recipe inspiration and save this pin for your next summer gathering!
Hi, I’m Emily Carter, and welcome to FL Recipes! I share simple, healthy recipes that make cooking easy, fun, and delicious for everyone. more about me »