There is something profoundly comforting about the scent of toasted oats and roasted peanuts wafting through a warm kitchen. These Oat Flour Peanut Butter Cookies are the embodiment of rustic elegance, offering a sophisticated twist on a childhood classic. Unlike traditional cookies that rely on refined wheat, these treats celebrate the wholesome, slightly nutty profile of finely ground oats.
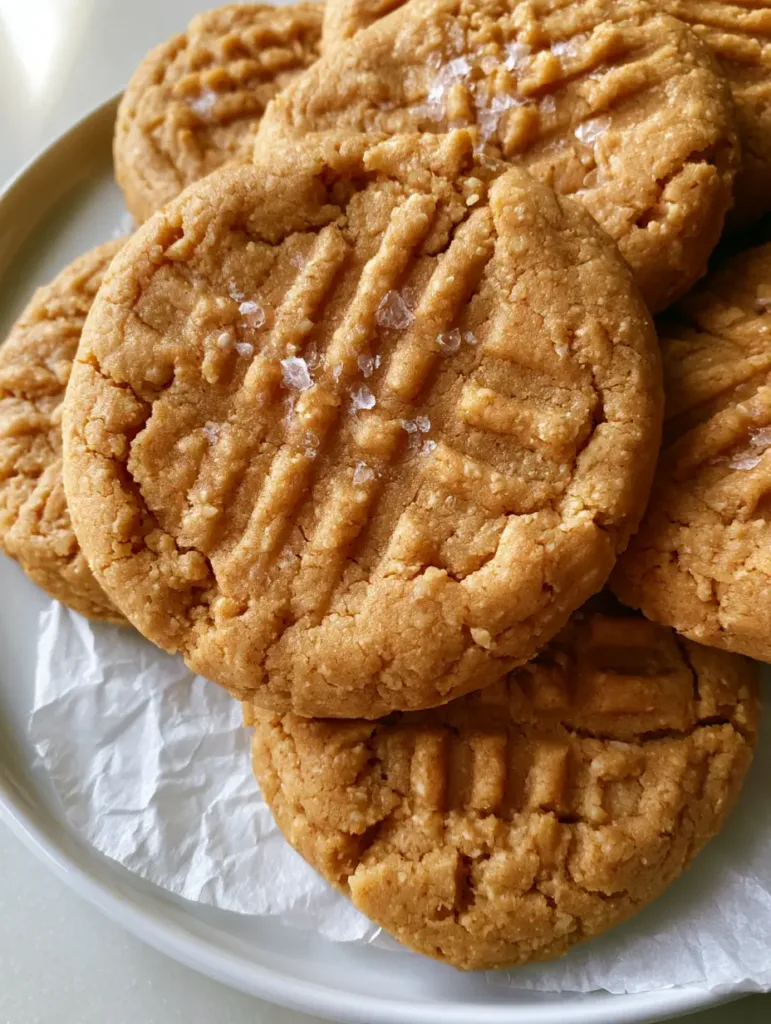
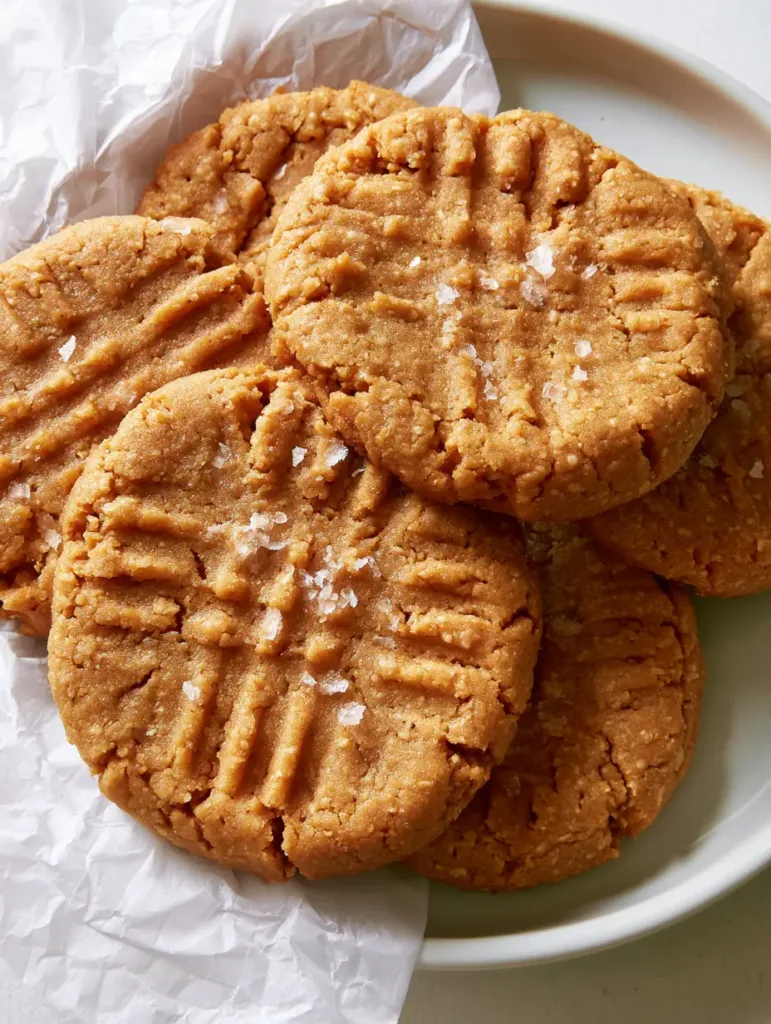
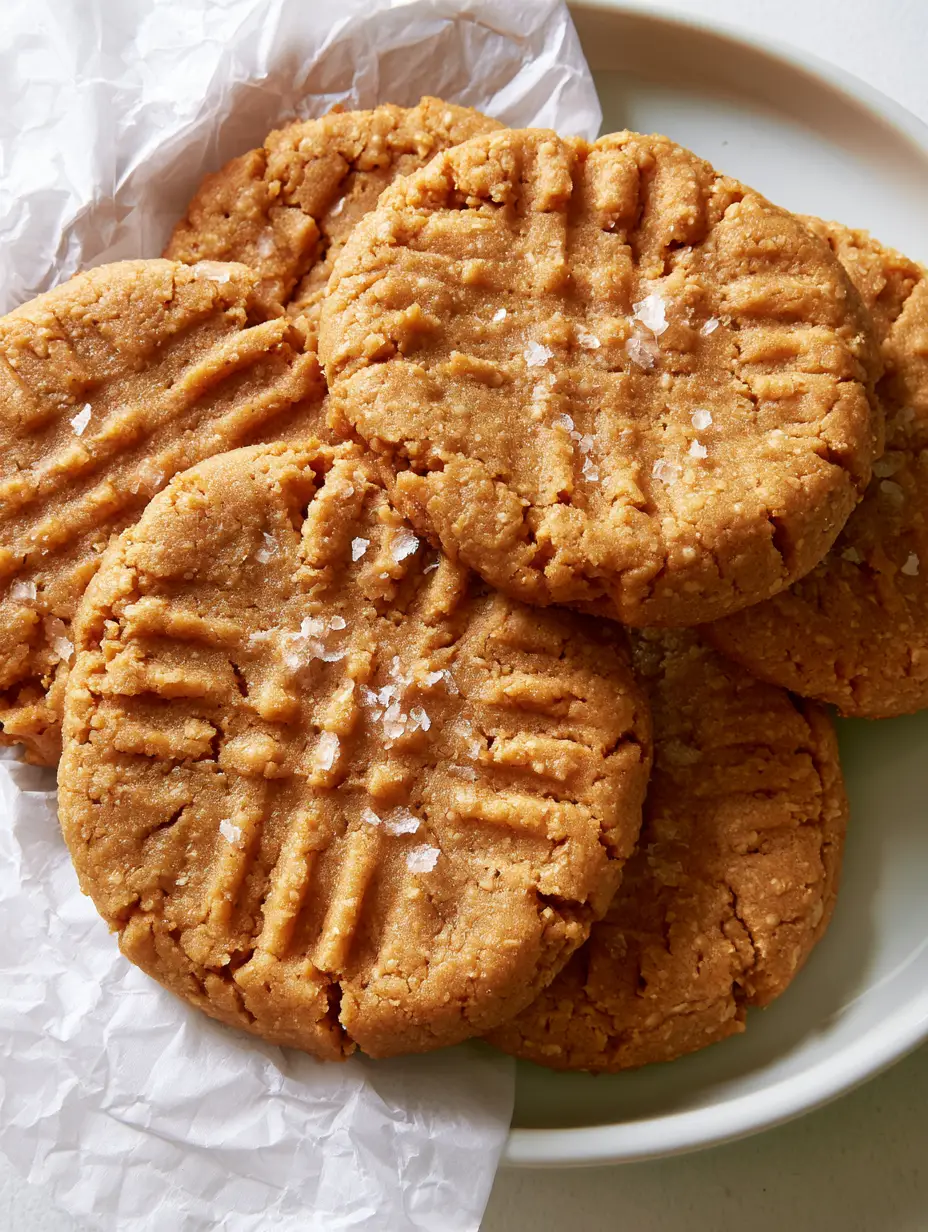
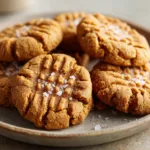
When you pull these from the oven, you are greeted by a stunning golden-brown matte finish and those iconic, deep fork-press cross-hatch indentations. The edges boast rustic cracks that hint at a crisp exterior, while the centers remain remarkably soft and dense. To finish, a delicate dusting of translucent flaky sea salt catches the light, promising a perfect balance of sweet and savory in every bite.
Designed for the enthusiastic home cook, this recipe prioritizes both structural integrity and sensory delight. Whether you are looking for a gluten-friendly dessert or simply want to explore the unique texture of oat-based baking, these cookies deliver a high-protein, fiber-rich experience without sacrificing a single ounce of indulgence. Let’s dive into the science of the perfect oat flour crumb.
The deep fork indentations ensure even baking and classic style.
Why These Thick and Grainy Delights are a Must-Bake
Unmatched Texture: The use of oat flour creates a dense, slightly grainy crumb that feels substantial and satisfying, unlike the airy nature of all-purpose flour.
The Cross-Hatch Aesthetic: Deeply recessed fork marks are not just for show; they ensure even baking in these thick, circular discs, creating those beautiful rustic cracked edges.
Sophisticated Flavor Profile: The combination of creamy peanut butter and a flaky sea salt garnish elevates the sweetness, making these a favorite for adults and children alike.
Soft-Baked Perfection: By mastering the moisture-to-flour ratio, we achieve a soft-baked center that melts away, contrasting the slightly crisp, golden-brown exterior.
Wholesome Components for Your Cookie Batch
Finely Ground Oat Flour: You will need 1 ½ cups (135g) of oat flour. This provides the structural foundation and that signature “visible fine oat flour particle” look. If you are making your own, ensure it is pulsed into a very fine powder to avoid a heavy, leaden texture.
Creamy Peanut Butter: Use 1 cup (250g) of high-quality creamy peanut butter. This acts as the primary fat and flavor source, ensuring the dough remains pliable and the “creamy peanut butter base” is prominent.
Light Brown Sugar: Use ¾ cup (150g) of packed light brown sugar. The molasses content is crucial for achieving the “soft-baked centers” and helping the cookies develop those beautiful “golden-brown” hues during caramelization.
Granulated Sugar: Use ¼ cup (50g) of white sugar. This helps create the “matte finish” on the surface and contributes to the crispness of the “rustic cracked edges.”
Large Egg: One room-temperature egg (approx. 50g) acts as the binder. It provides the protein structure needed to hold the oat particles together since oat flour lacks gluten.
Unsalted Butter: Use ½ cup (113g) of softened butter. This adds a rich mouthfeel and works with the peanut butter to create a “thick, circular” shape that doesn’t spread excessively.
Baking Soda: You’ll need 1 tsp (5g) of baking soda. This is the invisible hero that reacts with the brown sugar to create lift and that characteristic “slightly grainy” yet tender texture.
Vanilla Extract: Use 1 tsp (5ml) of pure vanilla extract. This floral note bridges the gap between the savory peanut butter and the earthy oat flour.
Flaky Sea Salt: A generous pinch of Maldon or similar flaky salt for garnishing. This provides the “translucent flaky sea salt” visual described in our blueprint and cuts through the richness of the peanut butter.
Essential Tools for Professional Results
To achieve the “handheld smartphone photo” aesthetic of a professional bakery, you need the right gear. A heavy-duty baking sheet is non-negotiable for even heat distribution. I highly recommend lining it with a piece of crumpled white parchment paper; the slight ridges in the paper prevent the cookies from slipping and help develop those “rustic cracked edges” by allowing air to circulate slightly under the dough.
You will also need a sturdy dinner fork to create the “prominent, deep fork-press cross-hatch indentations.” A spring-loaded cookie scoop (size 1.5 or 2 tablespoons) ensures every cookie is uniform in size, which is vital for the “stacked slightly on a minimalist white ceramic plate” presentation. Finally, a wire cooling rack is essential to stop the cooking process and preserve the “soft-baked centers.”
The Step-By-Step Journey to Oat Flour Perfection
Preparing the Dough Foundation
Start by preheating your oven to 350°F (175°C). In a large mixing bowl, cream together the softened butter, light brown sugar, and granulated sugar. Beat for about 2-3 minutes until the mixture is pale and fluffy. This aeration is the secret to ensuring the cookies aren’t too dense despite the heavy oat flour.
Add the egg and vanilla extract, beating again until fully incorporated. Now, fold in the creamy peanut butter. You are looking for a smooth, homogenous “creamy peanut butter base” that looks glossy and smells intensely of roasted nuts. If the peanut butter is too stiff, your cookies won’t develop those “rustic cracks” correctly.
Integrating the Dry Elements
In a separate bowl, whisk together the oat flour, baking soda, and a pinch of fine salt. Slowly add the dry ingredients to the wet mixture. Stir until just combined. You will notice the texture is “dense and slightly grainy” – this is exactly what we want. Let the dough rest for 10 minutes; this allows the oat flour to hydrate, ensuring the final result is soft rather than crumbly.
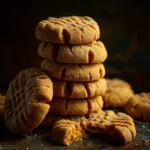
Rustic cracked edges and a matte finish define these wholesome treats.
Sculpting the Cross-Hatch Signature
Scoop the dough into balls roughly 1.5 inches (3.8cm) in diameter. Place them on the crumpled parchment paper, leaving about 2 inches (5cm) of space between them. Now comes the defining moment: take a fork and press it firmly into the center of the ball, then rotate 90 degrees and press again. You want “prominent, deep fork-press cross-hatch indentations.” If the edges start to split, don’t worry—those “rustic cracks” are part of the charm.
Baking for Sensory Cues
Slide the tray into the center rack of the oven. Bake for 10-12 minutes. Watch for the “visual cues”: the edges should be a “golden-brown,” while the surface should have a “matte finish.” The cookies will look slightly underdone in the center, but they will firm up as they cool on the hot pan. Immediately upon removing from the oven, sprinkle the “translucent flaky sea salt” across the tops while the surface is still slightly tacky.
Pro Tips for High-Altitude and Humidity Baking
Hydration is Key: Oat flour absorbs more moisture than wheat flour. If your dough feels too dry to hold the “fork-pressed cross-hatch pattern,” add 1 tbsp (15ml) of milk to the batter.
The Chill Factor: For the thickest cookies, chill the dough balls for 30 minutes before pressing with the fork. This prevents the butter from melting too fast, preserving the “thick, circular” height.
Sift Your Flour: Even if using store-bought, sifting the oat flour ensures there are no clumps, leading to a more uniform “visible fine oat flour particle” distribution.
The Salt Balance: If using a very salty commercial peanut butter, reduce the fine salt in the dough but do not skip the “flaky sea salt garnish” on top!
Preserving the Soft-Baked Center
These cookies are best enjoyed within the first 48 hours when the “soft-baked centers” are at their peak. Store them in an airtight container at room temperature. To prevent them from drying out, place a small piece of white bread in the container; the cookies will absorb the moisture from the bread.
For long-term storage, these cookies freeze beautifully. Place the baked and cooled cookies in a freezer-safe bag for up to 3 months. When the craving hits, simply thaw at room temperature for 20 minutes. If you prefer that “fresh from the oven” feel, a quick 5-second zap in the microwave will revive the creamy peanut butter texture.
What to Serve With These Rustic Cookies
These cookies are quite rich, making them the perfect partner for a glass of cold almond milk or a hot cup of black coffee. If you are planning a full dessert spread, they pair wonderfully after a light meal like a high-protein chickpea salad or a refreshing fresh greek chicken gyros.
If you’re feeling adventurous with your peanut butter flavors, you might also enjoy making a rich peanut butter cup dump cake for a party. For those who love the texture of oats in different forms, try serving these alongside a classic peach cobbler with oatmeal crumble during the summer months. To take them over the top, a dollop of smooth banana pudding frosting sandwiched between two cookies creates an incredible cookie sandwich.
Yes! Simply pulse rolled oats in a high-speed blender or food processor until they reach a fine, flour-like consistency. Sift the mixture to remove any large husk pieces for the best texture.
Peanut butter cookie dough is very dense. The cross-hatch pattern flattens the dough balls slightly, ensuring the heat penetrates the center for even baking and creating those beautiful rustic cracked edges.
As long as you use certified gluten-free oat flour, this recipe is 100% gluten-free. Oats are naturally gluten-free but are often processed in facilities with wheat.
The secret is letting the dough rest for 10 minutes before baking. This allows the oat flour to fully hydrate. Also, be careful not to overbake; remove them when the edges are golden but the centers still look soft.
Yes, but ensure it is very well-stirred. If your natural peanut butter is extremely runny, you may need to add an extra tablespoon of oat flour to maintain the cookie’s thick shape.
The Ultimate Oat Flour Peanut Butter Cookies Recipe
FL Recipes
Oat Flour Peanut Butter Cookies with Flaky Sea Salt
These thick Oat Flour Peanut Butter Cookies feature a soft-baked center, rustic cracked edges, and a signature fork-press pattern. Topped with flaky sea salt, they are the ultimate gluten-friendly, golden-brown treat for any occasion.
Cream softened butter and both sugars in a large bowl for 2-3 minutes until fluffy.
Beat in the egg, vanilla, and creamy peanut butter until a smooth base forms.
Whisk oat flour, baking soda, and fine salt. Gradually mix into the wet ingredients. Rest dough for 10 minutes.
Shape and Bake
Scoop 1.5-inch balls and place on crumpled parchment. Use a fork to press a deep cross-hatch pattern.
Bake at 350°F (175°C) for 10-12 minutes until edges are golden-brown and centers are soft. Garnish with flaky sea salt immediately.
Nutrition
Calories: 185kcalProtein: 4gFat: 11gFiber: 2g
Notes
Let the dough rest for 10 minutes to allow the oat flour to hydrate for a softer texture. If using natural peanut butter, stir it well to ensure the oil is fully incorporated before measuring.
Keyword gluten-free cookies,Oat Flour Peanut Butter Cookies,PB Cookies
These Oat Flour Peanut Butter Cookies are a testament to how simple ingredients can create a stunning, professional-grade result. The combination of the “golden-brown baked oat flour dough” and the “flaky sea salt” makes them an instant favorite in any household. We would love to see your creations!
Did you achieve those perfect rustic cracks? Leave a comment below and let us know how your batch turned out. Don’t forget to pin this recipe to your favorite dessert board on Pinterest so you can find it whenever the peanut butter craving strikes. Happy baking!
The ultimate thick and soft-baked Oat Flour Peanut Butter Cookies.
Hi, I’m Emily Carter, and welcome to FL Recipes! I share simple, healthy recipes that make cooking easy, fun, and delicious for everyone. more about me »