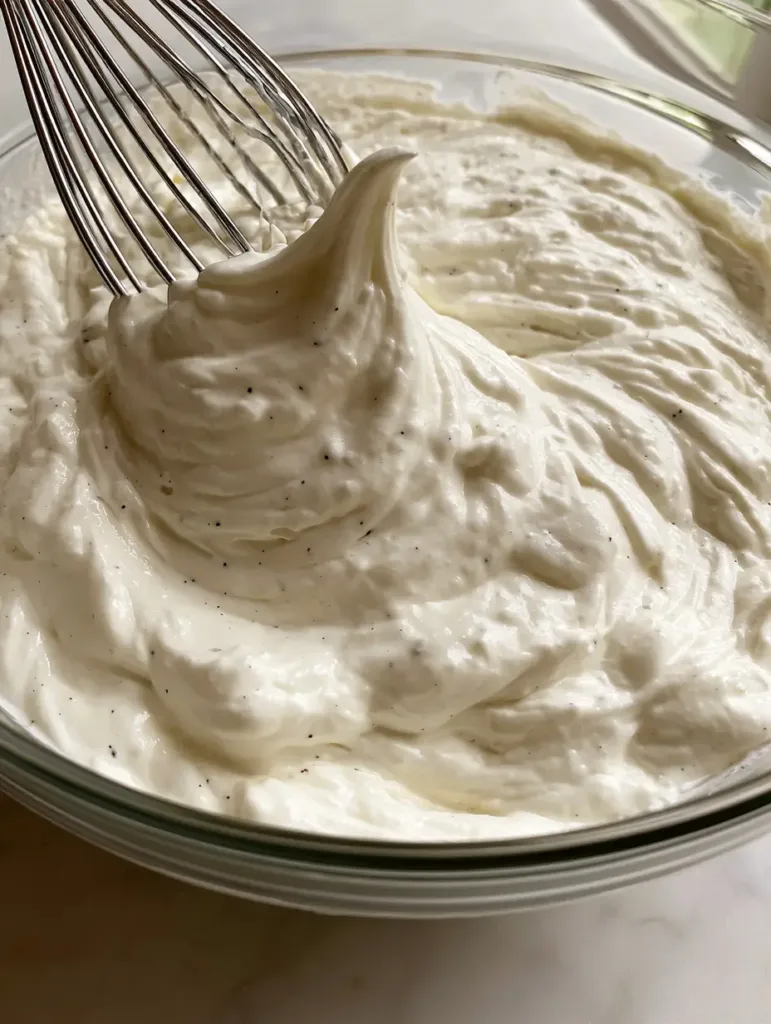
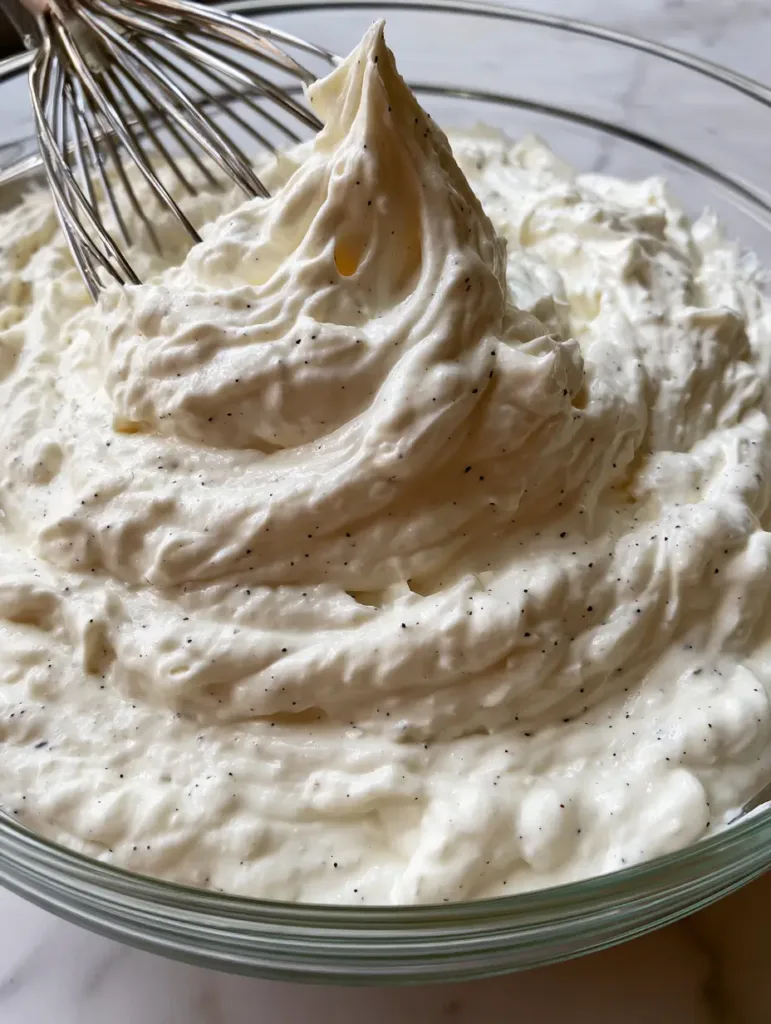
There is a profound difference between the standard whipped cream found in a pressurized can and a true, chef-inspired Chantilly Cream Recipe. When you look into a clear glass mixing bowl and see that thick, velvety white texture punctuated by thousands of tiny black vanilla bean specks, you know you are in the presence of culinary royalty. This isn’t just a topping; it is a structural component of high-end pastry that brings a glossy, sophisticated finish to any dessert.
Achieving the perfect Chantilly requires more than just high-speed mixing. It is a delicate dance of temperature, fat content, and timing. In this guide, we will explore how to transform chilled heavy cream and sifted powdered sugar into stable, soft peaks that hold their shape while maintaining an airy, melt-in-your-mouth quality that is visually stunning on a light marble surface under natural daylight.
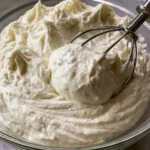
Achieving a stable soft peak ensures your cream is light yet holds its shape beautifully.
The Unmatched Sensory Appeal of Hand-Whisked Cream
Visual Elegance: The striking contrast of pure white cream against artisanal vanilla bean seeds creates a gourmet aesthetic.
Structural Integrity: Unlike stabilized foams, this recipe relies on cold fat emulsification to reach stable soft peaks that won’t weep.
Glossy Finish: The use of sifted powdered sugar ensures a smooth, reflective surface that catches soft natural highlights.
Textural Perfection: A thick and velvety mouthfeel that manages to be both rich and light simultaneously.
The Essential Components for a Professional Chantilly Cream Recipe
Heavy Whipping Cream (Cold): You must use cream with at least 36% to 40% milk fat. The fat globules are the structural pillars of your foam, and they must be near-freezing to bond effectively.
Sifted Powdered Sugar: Also known as confectioners’ sugar, this provides the necessary sweetness without the grit of granulated sugar. Sifting is non-negotiable to prevent lumps in your velvety cream.
Whole Vanilla Bean: To achieve the “speckled” look described in our visual blueprint, we use the seeds scraped directly from a pod. This provides a depth of flavor that extracts simply cannot replicate.
Pinch of Fine Sea Salt (Invisible Essential): A tiny amount of salt acts as a flavor enhancer, cutting through the richness of the fat and making the vanilla notes sing.
Professional Tools for Whipping Success
To replicate the visual of a stainless steel wire whisk partially submerged in a soft peak, you need the right gear. A clear glass mixing bowl is preferred because it allows you to monitor the aeration from all angles. Unlike plastic, glass does not retain oily residues that can deflate your cream. Additionally, using a chilled stainless steel whisk helps maintain the low temperature of the cream during the mechanical agitation process.
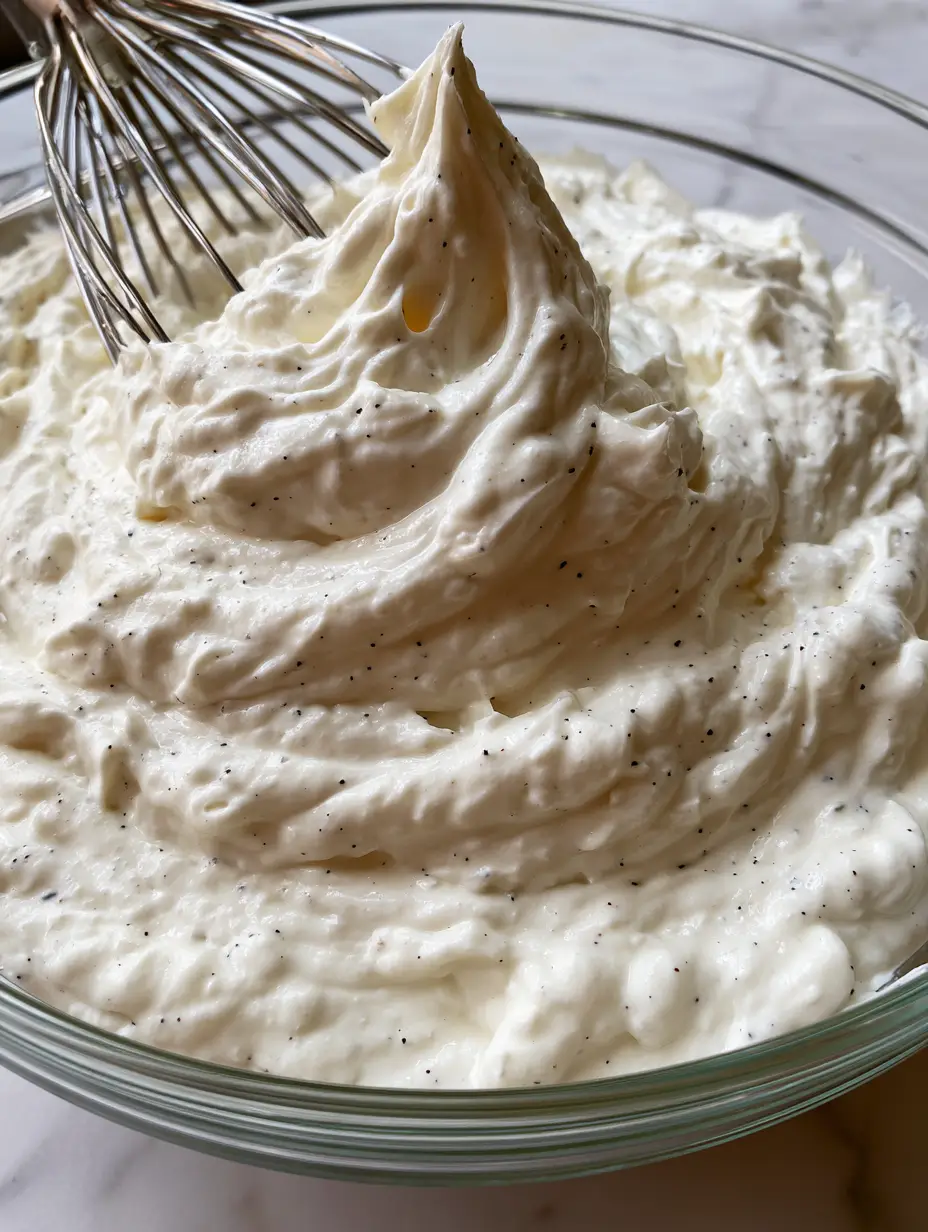
The velvety texture and visible vanilla seeds are hallmarks of a true Chantilly cream.
Step-by-Step Instructions for the Perfect Soft Peak
Preparing the Infusion Base
Begin by placing your glass bowl and whisk in the freezer for at least 15 minutes. While those chill, take a sharp paring knife and split your vanilla bean lengthwise. Use the back of the knife to scrape out the dense, oily black seeds. In your chilled bowl, combine 2 cups (480ml) of heavy cream with these vanilla seeds. Use your whisk to gently disperse the seeds so they don’t clump together in the fat.
Sifting and Initial Aeration
Set a fine-mesh sieve over the bowl and add 1/4 cup (30g) of powdered sugar. Sift it directly into the cream to ensure maximum aeration. Add a tiny pinch of salt. Start whisking slowly in a circular motion, ensuring you reach the bottom of the bowl. At this stage, you are looking for large bubbles to form, which indicates that air is beginning to be trapped within the fat matrix.
Developing the Velvety Texture
Increase your whisking speed. As the cream thickens, you will notice the whisk leaving “tracks” in the liquid. This is the critical transition point. You are looking for the cream to lose its liquid state and take on a thick, velvety appearance. Watch for the glossiness to increase as the sugar dissolves completely into the expanding foam.
Achieving the Stable Soft Peak
Stop whisking frequently to check the consistency. Lift the whisk straight up; the cream should cling to the wires and form a peak that holds its shape for a second before the very tip curls over gently. This is the “stable soft peak” described in our visual blueprint. It should look airy yet structured, with a smooth, rippled surface that creates gentle highlights and soft shadows under daylight.
Expert Tips for Success
Don’t Over-Whisk: The line between velvety cream and yellow butter is thin. Once you see the cream holding a shape, slow down significantly.
Temperature is King: If your kitchen is warm, place your glass mixing bowl inside a larger bowl filled with ice water while you whisk.
Vanilla Conservation: Don’t throw away the empty vanilla pod! Stick it in a jar of sugar to make vanilla-scented sugar for your next baking project.
Sift Twice: If your powdered sugar is particularly clumpy, sift it twice. Any tiny lump will ruin the “velvety” visual requirement of a true Chantilly.
Storage and Preservation
Chantilly cream is best served immediately to enjoy its peak volume and gloss. However, you can store it in an airtight container in the refrigerator for up to 24 hours. If it loses some of its structure, do not re-whisk it vigorously; instead, use a handheld whisk to give it two or three gentle turns to revive the peaks. Do not freeze this cream, as the delicate fat structure will collapse upon thawing.
Gourmet Pairings for Vanilla Bean Cream
This Chantilly Cream Recipe is the ultimate companion for a variety of textures. It acts as a cooling agent for a warm homemade chocolate chip cookie, where the vanilla seeds complement the melting chocolate. For a more sophisticated presentation, use it as a dollop atop a delicate coconut raffaello cake to enhance the tropical notes.
If you are looking for a decadent filling, try folding this cream into a rich dubai chocolate filling for a lighter, mousseline-like texture. It also serves as a perfect offset to the density of a chocolate peanut butter dump cake, providing a clean, vanilla-forward finish to a heavy dessert.
While often used interchangeably, true Chantilly cream is specifically sweetened (usually with powdered sugar) and flavored with vanilla, whereas standard whipped cream can be plain or unsweetened.
Powdered sugar contains a small amount of cornstarch which helps stabilize the cream, and its fine texture dissolves instantly, ensuring a glossy, grit-free finish.
Yes, you can substitute 1 teaspoon of extract for 1 bean, but you will miss the visual aesthetic of the tiny black specks and the intense, complex flavor profile of the fresh seeds.
If the cream begins to look grainy but hasn’t turned to butter yet, gently fold in a few tablespoons of fresh, liquid heavy cream with a spatula to smooth out the texture.
Yes, glass or metal bowls are ideal because they can be chilled, which keeps the fat in the cream stable. Plastic bowls can sometimes retain fat residues that prevent the cream from aerating properly.
The Master Chantilly Cream Recipe
FL Recipes
Chantilly Cream Recipe: The Ultimate Guide to Velvety Vanilla Whipped Cream
Master this Chantilly Cream Recipe to create thick, velvety whipped cream with real vanilla bean seeds. Perfect for stable soft peaks and a glossy finish on any gourmet dessert.
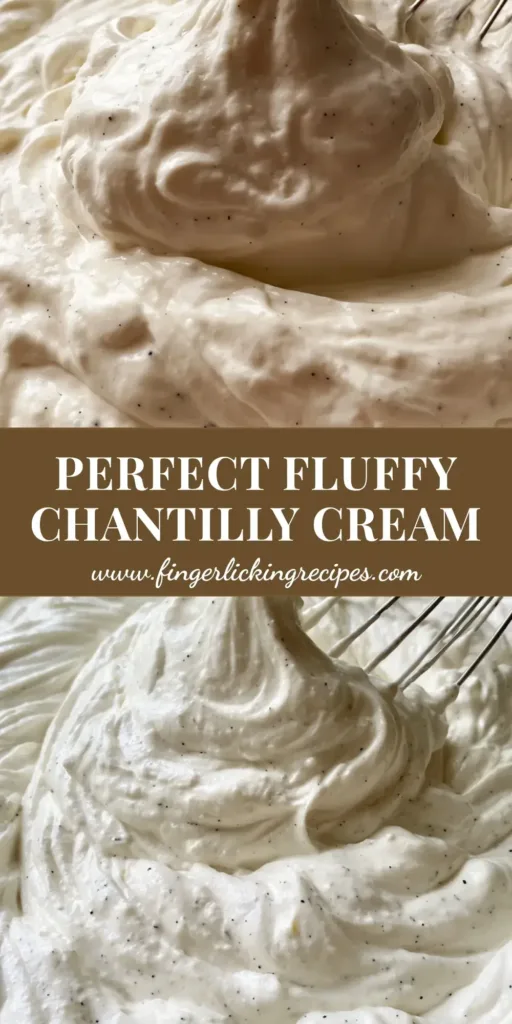
How to make the perfect Chantilly Cream with real vanilla beans.
Closing & Call to Action
Mastering the Chantilly Cream Recipe is a rite of passage for every home cook. Its simplicity is its strength, relying on the quality of your vanilla bean and the precision of your whisking technique. Once you see those stable soft peaks and taste the real vanilla seeds, you’ll never go back to store-bought alternatives. If you enjoyed this guide, please leave a comment below and share your results on Pinterest!
Hi, I’m Emily Carter, and welcome to FL Recipes! I share simple, healthy recipes that make cooking easy, fun, and delicious for everyone. more about me »