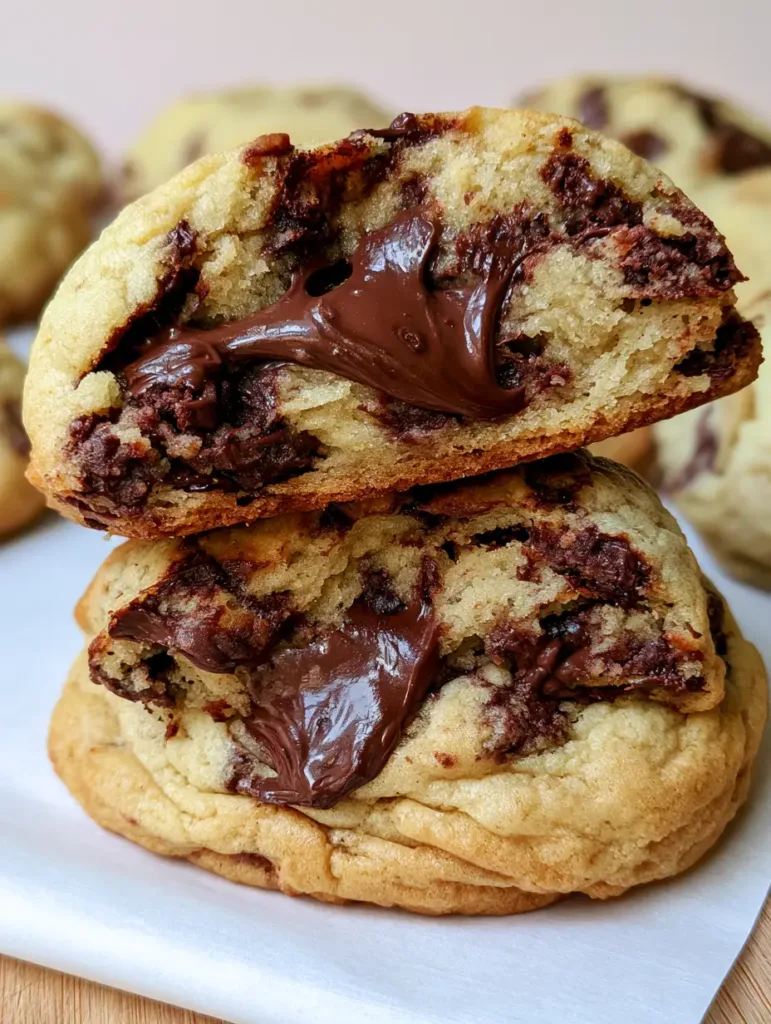
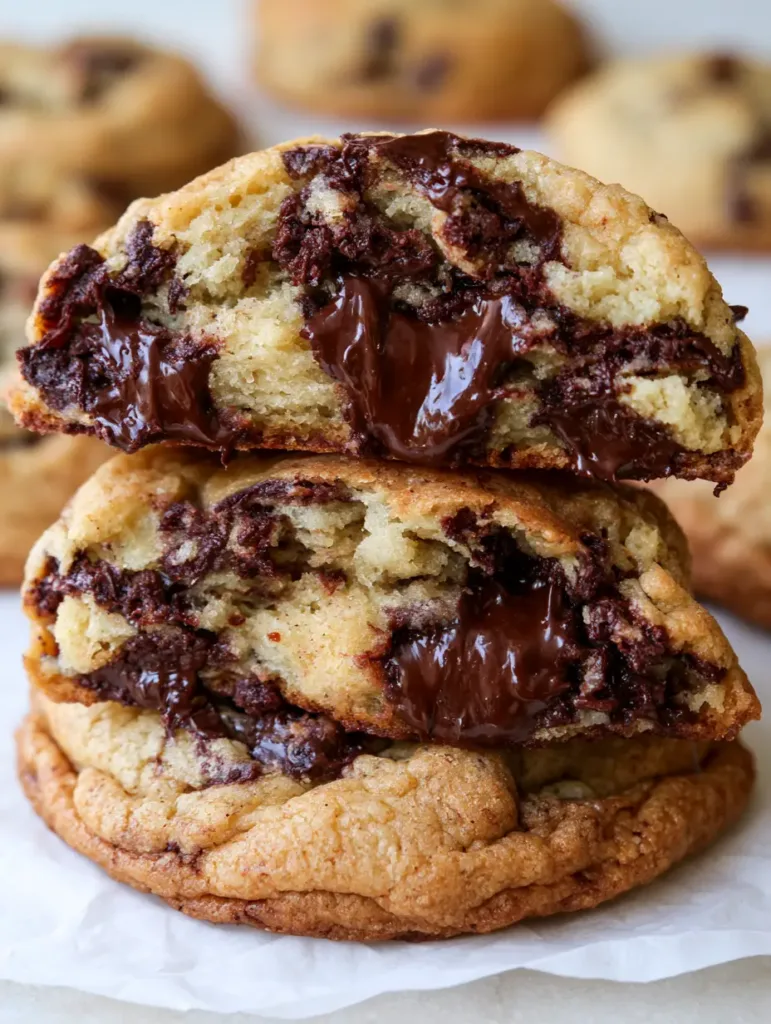
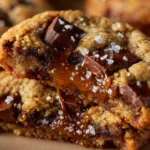
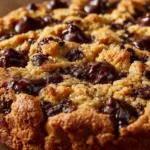
There is a specific, visceral magic that happens when you pull a tray of these cookies from the oven. This chocolate chip cookie recipe is designed to produce a cookie that feels heavy in your hand, with a textured, crinkled outer crust that yields to a shockingly soft, pale golden interior. When you break one in half, the sight of heavy, oozing pools of melted dark chocolate against the soft-baked dough is enough to stop anyone in their tracks.
We aren’t just making snacks; we are engineering a sensory experience. Inspired by the vertical, oversized cookies found in elite metropolitan bakeries, this recipe prioritizes structural thickness and a molten cross-section that remains gooey even after cooling. Whether you are a seasoned baker or a novice, achieving that specific “handheld smartphone photo” aesthetic—complete with golden-brown edges and white parchment paper contrast—is now within your reach.
Thick, oversized cookies with a professional crinkled texture.
Why This Thick and Chewy Recipe Stands Out
The Molten Factor: We utilize hand-chopped semi-sweet and dark chocolate chunks to ensure deep, flowing pools of chocolate rather than small, waxy droplets.
Structural Integrity: By balancing the ratio of brown sugar to granulated sugar, we achieve a thick, soft-baked center that doesn’t collapse into a flat puddle.
The Crinkle Effect: Through specific leavening techniques and temperature control, the exterior develops a beautiful, rustic texture that crunches slightly before melting away.
Visual Precision: This recipe is calibrated to look exactly like a professional food shoot—pale golden dough contrasted against clean white parchment paper.
Essential Elements for the Ultimate Cookie Dough
To achieve the visual and textural results described in our blueprint, every ingredient serves a dual purpose: flavor and architecture. Here is what you will need for this chocolate chip cookie recipe.
Unsalted Butter: 1 cup (227g) of high-quality butter, softened but not greasy. Butter provides the fat necessary for the Maillard reaction, giving us those golden-brown edges and a rich, creamy mouthfeel.
Light Brown Sugar: 1 ¼ cups (250g) firmly packed. Brown sugar is hygroscopic, meaning it pulls moisture into the cookie to ensure the interior remains soft and chewy long after baking.
Granulated White Sugar: ½ cup (100g). This is the secret to the crinkled outer crust; white sugar caramelizes more readily and provides the structural crispness needed for the edges.
Large Eggs: 2 whole eggs plus 1 extra egg yolk, at room temperature. The additional yolk adds fat and lecithin, which emulsifies the dough for a denser, more decadent “molten” cross-section.
Pure Vanilla Extract: 1 tbsp (15ml). While not a structural ingredient, it bridges the gap between the earthy chocolate and the sweet dough, much like the floral notes in a pistachio and knafeh filling.
All-Purpose Flour: 3 cups (375g). We need a higher volume of flour to prevent spreading, ensuring the cookies stay thick and oversized rather than thin and crispy.
Cornstarch: 1 ½ tsp (4g). This is a professional baker’s “invisible” ingredient that softens the proteins in the flour, resulting in a tender, soft-baked texture.
Baking Soda: 1 tsp (6g). This leavening agent reacts with the acidic brown sugar to create carbon dioxide, helping the cookies rise and creating the crinkled surface as they settle.
Sea Salt: 1 tsp (6g). Salt is essential to balance the sugar and enhance the dark chocolate profile, similar to the balance found in a decadent chocolate pistachio tart (coming soon).
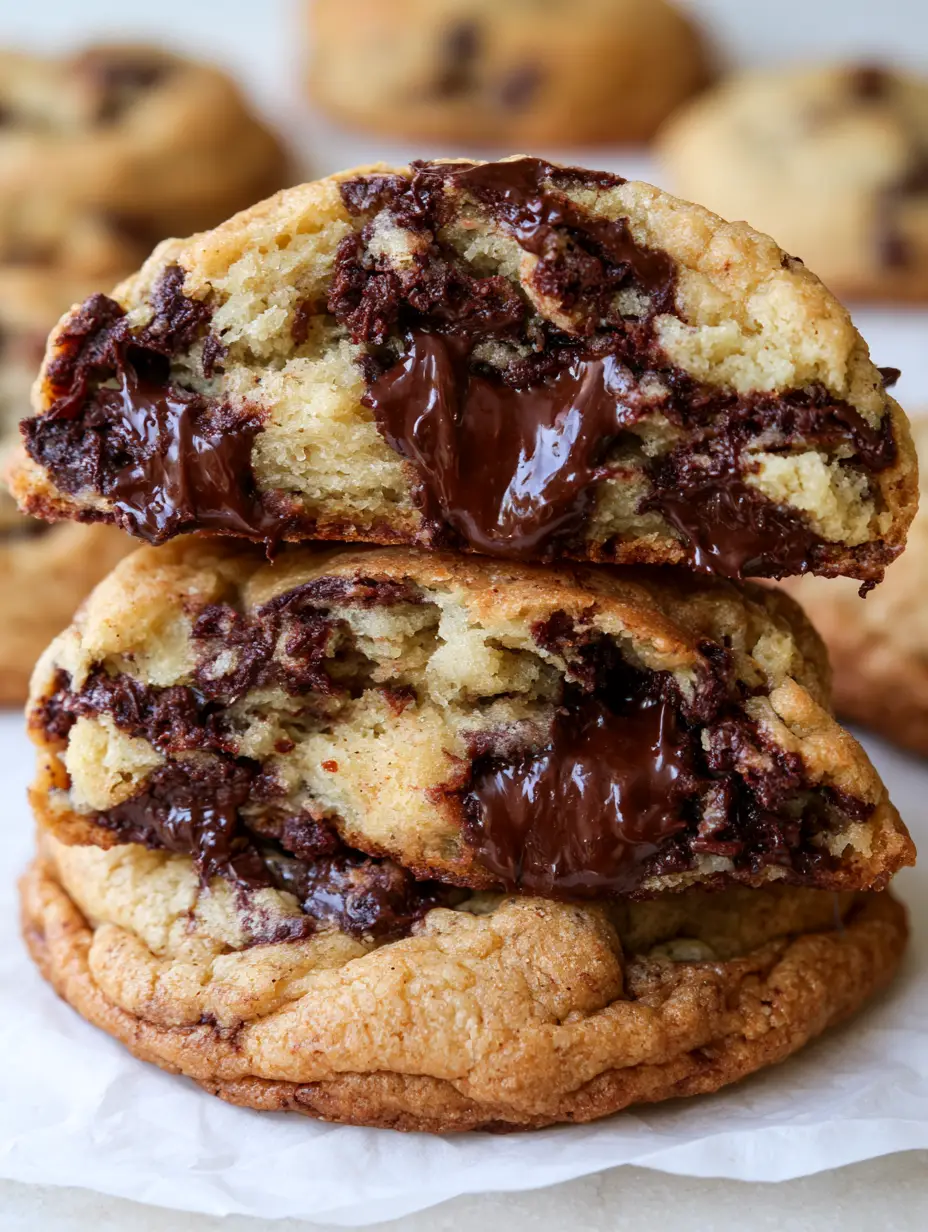
Dark Chocolate Chunks: 2 cups (340g) of semi-sweet or dark chocolate (60% cocoa or higher), chopped into irregular pieces. Using chunks instead of chips is non-negotiable for achieving that oozing, molten texture visible in the cross-section.
Professional Tools for Bakery-Style Results
To replicate the handheld smartphone photo style, you need the right gear. A heavy-duty baking sheet ensures even heat distribution so the bottoms don’t burn before the centers are set. A large 3-ounce cookie scoop is vital for creating those oversized, thick portions.
Finally, always use clean white parchment paper. Not only does it prevent sticking, but it provides the high-contrast background that makes the golden-brown dough and dark chocolate “pop” visually. If you enjoy the process of decorating desserts, you might find the precision similar to topping a Dark Chocolate Mount Doom Cake.
A forensic look at the molten dark chocolate pools inside our signature dough.
Mastering the Art of the Soft-Baked Cookie
Phase 1: The Creaming Method
In a large bowl or stand mixer, beat the softened butter, brown sugar, and white sugar for at least 3-5 minutes. Look for a sensory cue: the mixture should transition from a gritty paste to a pale, fluffy cloud. This incorporates air, which helps the cookies stay thick rather than dense.
Add the eggs and the extra yolk one at a time, followed by the vanilla. Mix until just combined. Over-mixing at this stage can lead to excess air, but under-mixing will prevent the dough from holding its shape.
Phase 2: Incorporating the Dry Architecture
Sift the flour, cornstarch, baking soda, and salt together. Slowly add these to the wet ingredients. Watch the dough—it should be thick and slightly tacky, but not so sticky that it clings to your fingers. Fold in the chocolate chunks by hand to ensure they are evenly distributed without breaking.
Phase 3: The Chill and The Bake
For the thickest results, chill the dough for at least 30 minutes. Pre-heat your oven to 350°F (175°C). Line your tray with white parchment paper. Scoop massive mounds of dough (about ¼ cup each) and place them far apart.
Bake for 10-12 minutes. The visual cue you are looking for is “just set.” The edges should be a light golden brown and the surface should be crinkled, but the centers must look slightly underbaked. They will continue to firm up on the hot pan, preserving that molten interior.
Expert Tips for Visual Perfection
The “Pan Bang” Technique: Halfway through baking, gently lift the baking sheet and drop it onto the oven rack. This creates those iconic ripples and crinkles on the surface.
Top Your Dough: Press a few extra chocolate chunks onto the top of each dough ball before baking to ensure visible chocolate pools on the surface.
Measure by Weight: For this chocolate chip cookie recipe, using a scale for the flour prevents the cookies from becoming dry or cakey.
Temperature Matters: Ensure your butter is cool-to-the-touch soft, not melted, to maintain the cookie’s height.
Optimal Storage and Reheating
Store these cookies in an airtight container at room temperature for up to 4 days. To regain that molten chocolate texture, microwave a single cookie for 8-10 seconds before serving. For longer storage, you can freeze the dough balls for up to 3 months and bake them directly from the freezer, adding 2 minutes to the bake time.
What to Serve with Molten Cookies
While a glass of cold milk is classic, these rich cookies pair beautifully with a dollop of homemade Chantilly cream for a sophisticated dessert platter. If you are hosting a full dinner, these make the perfect follow-up to a savory meal like Balsamic Mozzarella Chicken or even a casual Sicilian Pizza. The contrast between a salty main and this sweet, chocolate-heavy finish is unmatched.
Cookies usually flatten if the butter was too warm (melted) or if the dough wasn’t chilled. Ensure your butter is softened but cool, and chill the dough for at least 30 minutes before baking.
You can, but chocolate chips contain stabilizers that prevent them from melting into the ‘molten’ pools seen in the photos. For the best gooey texture, hand-chop a high-quality chocolate bar.
The crinkled texture is caused by the ratio of white sugar to brown sugar and the use of baking soda. For extra crinkles, try the ‘pan-banging’ method halfway through the bake.
Always fluff your flour and spoon it into the measuring cup before leveling it off with a knife. Using too much flour makes cookies cakey, while too little makes them spread.
Thanks to the brown sugar and extra egg yolk, these cookies stay soft for up to 4 days in an airtight container. A quick 10-second microwave burst will revive the molten chocolate.
The Ultimate Thick Chocolate Chip Cookie Recipe
FL Recipes
Chocolate Chip Cookie Recipe: The Ultimate Thick and Molten Masterpiece
This premium chocolate chip cookie recipe creates thick, bakery-style treats with a crinkled golden-brown crust and a molten dark chocolate center. Perfectly soft-baked and oversized for the ultimate gourmet experience.
1 White Parchment Paper For non-stick and visual contrast
1 3-ounce Cookie Scoop For oversized cookies
Method
Preparation
Cream softened butter and both sugars in a stand mixer for 3-5 minutes until pale and fluffy. Add eggs, yolk, and vanilla; mix until just combined.
Whisk flour, cornstarch, baking soda, and salt. Slowly incorporate into wet ingredients. Fold in chocolate chunks by hand.
Chill dough for 30 minutes. Use a large scoop to form oversized balls and place on a parchment-lined tray.
Bake at 350°F (175°C) for 10-12 minutes until edges are golden and surface is crinkled but center remains soft. Let cool on the pan.
Nutrition
Calories: 380kcalProtein: 4gFat: 18gFiber: 2g
Notes
Use hand-chopped chocolate instead of chips for the molten effect. Do not overbake; the cookies should look slightly soft in the middle when pulled out.
Keyword chocolate chip cookie recipe,molten chocolate cookies,thick cookies
The perfect thick and chewy chocolate chip cookie with a gooey center.
Closing & Call to Action
This chocolate chip cookie recipe is more than just a sweet treat; it is a masterclass in texture and visual appeal. From the crinkled golden crust to the molten dark chocolate center, every bite is a testament to culinary science. If you loved these cookies, please leave a rating and a comment below! Don’t forget to follow us on Pinterest and share your gooey cross-section photos using our hashtag.
Hi, I’m Emily Carter, and welcome to FL Recipes! I share simple, healthy recipes that make cooking easy, fun, and delicious for everyone. more about me »