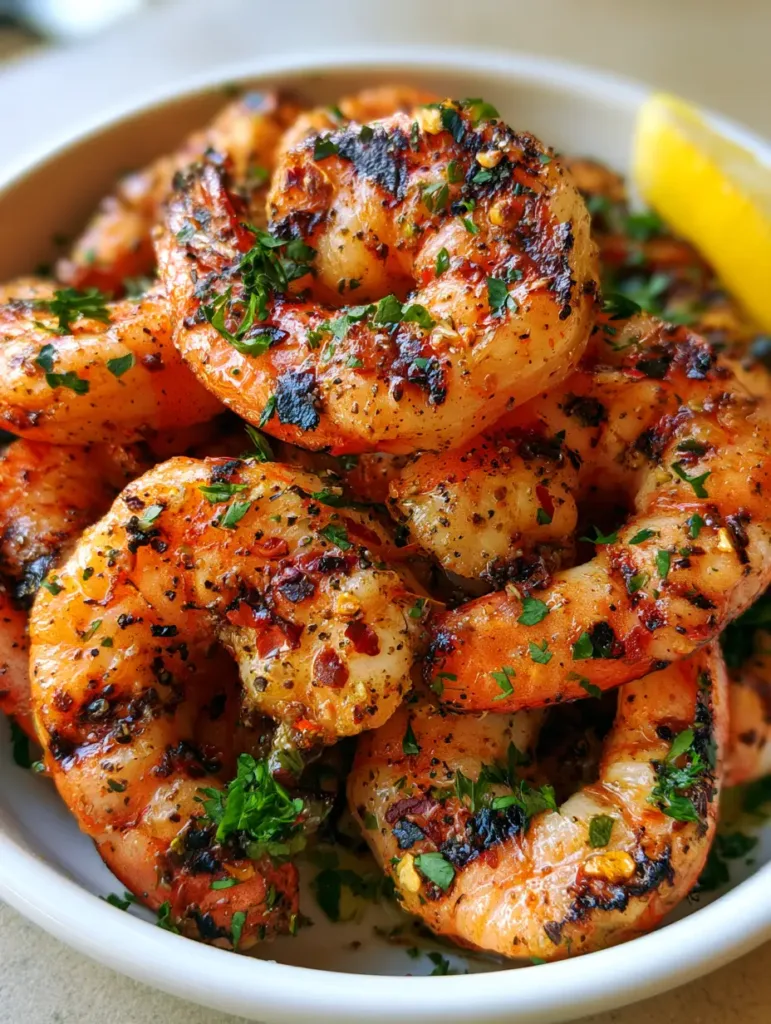
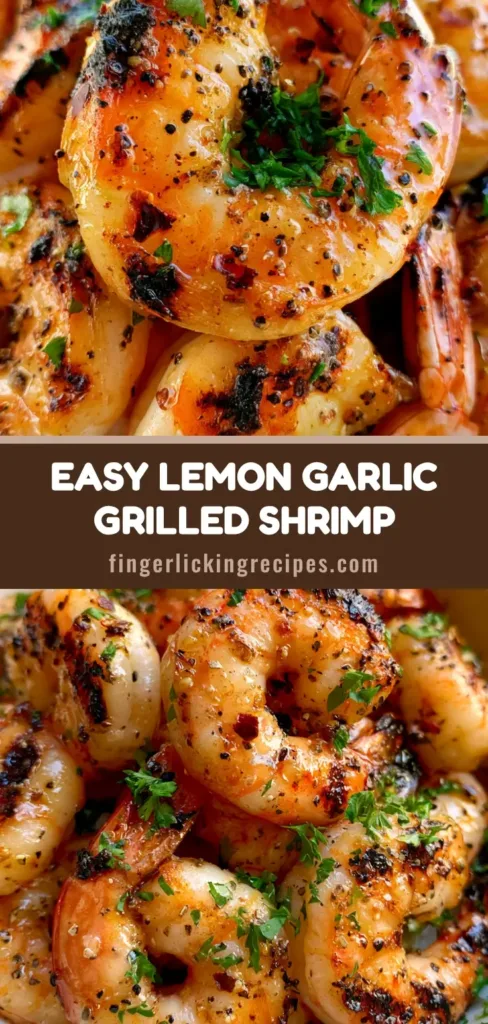
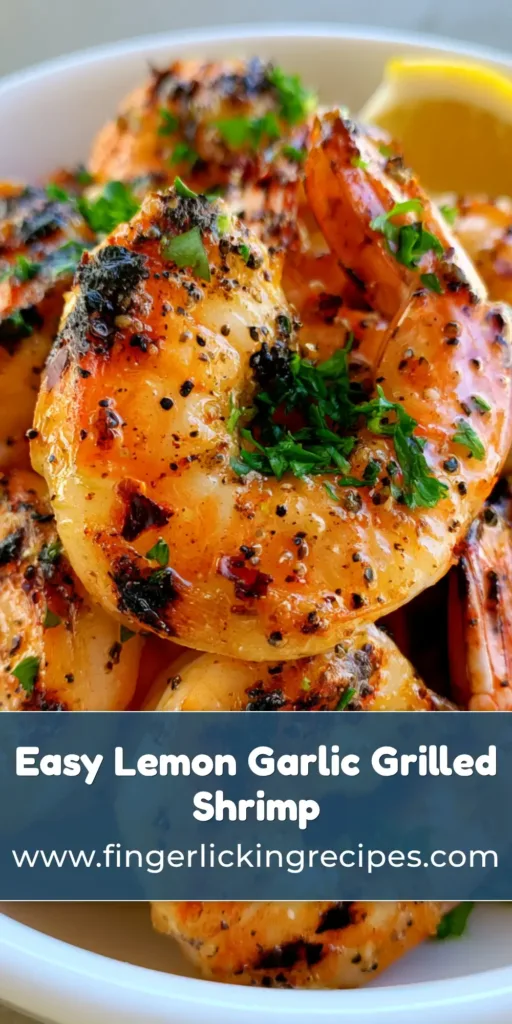
There is nothing quite like the sight of perfectly Grilled Shrimp piled high in a shallow white ceramic bowl, glistening under soft natural light. This recipe captures that exact moment: succulent, large tail-on shrimp boasting a vibrant orange-pink hue and those signature deep black char marks that only a high-heat grill can produce. The aroma of sizzling garlic and citrus oil will instantly draw everyone to the table.
Every bite of this Grilled Shrimp offers a masterclass in texture and flavor balance. We achieve a glossy, lemon-garlic coating that clings to every curve, highlighted by the sharp bite of cracked black pepper and a subtle heat from dried red chili flakes. Finished with a generous scattering of finely chopped fresh parsley, this dish isn’t just a meal—it’s a visual and culinary centerpiece.
Whether you are hosting a summer backyard barbecue or looking for a sophisticated weeknight dinner, these shrimp deliver professional results with minimal effort. The secret lies in the forensic attention to heat control and the layering of fresh aromatics. Let’s dive into how to recreate this Pinterest-perfect dish in your own kitchen.
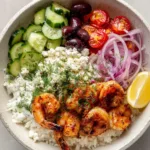
A heap of large, glistening shrimp seasoned to perfection.
The Unmatched Appeal of Perfectly Seared Shellfish
Visual Masterpiece: The contrast between the vibrant pink shrimp and the bold, black char marks creates a restaurant-quality presentation.
Textural Harmony: Experience a snap of the outer skin followed by a tender, succulent interior that melts in your mouth.
Zesty Flavor Profile: The infusion of fresh lemon zest and garlic oil cuts through the smoky char for a bright, refreshing finish.
Rapid Results: This high-protein main course goes from the prep station to the bowl in less than 20 minutes.
Versatile Pairing: The Mediterranean-inspired flavor profile allows it to pair beautifully with anything from salads to hearty grains.
The Anatomy of Flavor: Essential Ingredients
To achieve the specific look and taste of this Grilled Shrimp, we must be selective with our pantry. We are looking for high-quality fats and fresh aromatics to build that glossy glaze.
Large Tail-On Shrimp: 1.5 lbs (680g) of 16/20 count shrimp. Keeping the tails on provides a handle for eating and protects the delicate meat from curling too tightly during the sear.
Extra Virgin Olive Oil: 1/4 cup (60ml) of high-quality oil. This serves as the vehicle for our garlic infusion and ensures the shrimp don’t stick to the grates.
Fresh Garlic: 4 cloves (approx. 20g), finely minced. Garlic provides the foundational savory note that blooms when it hits the hot shrimp shells.
Fresh Lemon Juice and Zest: 2 tbsp (30ml) juice plus the zest of one lemon. The acidity balances the richness of the oil and highlights the natural sweetness of the seafood.
Red Pepper Flakes: 1 tsp (2g) of dried chili flakes. These add tiny pops of red color and a controlled, lingering heat across the palate.
Cracked Black Pepper: 1 tsp (2g) of coarse-ground pepper. Large specks are essential for the visual “heavily seasoned” look described in our blueprint.
Kosher Salt: 1 tsp (6g). Salt is the invisible hero that draws out moisture to help create those dark brown and black char marks.
Fresh Parsley: 1/4 cup (15g), finely chopped. This provides the vibrant green contrast and an earthy, fresh finish to the glistening glaze.
Tools for the Ultimate Sear
Achieving distinct char marks on a Grilled Shrimp requires specific equipment that can handle and maintain intense heat levels without fluctuating.
A heavy-duty outdoor grill (charcoal or gas) is the primary choice, but a well-seasoned cast-iron grill pan can work indoors. You will also need long stainless steel tongs for precise flipping and a small saucepan for simmering the lemon-garlic oil glaze. Using metal skewers is highly recommended to prevent the shrimp from falling through the grates and to ensure even heat distribution.
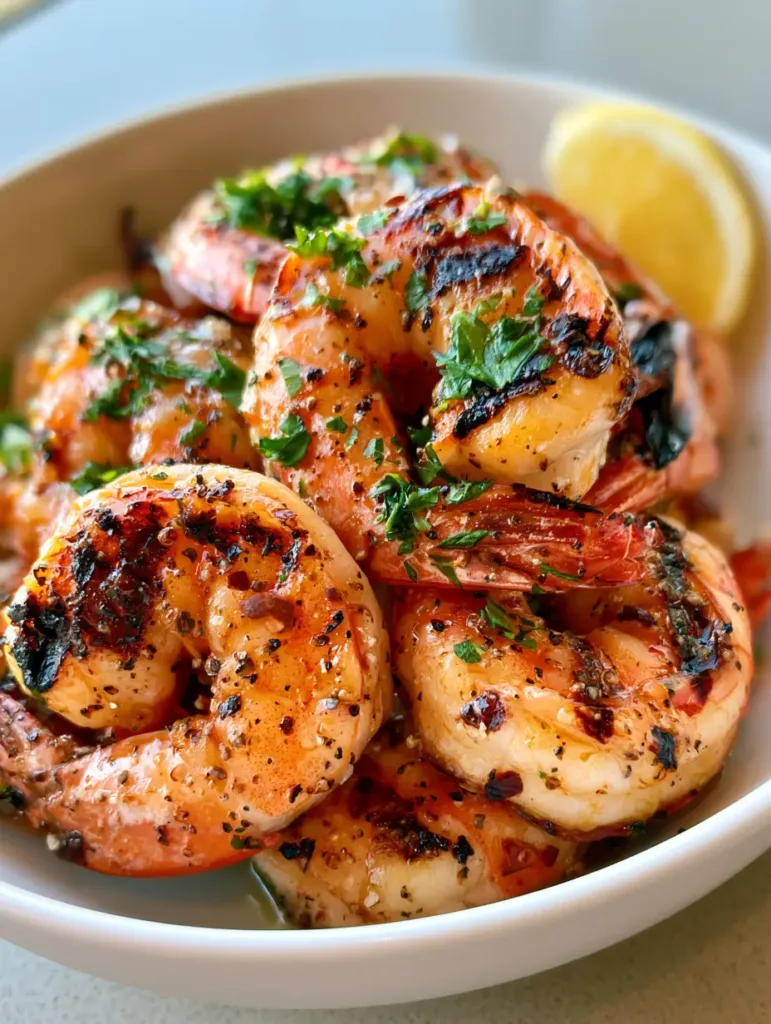
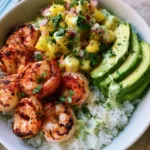
Observe the vibrant color and distinct char that high-heat grilling provides.
Mastering the Flame: The Step-by-Step Process
Preparing the Shrimp for the Grill
Start by ensuring your shrimp are completely thawed and patted dry with paper towels. Any excess moisture on the surface will create steam, preventing the formation of those essential black char marks.
Thread the shrimp onto skewers, piercing through the thickest part of the body and the tail. This keeps them flat and maximizes surface area contact with the heat source. Lightly brush with a neutral high-smoke point oil before seasoning generously with salt and the coarse cracked black pepper.
Building the Lemon-Garlic Oil Glaze
While the grill preheats to medium-high (400°F/200°C), combine the olive oil and minced garlic in a small saucepan over low heat. Simmer for 3-4 minutes until the garlic is fragrant but not browned.
Remove from heat and whisk in the lemon juice, lemon zest, and half of the red pepper flakes. Set this aside; we will use it as a finishing glaze to achieve that “thin, glossy coating” seen in the visual prompt.
The Perfect Sear: Visual and Sensory Cues
Place the skewers directly over the hottest part of the grill. You should hear an immediate, aggressive sizzle—this is the sound of the Maillard reaction beginning to work its magic.
Grill for 2-3 minutes per side. Watch for the “vibrant orange-pink hue” to creep up the sides of the shrimp. Flip only when the shrimp releases easily from the grate, revealing distinct dark brown and black char marks. The shrimp should feel firm to the touch but still have a slight “give.”
The Finishing Touch: Glazing and Garnishing
Transfer the hot shrimp to a shallow white ceramic bowl. Immediately pour the prepared lemon-garlic oil over the heap, tossing gently to ensure every piece is glistening.
Scatter the finely chopped fresh parsley, the remaining red pepper flakes, and an extra turn of cracked black pepper over the top. Nestle a bright yellow lemon wedge in the upper right corner of the bowl to provide the final pop of color and an optional boost of acidity for the diner.
Pro Secrets for Tender, Juicy Results
The Dry Surface Rule: Always pat shrimp dry; moisture is the enemy of the char.
High Heat, Short Time: Shrimp cook incredibly fast; anything over 5 total minutes will result in a rubbery texture.
Skewer Strategy: If using wooden skewers, soak them for 30 minutes to prevent burning, though metal is preferred for better heat conduction.
Carryover Cooking: Remove the shrimp when they are just opaque; the residual heat will finish the cooking process in the bowl.
Preserving Your Masterpiece: Storage and Reheating
Grilled seafood is best enjoyed immediately while the glaze is fresh and the texture is succulent. However, if you have leftovers, store them in an airtight container in the refrigerator for up to 2 days.
To reheat, avoid the microwave, which will toughen the proteins. Instead, flash-sear them in a hot skillet with a teaspoon of olive oil for 60 seconds or enjoy them cold over a chilled street corn salad for a refreshing lunch.
Creating the Ultimate Feast: What to Serve With Grilled Shrimp
The beauty of this Grilled Shrimp is its ability to anchor a wide variety of meals. For a Mediterranean-style dinner, serve these alongside a hearty Mediterranean casserole.
If you prefer a surf-and-turf experience, these shrimp pair beautifully with a lemon garlic butter salmon (coming soon) or served on top of toasted homemade buns for a sophisticated shrimp roll.
For those looking for a light, low-carb option, try pairing the charred shrimp with a side of spicy roasted cabbage (coming soon) or an egg roll in a bowl (coming soon) to add crunchy texture to the meal.
Look for a vibrant orange-pink hue and an opaque center. The shrimp should feel firm to the touch but still juicy—usually 2-3 minutes per side is sufficient.
This is usually due to a grill that isn’t hot enough or excess moisture on the surface of the shrimp. Ensure your grill is preheated to 400°F+ and the shrimp are very dry.
Using metal skewers or double-piercing them with two wooden skewers prevents them from rotating or falling through the gaps in the grate.
The Ultimate Grilled Shrimp Recipe Card
FL Recipes
Grilled Shrimp with Charred Lemon Garlic Glaze and Fresh Parsley
Master the art of the perfect Grilled Shrimp. Large, succulent tail-on shrimp are seared with distinct char marks and tossed in a glistening lemon-garlic oil glaze with fresh parsley and red pepper flakes.
1.5lbsLarge ShrimpTail-on, peeled and deveined (680g)
1/4cupExtra Virgin Olive Oil(60ml)
4clovesGarlicMinced (20g)
2tbspLemon JuiceFreshly squeezed (30ml)
1tspLemon Zest
1tspRed Pepper Flakes(2g)
1tspCracked Black Pepper(2g)
1tspKosher Salt(6g)
1/4cupFresh ParsleyFinely chopped (15g)
1wedgeLemonFor serving
Equipment
1 Outdoor Grill or Grill Pan
8 Metal Skewers Prevents shrimp from falling through grates.
1 Small Saucepan For the lemon-garlic oil.
Method
Preparation
Pat the shrimp thoroughly dry with paper towels. Thread the shrimp onto skewers, piercing through the body and tail.
In a small saucepan, combine olive oil and minced garlic over low heat for 3-4 minutes until fragrant. Stir in lemon juice, zest, and half the red pepper flakes. Set aside.
Grilling
Season shrimp with salt and cracked black pepper. Place skewers on a preheated 400°F (200°C) grill. Grill for 2-3 minutes per side until charred and opaque.
Remove shrimp from skewers into a white ceramic bowl. Pour the lemon-garlic oil over the heap. Toss with fresh parsley and remaining red pepper flakes.
Nutrition
Calories: 245kcalProtein: 26gFat: 14gFiber: 1g
Notes
Always use fresh garlic over jarred for the best flavor profile. If using wooden skewers, soak them in water for at least 30 minutes before grilling.
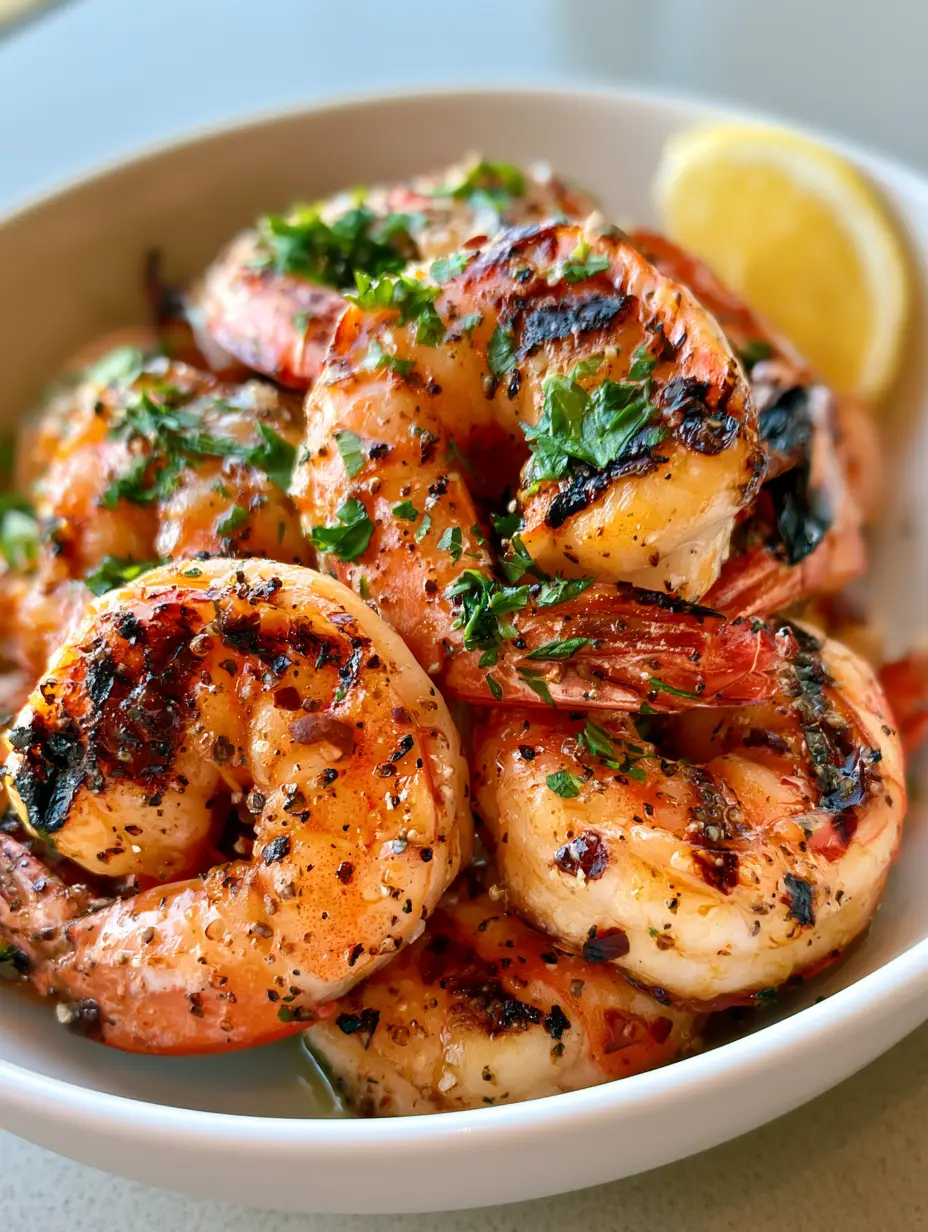
The ultimate Grilled Shrimp with a glistening lemon-garlic finish.The ultimate Grilled Shrimp with a glistening lemon-garlic finish.
Experience the Sizzle: Join Our Community
Now that you have the blueprint for the perfect Grilled Shrimp, it is time to fire up the grill! We would love to see your results—did you get those deep char marks? Tell us in the comments below or tag us in your photos.
For more restaurant-quality recipes and culinary tips, sign up for our weekly newsletter. Don’t forget to save this recipe to your “Summer Grilling” board on Pinterest so you can find it whenever the craving for succulent seafood hits!
The ultimate Grilled Shrimp with a glistening lemon-garlic finish.
Hi, I’m Emily Carter, and welcome to FL Recipes! I share simple, healthy recipes that make cooking easy, fun, and delicious for everyone. more about me »