There is something undeniably magnetic about a tray of warm Hawaiian Roll Pizza Sliders fresh from the oven. If you have ever scrolled through social media and felt your mouth water at the sight of glossy, golden-brown rolls glistening with garlic butter, this recipe is designed to bring that exact sensory experience into your kitchen. We are talking about a handheld masterpiece where soft, sweet bread meets the savory, salty punch of classic pizza toppings.
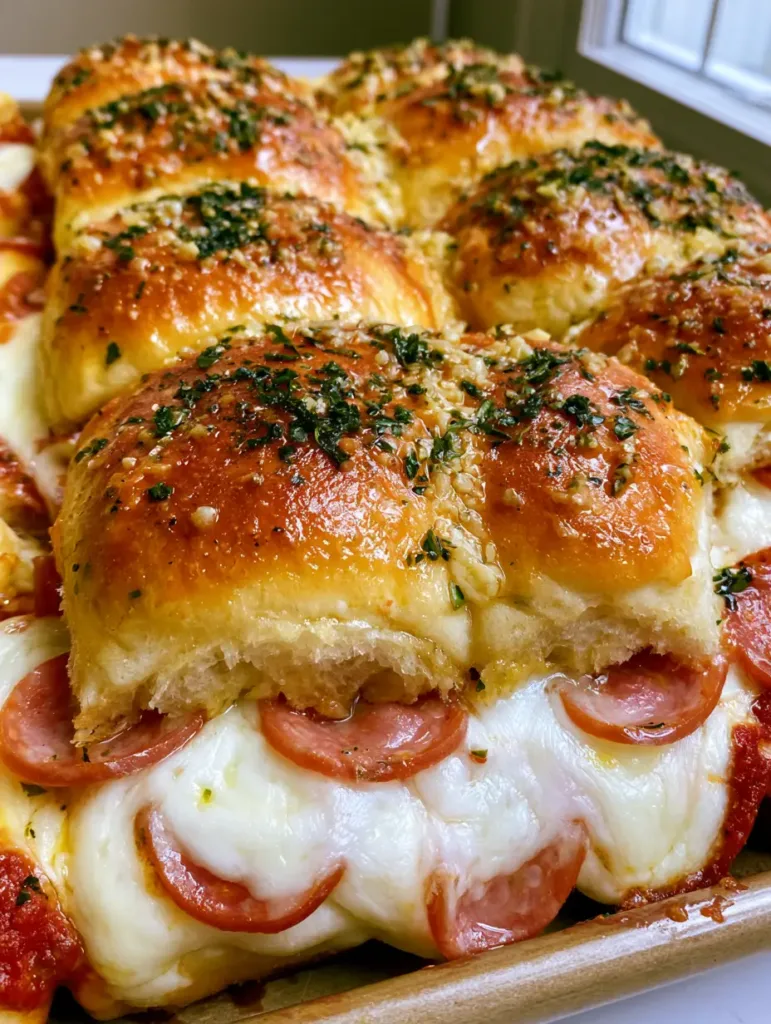
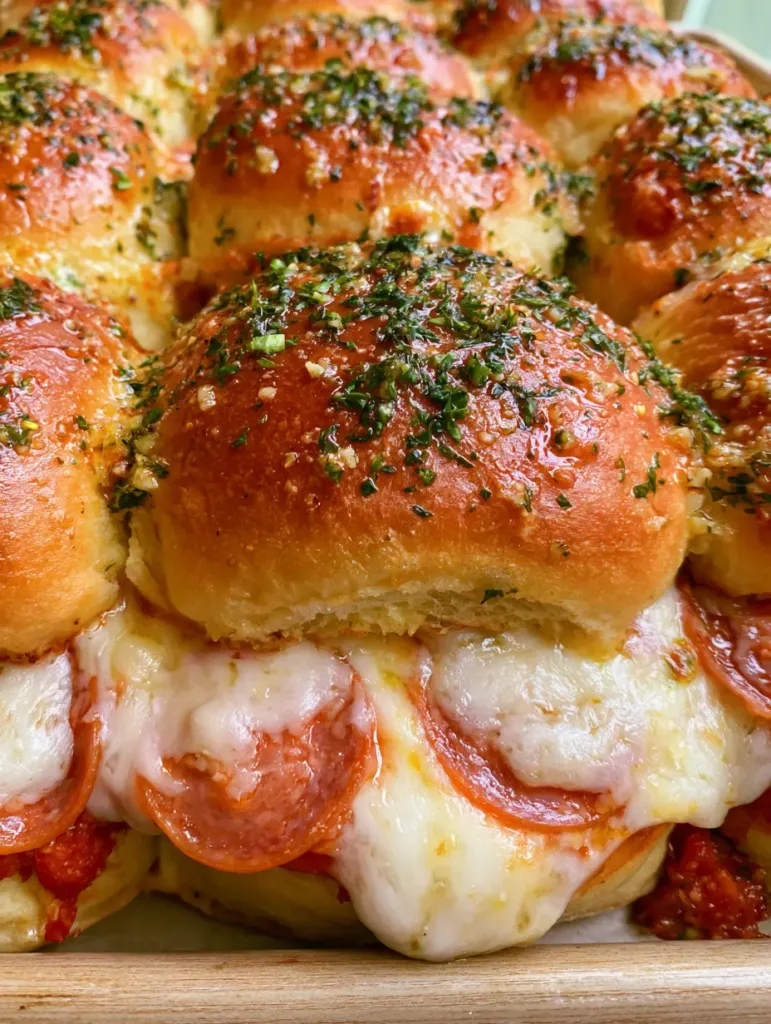
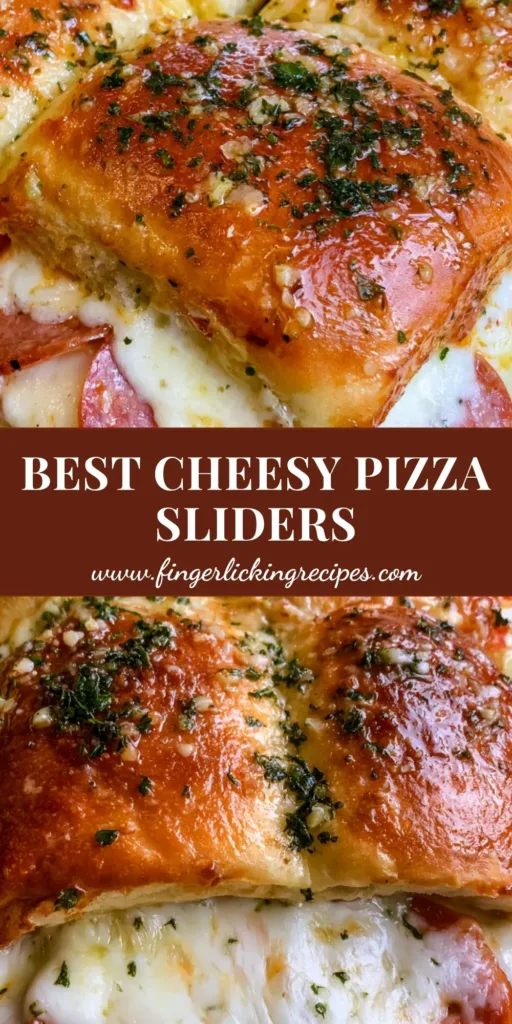
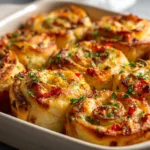
These sliders aren’t just a snack; they are a study in textural contrast. The tops of the rolls are toasted to a perfect crisp, coated in a rich glaze of melted butter, pungent minced garlic, and vibrant green parsley flakes. Inside, a thick layer of gooey, melted white mozzarella cheese acts as a molten blanket for circular slices of reddish-pink pepperoni. With just a hint of savory tomato pizza sauce peeking out from the edges, every bite is a balanced explosion of flavor.
Whether you are hosting a game day gathering or looking for a quick weeknight dinner that the whole family will devour, these sliders deliver high-impact results with minimal effort. By following a few professional culinary techniques—like the foundational garlic butter baste—you can transform simple store-bought ingredients into a gourmet appetizer that looks exactly like a professional food photograph.
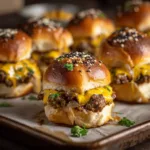
Thick layers of melted mozzarella and pepperoni make these sliders irresistibly gooey.
Why These Pull-Apart Pizza Sliders Are a Total Crowd-Pleaser
The Perfect Texture Balance: You get the soft, pillowy interior of the Hawaiian rolls contrasted against the crunchy, toasted exterior achieved by the garlic butter glaze.
Visual Appeal: The vibrant contrast between the golden crust, the white cheese stretch, and the pops of green parsley makes these a “gram-worthy” dish every time.
Highly Customizable: While we are using classic pepperoni, the foundational method allows for endless variations once you master the base.
Time-Efficient: From prep to table in under 30 minutes, making this a go-to for busy cooks who don’t want to sacrifice quality.
Essential Ingredients for Gourmet Hawaiian Roll Pizza Sliders
12 Count (1 Package) Hawaiian Sweet Rolls: These rolls provide the necessary sweetness to balance the salty pepperoni. Their soft structure is perfect for soaking up the garlic butter without becoming soggy.
3/4 cup (180ml) Savory Tomato Pizza Sauce: Choose a thick, herb-heavy sauce to ensure the bread doesn’t get overwhelmed by moisture. This provides the acidic brightness needed to cut through the rich cheese.
2 cups (225g) Shredded Low-Moisture Mozzarella Cheese: Low-moisture mozzarella is critical here because it melts into a thick, gooey layer without releasing excess water. This ensures the “cheese pull” effect seen in our visual blueprint.
4 oz (115g) Sliced Pepperoni: We use standard circular slices of reddish-pink pepperoni for that classic look and spicy, cured meat flavor. If you love extra crunch, you could even try pepperoni cheese crisps as a side garnish.
1/4 cup (55g) Unsalted Butter: The butter is the medium for our glaze, providing the glossy finish and rich mouthfeel. Using unsalted allows us to control the sodium levels precisely.
3 cloves (15g) Freshly Minced Garlic: Fresh garlic is non-negotiable for that aromatic, savory punch. The tiny bits of garlic will toast slightly on top of the rolls, adding a rustic texture.
1 tsp (1g) Dried Parsley Flakes: These provide the essential green flecks seen in the visual prompt, adding a touch of earthy color and flavor to the golden crust.
1/4 tsp (1.5g) Fine Sea Salt: A foundational invisible ingredient, a pinch of salt in the garlic butter enhances all the other flavors in the dish.
Must-Have Kitchen Tools for This Recipe
To achieve the specific “grid arrangement” and “toasted top” described in our visual guide, you will need a standard 9×13 inch (23×33 cm) baking sheet or a rectangular baking dish. A sharp serrated bread knife is essential for slicing the entire slab of rolls horizontally without crushing them. Finally, a silicone pastry brush is the best tool for evenly applying the garlic butter glaze to every nook and cranny of the roll tops.
Step-by-Step Instructions to Pizza Perfection
Preparing the Bread Base
Preheat your oven to 350°F (175°C). Take the entire slab of Hawaiian rolls out of the package but do not pull them apart; you want to keep the grid intact. Using a long serrated knife, slice the entire slab in half horizontally, creating one large top piece and one large bottom piece.
Place the bottom half of the rolls onto your baking sheet. If you are worried about cleanup, you can line it with parchment paper, though a simple baking sheet works best for getting the bottom of the rolls slightly toasted.
Layering the Savory Fillings
Spread the savory tomato pizza sauce evenly over the bottom half of the rolls. Be sure to leave about a quarter-inch border at the edges; this allows a small amount of sauce to be “visible at the edges” once baked, just like in our visual prompt. If you enjoy this flavor profile, you might also love the depth of a homemade Sicilian pizza.
Next, layer half of the shredded mozzarella cheese over the sauce. Arrange the pepperoni slices in an even layer across the cheese, then top with the remaining mozzarella. This “double-cheese” method ensures the pepperoni stays locked in place and creates a thick, gooey center.
Notice the beautiful golden-brown color and the garlic bits nestled in the melted butter glaze.
Creating the Signature Garlic Butter Glaze
In a small microwave-safe bowl, melt the unsalted butter. Stir in the minced garlic, dried parsley flakes, and a pinch of salt. Place the top half of the rolls back onto the sliders.
Using your pastry brush, generously coat the tops of the rolls with the garlic butter mixture. Make sure to get those bits of minced garlic and green parsley flakes evenly distributed. The goal is a glossy, wet look before the rolls even enter the oven.
Baking for Visual and Sensory Cues
Cover the tray loosely with aluminum foil. This allows the cheese to melt thoroughly without the tops of the rolls burning. Bake for 10-12 minutes. Remove the foil and bake for an additional 5-8 minutes.
Watch for the specific sensory cues: the rolls should turn a beautiful golden brown, the butter should be bubbling, and the cheese should be visibly oozing from the sides. The smell of toasted garlic should fill your kitchen, signaling that the sliders are ready.
Expert Tips for the Best Hawaiian Roll Pizza Sliders
Avoid the Soggy Bottom: If you find your rolls getting too soft, try pre-toasting the bottom halves in the oven for 3 minutes before adding the sauce and toppings.
The Foil Tent: Always start with foil. It traps the steam from the sauce, which helps the mozzarella achieve that ultra-gooey texture without drying out the bread.
Freshness Matters: Use fresh garlic rather than the jarred variety. Jarred garlic is often stored in citric acid, which can add an unwanted sour note to your sweet Hawaiian rolls.
Let Them Rest: Wait 2-3 minutes after removing from the oven before slicing. This allows the cheese to set slightly so the sliders don’t slide apart when you cut them.
How to Store, Reheat, and Freeze
If you have leftovers (which is rare!), store them in an airtight container in the refrigerator for up to 3 days. To maintain the crispy top, avoid the microwave when reheating. Instead, place them back on a baking sheet at 350°F (175°C) for about 8-10 minutes until warmed through.
You can also freeze these sliders! Wrap the unbaked sliders tightly in plastic wrap and foil. When ready to eat, bake from frozen at 350°F (175°C), adding an extra 10-15 minutes to the covered baking time.
Pairing Suggestions for a Complete Meal
These Hawaiian Roll Pizza Sliders are heavy on savory, cheesy notes, so they pair beautifully with a crisp green salad or a light vegetable side. For a fun “slider night” theme, you could serve these alongside mini grilled cheese sliders for variety.
If you are looking for more sheet pan inspiration, my sheet pan sausage and potatoes offers a similar ease of cleanup. For those who want to lean into the buttery garlic flavor profile, these sliders are a natural cousin to garlic butter steak bites.
Yes, you can assemble the sliders (without the butter glaze) up to 24 hours in advance. Store them covered in the fridge, then apply the fresh garlic butter just before baking.
Use low-moisture mozzarella and a thick pizza sauce. You can also pre-bake the bottom slab of rolls for 3-5 minutes at 350°F before adding the toppings.
Low-moisture part-skim shredded mozzarella is best for that iconic cheese stretch, though adding a sprinkle of provolone or parmesan can add extra depth of flavor.
No, keep the rolls in their original slab grid. Baking them as a single unit keeps the interior soft and makes it easier to apply the garlic butter glaze evenly.
The Ultimate Recipe for Hawaiian Roll Pizza Sliders
FL Recipes
Hawaiian Roll Pizza Sliders: The Ultimate Gooey Garlic Butter Recipe
These Hawaiian Roll Pizza Sliders feature soft sweet rolls topped with a savory garlic butter glaze, loaded with melted mozzarella and pepperoni. A quick, 35-minute appetizer perfect for game days or easy family dinners.
1 9x13 inch Baking Sheet Standard rimmed baking sheet
1 Serrated bread knife For slicing rolls horizontally
1 Silicone pastry brush For applying garlic butter
Method
Assembly
Preheat oven to 350°F (175°C). Keeping the slab intact, use a serrated knife to slice the Hawaiian rolls in half horizontally.
Place the bottom half on a baking sheet. Spread pizza sauce, then half the mozzarella, then pepperoni, and finally the remaining mozzarella.
Place the top half of the rolls back onto the cheese and pepperoni stack.
Glazing and Baking
Whisk melted butter, minced garlic, parsley, and salt. Brush the mixture generously over the tops of the rolls.
Cover loosely with foil and bake for 10-12 minutes until the cheese is melted and gooey.
Remove foil and bake for 5-8 more minutes until the tops are golden brown, glossy, and slightly crisp.
Nutrition
Calories: 260kcalProtein: 11gFat: 16gFiber: 1g
Notes
Start with foil to prevent the sweet rolls from burning while the cheese melts. Wait 3 minutes before cutting to ensure a clean slice through the melted mozzarella.
Keyword Garlic Butter Sliders,Hawaiian Roll Pizza Sliders,party food,Pizza Sliders
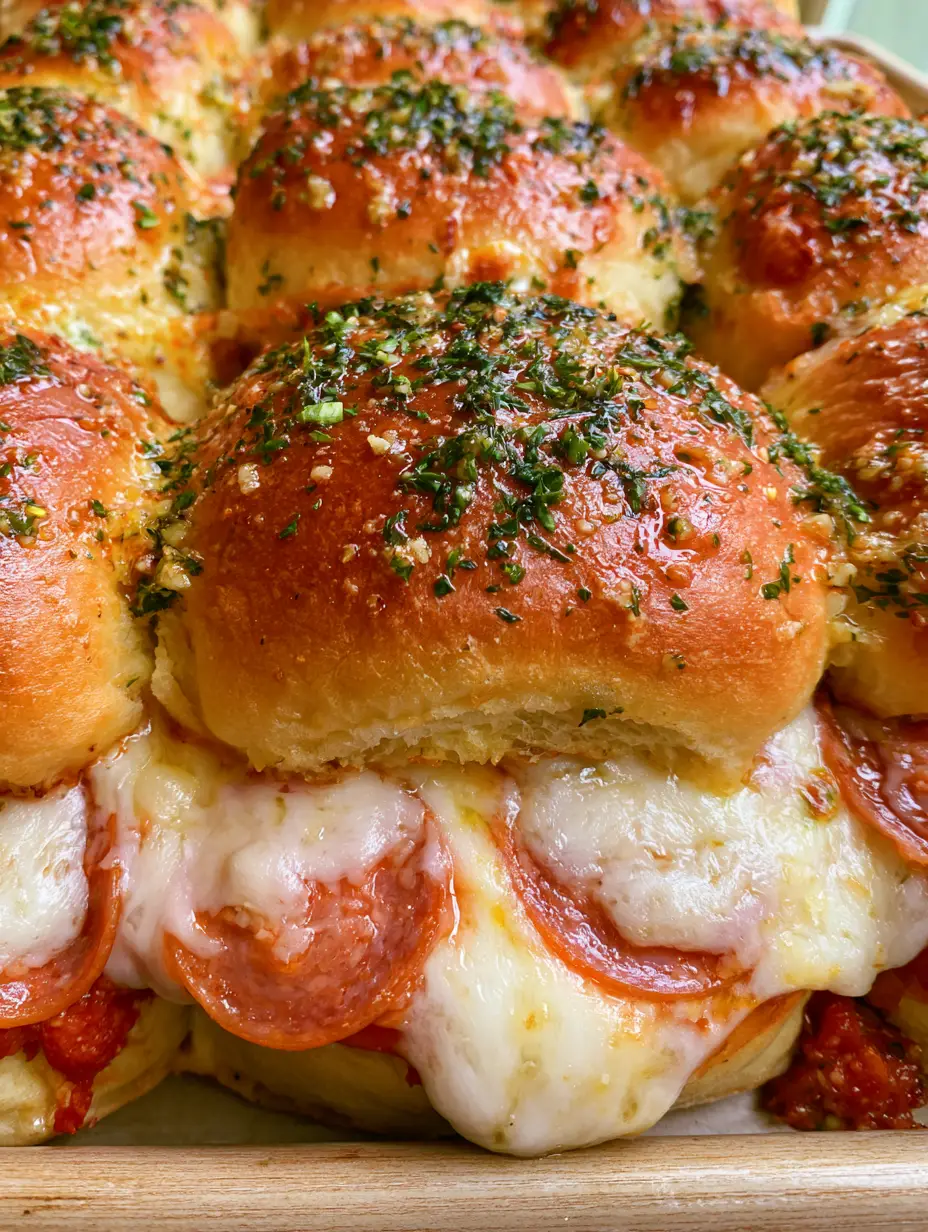
The ultimate party snack: Gooey Hawaiian Roll Pizza Sliders fresh from the oven.
Conclusion: The Perfect Handheld Treat
Mastering the Hawaiian Roll Pizza Sliders is a rite of passage for any home cook who loves a good party snack. The combination of the sweet roll, savory sauce, and that unmistakable garlic butter finish creates a flavor profile that is truly addictive. The visual results—golden, glossy, and gooey—are as satisfying to look at as they are to eat.
Did you try this recipe? We would love to see your results! Leave a comment below or share your photos on Pinterest. For more easy weeknight wins and crowd-pleasing appetizers, don’t forget to sign up for our newsletter!
Hi, I’m Emily Carter, and welcome to FL Recipes! I share simple, healthy recipes that make cooking easy, fun, and delicious for everyone. more about me »