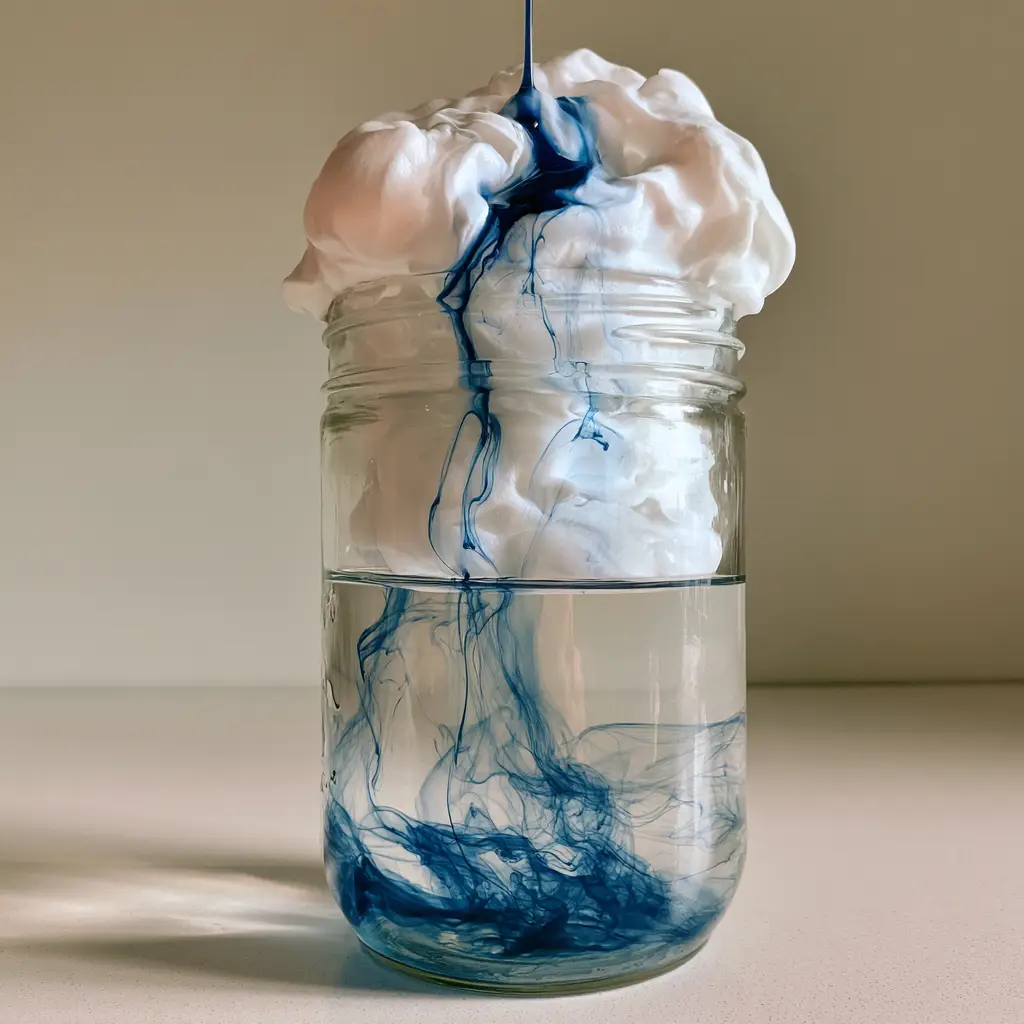
Creating a Rain Cloud in a Jar is the ultimate “kitchen science” activity that captivates kids and adults alike with its mesmerizing, swirling visuals. This classic weather experiment uses household staples to demonstrate how clouds become saturated and eventually release precipitation.
Whether you are looking for a rainy-day activity or a visual aid for a homeschooling lesson, the Rain Cloud in a Jar offers a stunning, hands-on way to explore the water cycle. In this guide, we will show you exactly how to achieve those iconic, wispy blue dye streaks that look just like a storm brewing in the sky.
Why You Will Love This Mesmerizing Weather Activity
- Instant Gratification: Watch as vivid blue tendrils of “rain” break through the fluffy white foam in seconds.
- Educational Value: It provides a clear, 3D model of cloud saturation and gravity-led precipitation.
- Minimal Cleanup: Unlike messy slime, this project uses simple water and soap, making it a dream for parents.
- Stunning Visuals: The contrast between the thick white shaving cream foam and the transparent water creates a Pinterest-perfect aesthetic.
Essential Supplies for the Perfect Shaving Cream Rain Cloud
To get the most defined “rainfall,” you need to use the right materials. Avoid gel-based creams as they won’t create the soft, airy texture needed for the “cloud” to hold the dye correctly.
- Clear Glass Mason Jar: A 16 oz (473ml) jar is ideal for seeing the movement of the dye. Ensure it is perfectly clean for the best transparency.
- Transparent Water: Use room temperature water to fill the jar three-quarters full.
- White Shaving Cream: Specifically, the “foamy” kind. This creates the opaque white mound that represents a cumulus cloud.
- Liquid Blue Food Coloring: This provides the deep blue liquid dye necessary for the “rain.” For a more controlled experiment, you can mix the dye with a little water in a separate small bowl.
- Dropper or Pipette: This allows you to drip the dye slowly, ensuring the wispy streaks of color penetrate the foam at the right speed.
If you love experiments that use kitchen basics, you might also want to try our glow in the dark rice krispies treats for a neon-themed snack time!
How to Make a Rain Cloud in a Jar
The secret to a successful Rain Cloud in a Jar is the layering. If the shaving cream is too thick, the “rain” won’t fall; if it’s too thin, it will sink immediately. Follow these steps for the perfect visual balance.
Step 1: Prepare Your Atmosphere
Start by filling your clear glass mason jar about 3/4 of the way with transparent still water. You want enough space at the top for the “cloud” but plenty of room below to watch the blue tendrils swirl downward.
Step 2: Create the Cumulus Cloud
Shake your shaving cream well. Gently spray a thick, voluminous mound of white shaving cream onto the surface of the water. Aim for a height of about 1 to 2 inches (2.5-5cm). It should look like a soft, airy cumulus cloud resting on the horizon.
Step 3: Simulating the Rainfall
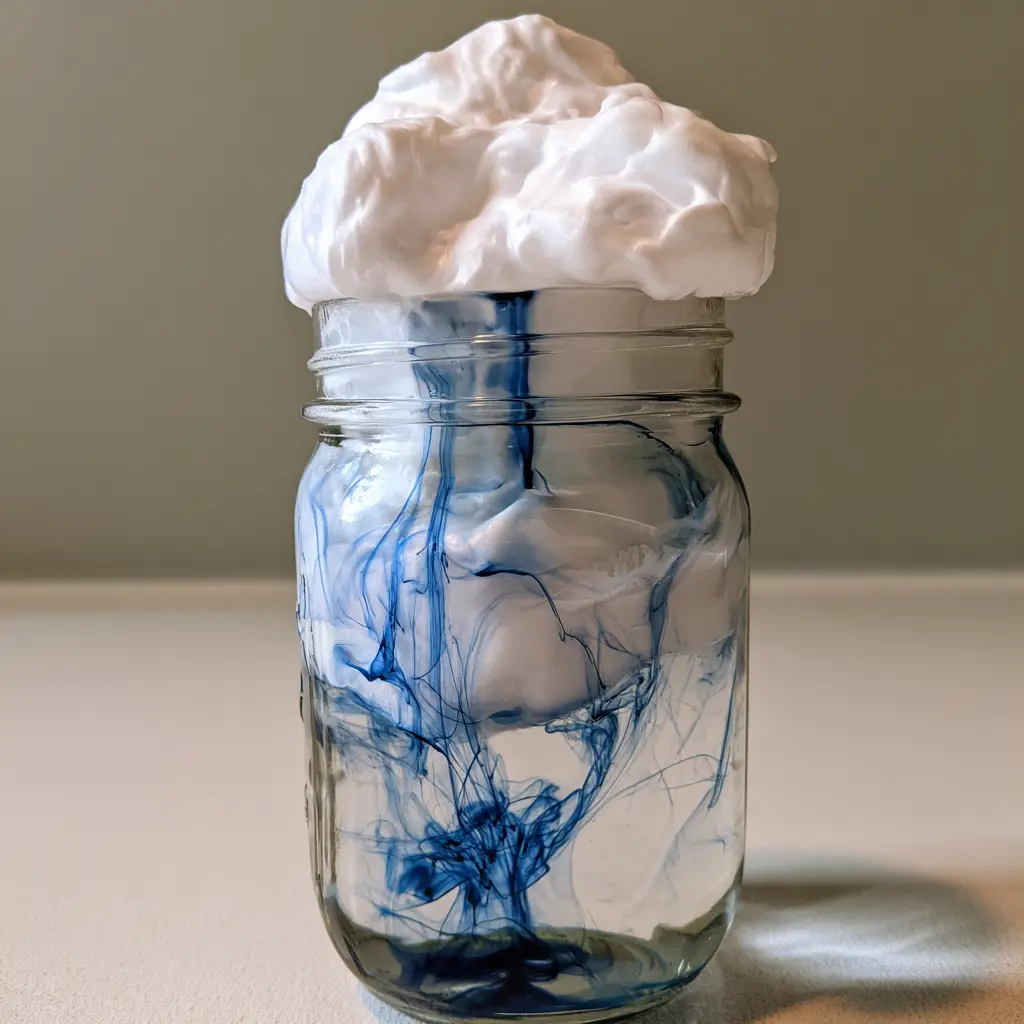
Use your dropper to pick up the liquid blue food coloring. Begin dripping the dye onto the center of the foam mound. At first, the “cloud” will hold the dye, just as a real cloud holds water vapor.
Step 4: Watch the Storm Break
As the “cloud” becomes saturated, you will see the vivid blue tendrils successfully penetrating the foam. The dye will begin swirling downward through the clear water, creating a beautiful, wispy effect that mimics a rainstorm.
This experiment is just as fun as making cotton candy cookies because of the vibrant colors and fluffy textures involved!
Expert Tips for Scientific Success
- Dilute Your Dye: If your food coloring is too heavy, it may sink too fast. Mix 1 tablespoon (15ml) of water with 10 drops of blue dye for a more “wispy” look.
- Avoid the Edges: Drip the dye into the center of the shaving cream. If it runs down the glass, it ruins the “falling from the cloud” illusion.
- Use Room Temp Water: Very cold or very hot water can cause the shaving cream to dissolve or expand too quickly, muddying the transparent water.
- Multiple Colors: While blue is classic, you can create a “rainbow storm” by using multiple colors to see how they mix in the water below.
Disposing of Your Mini Storm
Once your Rain Cloud in a Jar has fully saturated and the water is completely blue, the experiment is over. Because we are using standard shaving cream and food dye, you can simply pour the contents down the drain.
Rinse the jar immediately to prevent any blue dye from staining the glass. If you used a lot of shaving cream, run a bit of warm water to ensure the suds clear the sink trap easily.
What to Pair With This Science Project
Make a full day of it! After you finish your weather experiment, why not learn about other types of energy with a static electricity storm in a jar?
Since this activity often works up an appetite for little scientists, we recommend serving a “cloud-themed” snack like whipped cream on fruit or even a savory treat like our parmesan potato rounds which are easy for small hands to grab between experiments.
Frequently Asked Questions About This Liquid Experiment
The shaving cream represents a cloud and the water represents the atmosphere. As you add food coloring (rain) to the cloud, it becomes heavy. Once the cloud is saturated, gravity pulls the dye down into the water, simulating precipitation.
No, gel shaving cream will not work. You need the foamy, airy variety to create a ‘cloud’ that can be penetrated by the food coloring.
Your ‘cloud’ might be too thick. If the shaving cream layer is more than 2 inches deep, the dye may get trapped. Try diluting your food coloring with a little water to make it more fluid.
The experiment is a one-time use per setup. Once the water at the bottom becomes fully dyed, you can no longer see the ‘rain’ falling. Simply rinse the jar and start over for more fun!
Absolutely! Using multiple colors can create a ‘rainbow rain’ effect, which is a great way to teach children about color mixing as the dyes swirl together in the water.
Rain Cloud in a Jar Recipe Card
Join the Science Fun!
Did your Rain Cloud in a Jar turn out perfectly wispy? We want to see your mini-storms! Save this project to your favorite Pinterest board so you never lose the instructions.
If you tried this at home, please share a photo in the comments below and let us know how your “rainfall” looked. Don’t forget to leave a 5-star rating on the recipe card if you enjoyed this simple science magic. Follow FingerLicking_Recipes for more creative kitchen ideas!