If you have been searching for a way to transform a humble tub of curds into a gourmet, crunch-worthy snack, these Cottage Cheese Chips are the culinary breakthrough you need. Forget what you know about the soft, creamy texture of cottage cheese; we are using forensic culinary science to turn that moisture into a vibrant golden brown, lacy-edged masterpiece. This recipe is the perfect bridge between a high-protein diet and the visceral craving for a salty, savory crunch.
The magic happens in the oven, where the proteins and fats in the cottage cheese undergo the Maillard reaction, resulting in a bubbly toasted texture throughout the center of every chip. You aren’t just making a snack; you are engineering a handheld smartphone-worthy appetizer that rivals any store-bought keto cracker. The addition of cracked black pepper and fine flakes of dried green herbs elevates these rounds from a simple hack to a sophisticated accompaniment for your favorite dips.
In this deep-dive guide, we will explore the precise temperatures and techniques required to achieve that signature toasted golden brown edge. We will also discuss why certain cottage cheese brands work better than others and how to ensure your chips don’t stick to the pan. Whether you are a seasoned meal-prepper or a curious home cook, these chips will redefine how you view healthy snacking forever.
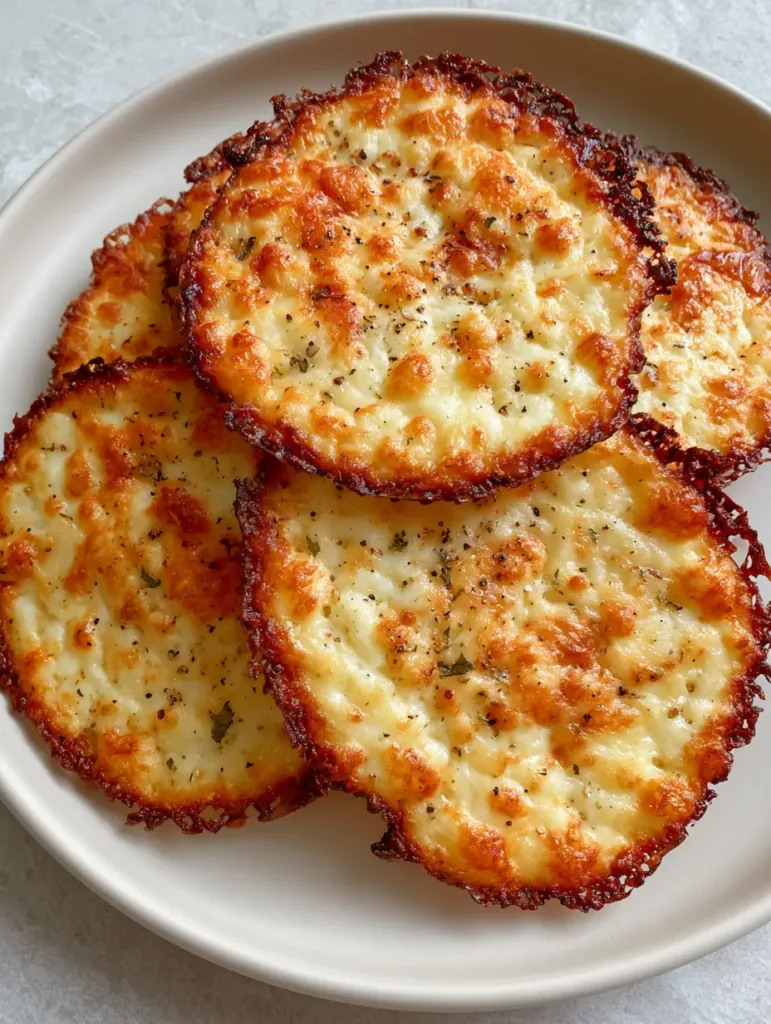
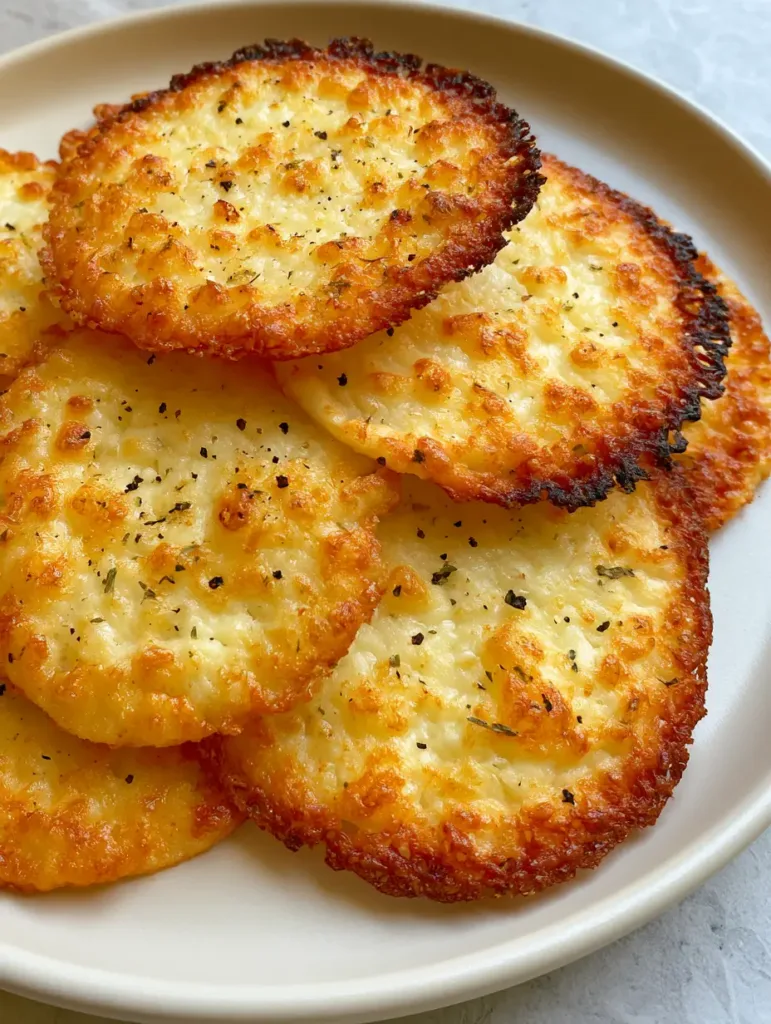
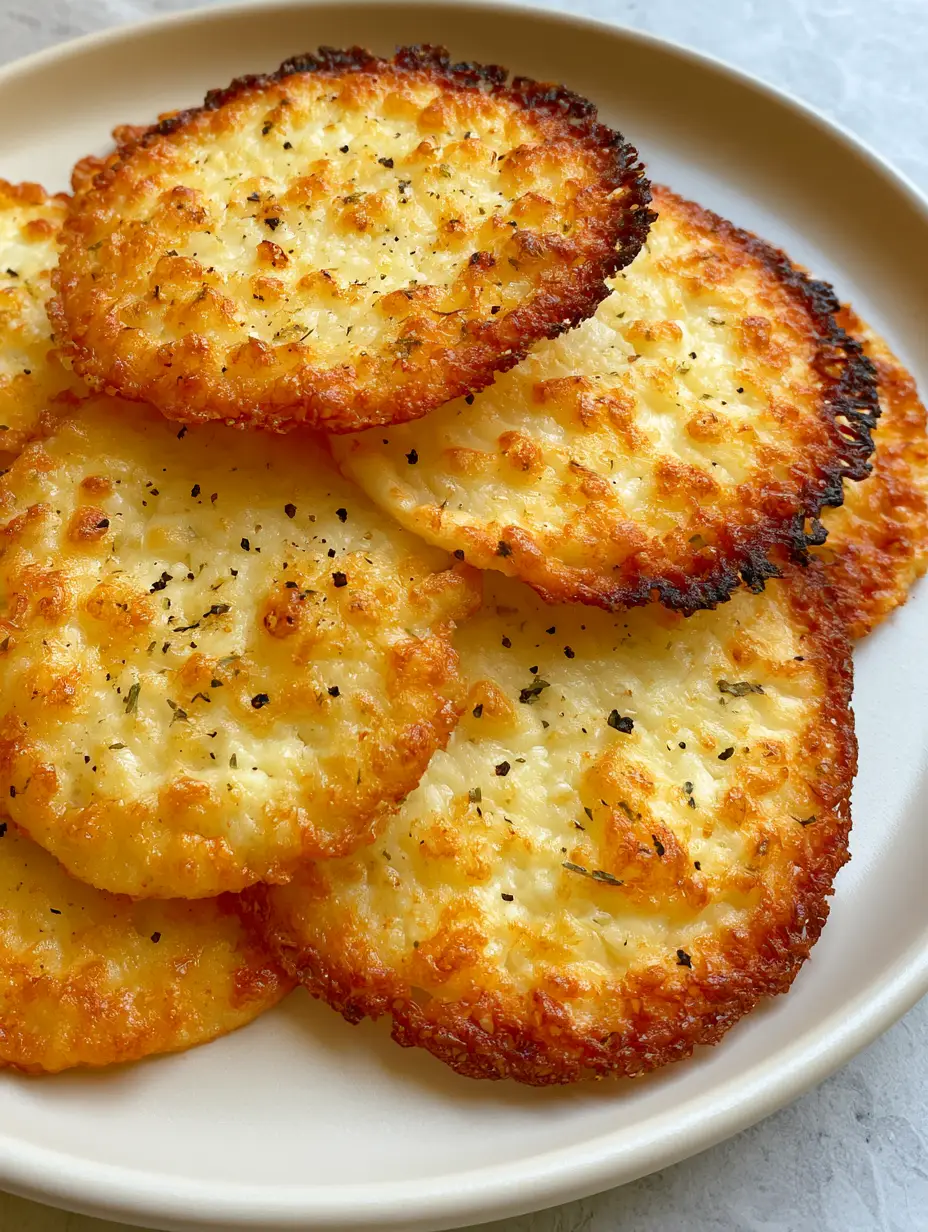
Perfectly thin and crispy cottage cheese rounds ready for snacking.
The Science of the Perfect Lacy Crunch
The appeal of these Cottage Cheese Chips lies in the contrast between their delicate, lacy edges and their robust, savory flavor profile. Unlike traditional potato chips, these are packed with bioavailable protein, making them an excellent choice for sustained energy throughout the afternoon.
Vibrant Golden Brown Finish: Achieving this color requires precise moisture evaporation and caramelization of the milk sugars.
Distinct Bubbly Texture: As the water content evaporates, small air pockets form, creating a light, airy, and toasted center.
Gourmet Visuals: The fine specks of cracked black pepper and dried herb flakes are not just for flavor; they provide a professional, textured aesthetic.
Structural Integrity: When baked correctly, these chips are sturdy enough to hold up to a thick creamy garlic sauce or a hearty dip.
Essential Components for High-Protein Crisps
To achieve the visual result described in our blueprint, you need more than just the cottage cheese itself. Each ingredient plays a structural or flavor-enhancing role in the final chip.
Full-Fat Cottage Cheese (4% Milkfat): You will need 1 cup (225g) of small curd cottage cheese. The fat content is crucial for achieving that toasted, bubbly texture and preventing the chips from becoming overly brittle or dry.
Finely Grated Parmesan: Use 1/4 cup (25g) of high-quality, dry-aged parmesan. This acts as a binder, providing the “lacy” infrastructure that holds the cottage cheese curds together during the baking process.
Freshly Cracked Black Pepper: You need 1/2 tsp (1g) of coarse black pepper. The oils in freshly cracked pepper bloom in the oven’s heat, providing a sharp contrast to the rich, toasted cheese.
Dried Herb Medley: Use 1/2 tsp (0.5g) of dried parsley or oregano flakes. These green specks provide the visual “pop” seen in the blueprint and a subtle earthy finish to every bite.
Invisible Foundation – Garlic Powder: Add 1/4 tsp (1.5g) of fine garlic powder to the mix. While invisible to the eye, it provides the savory depth that makes these chips truly addictive.
Invisible Foundation – Non-Stick Olive Oil Spray: A light coating of olive oil on the parchment paper is essential. It aids in the “frying” effect on the bottom of the chip, ensuring those edges become beautifully caramelized.
Professional Tools for Crispy Success
To recreate the handheld smartphone photo look, you must use the right equipment. Using a dark metal baking sheet, for example, will cause the chips to brown too quickly on the bottom before the centers are toasted.
Large Rimmed Baking Sheet: A light-colored aluminum sheet provides even heat distribution.
Premium Parchment Paper: Essential for preventing the cheese from bonding to the metal. Do not use wax paper.
Small Cookie Scoop: To ensure every chip is uniform in size, which leads to even cooking times.
Offset Spatula: This tool allows you to flatten the dollops of cheese into thin, circular rounds without tearing the delicate lacy edges.
Step-by-Step Engineering of Cottage Cheese Chips
1. Preparing the Cheese Base
Preheat your oven to 400°F (200°C). While the oven heats, place your cottage cheese in a fine-mesh strainer for about 5 minutes to remove excess liquid whey. This is a critical step; too much moisture will result in a soggy center rather than a toasted, bubbly one.
In a medium mixing bowl, combine the strained cottage cheese, grated parmesan, and garlic powder. Stir gently until the parmesan is evenly distributed throughout the curds, creating a thick, scoopable paste.
2. The Architecture of the Chip
Line your baking sheet with parchment paper and lightly mist it with olive oil spray. Using your cookie scoop, drop 1-tablespoon (15ml) portions of the mixture onto the paper, spaced at least 2 inches (5cm) apart. The chips will spread significantly as the fat melts, so do not crowd them.
Using the back of a spoon or an offset spatula, gently press each dollop into a thin, even circle. You want them to be about 1/8 inch (3mm) thick. At this stage, sprinkle the cracked black pepper and dried herb flakes evenly across the surface of each round.
Notice the beautiful lacy edges and toasted golden centers.
3. The Precision Baking Process
Slide the tray into the center rack of the oven. Bake for 18 to 22 minutes. Watch for the sensory cues: you should hear a light sizzling sound, and the aroma of toasted cheese should fill the kitchen. The edges will first turn a light tan, then transition into a vibrant golden brown.
The chips are done when the centers no longer look “wet” and have a distinct bubbly, toasted texture throughout. If the edges are getting dark but the center is still pale, rotate the pan and give it another 2 minutes. The goal is a caramelized, lacy perimeter that looks identical to our reference photo.
4. The Cooling & Setting Phase
This is the most important step for achieving that handheld crunch. Remove the tray from the oven and let the chips sit on the hot pan for at least 5 to 7 minutes. As they cool, the fats solidify, and the lacy edges become incredibly crisp. If you try to move them too soon, they will tear.
Expert Tips for the Ultimate Golden Crunch
Blot Your Curds: If your cottage cheese is particularly watery, blot the strained curds with a paper towel. Less moisture equals more crunch.
Avoid Silpats: While silicone mats are great for cookies, they tend to trap moisture. For these chips, parchment paper is superior for achieving a dry, toasted bottom.
Spice Variations: If you enjoy these, try a version with the seasonings from our crispy pepperoni cheese bites for a pizza-inspired flavor profile.
Watch the Edges: The lacy edges can go from golden brown to burnt in less than 60 seconds. Stay close to the oven during the final 3 minutes of baking.
How to Store and Refresh Your Chips
These Cottage Cheese Chips are best enjoyed within an hour of baking to maintain their peak bubbly texture. However, if you have leftovers, store them in an airtight container with a piece of parchment paper between the layers. They will stay fresh for up to 3 days in the refrigerator.
To regain the crunch, do not use a microwave. Instead, pop them back into a 350°F (175°C) oven or an air fryer for 2-3 minutes. This will re-crisp the fats and restore that vibrant golden brown lacy edge. They pair beautifully as a side for a crispy tofu bowl or even as a gluten-free cracker for a balsamic chicken dish.
What to Pair with Cottage Cheese Chips
These chips are incredibly versatile. Their savory, peppery profile makes them a natural fit for Mediterranean flavors. Try serving them alongside a creamy tzatziki chicken or use them to scoop up the toppings from a cottage cheese pizza bake.
For a complete snack board, pair them with some warm sourdough naan and fresh vegetables. The contrast between the soft bread and the crispy, bubbly cheese rounds creates a satisfying sensory experience that will impress any guest.
Sogginess is usually caused by excess moisture. Ensure you strain the cottage cheese curds thoroughly and blot them with a paper towel before mixing with the parmesan binder.
Fat-free cottage cheese does not crisp as well and lacks the fat necessary for the bubbly, toasted texture. For the best results and vibrant golden brown edges, use 4% milkfat cottage cheese.
The lacy edges are created by the combination of melted parmesan and the natural fats in the cottage cheese. Flattening the rounds very thin and baking at 400°F (200°C) ensures these edges caramelize perfectly.
Yes! Cook them at 375°F (190°C) for 8-10 minutes on a piece of parchment paper. However, be careful as the light chips can blow around once they become crisp and light.
Generally, no. Both cottage cheese and parmesan are naturally high in sodium. The cracked black pepper and herbs provide plenty of flavor without the need for additional salt.
The Master Recipe for Golden Cottage Cheese Chips
Perfectly thin and crispy cottage cheese rounds ready for snacking.
FL Recipes
Cottage Cheese Chips: The Ultimate Crispy High-Protein Snack Secret
Transform cottage cheese into crispy, high-protein chips with vibrant golden brown lacy edges and a bubbly toasted texture. Seasoned with cracked black pepper and dried herbs, these keto-friendly rounds are the ultimate savory snack breakthrough.
The ultimate high-protein crunch: Golden Cottage Cheese Chips.
Conclusion: The Future of Healthy Snacking
Cottage Cheese Chips represent the perfect intersection of health-conscious eating and culinary indulgence. By following these forensic steps—straining the curds, using a parmesan binder, and baking until that vibrant golden brown lacy edge appears—you have created a snack that is both functional and delicious. The bubbly, toasted texture and the sharp bite of cracked black pepper ensure that you never feel like you’re missing out on traditional snacks.
We invite you to try this recipe and share your results! Did you achieve that perfect lacy edge? Let us know in the comments below. For more high-protein inspiration and daily recipe updates, be sure to follow us on Pinterest and join our community of enthusiastic home cooks.
Hi, I’m Emily Carter, and welcome to FL Recipes! I share simple, healthy recipes that make cooking easy, fun, and delicious for everyone. more about me »