Cotton candy cookies are the ultimate whimsical treat, bringing the nostalgic, sugary magic of the county fair straight into your kitchen. These cookies aren’t just a dessert; they are a visual masterpiece featuring vibrant swirls of pastel pink and sky blue marbled into a thick, pillowy dough. If you are looking for a soft-baked cookie that melts in your mouth and looks like a dream on your Pinterest feed, this is the recipe you have been waiting for.
The secret to these cotton candy cookies lies in the perfect balance of a tender sugar cookie base and the iconic, airy flavor of spun sugar. Topped with a dusting of iridescent sanding sugar and a fresh tuft of real pink cotton candy, they offer a multi-sensory experience that delights both kids and adults alike. Whether you are hosting a gender reveal, a birthday party, or just want to brighten your afternoon, these cookies are guaranteed to be the star of the show.
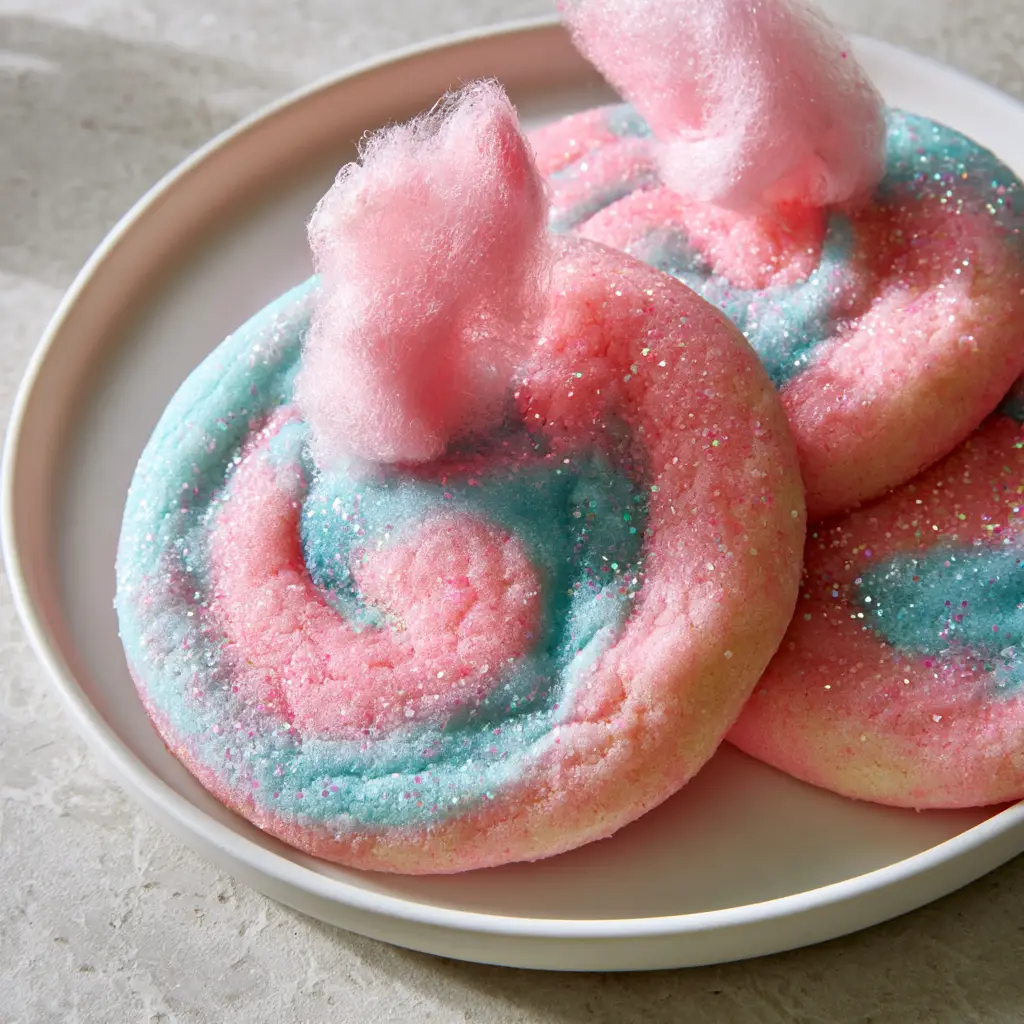
Every cookie features a unique pink and blue marbled swirl.
Why You Will Obsess Over These Marbled Treats
Unmatched Texture: These cookies feature soft-baked centers that stay pillowy for days, contrasting perfectly with the slight crunch of iridescent sugar.
Visual Showstopper: The marbled pink and blue dough creates a unique pattern in every single bite, making them a “must-save” for any aesthetic dessert board.
Nostalgic Flavor: We use specific flavor extracts to mimic that authentic circus-style cotton candy taste.
Pinterest Perfection: With the fresh cotton candy garnish, these cookies are designed to go viral and stop the scroll.
If you love whimsical desserts with a creative twist, you might also enjoy our glow-in-the-dark rice krispies treats for your next glow-themed party!
Essential Ingredients for Cotton Candy Cookies
To achieve the forensic visual accuracy required for these cookies, we need specific high-quality ingredients. Here is what you will need to gather:
Unsalted Butter (1 cup / 226g): Ensure your butter is softened to room temperature. This provides the structure and that rich, melt-in-your-mouth fat content.
Granulated Sugar (1.5 cups / 300g): This provides sweetness and helps create those slightly crisp edges while keeping the center soft.
Large Eggs (2): These act as the binder, giving the pillowy dough its lift and moisture.
Cotton Candy Extract (2 tsp / 10ml): This is the most critical ingredient for flavor. If you can’t find it, a mix of vanilla and a drop of raspberry extract works in a pinch.
All-Purpose Flour (3.5 cups / 435g): The foundation of our cookie. We use a precise amount to ensure the cookies are thick and don’t spread too thin.
Baking Powder (1 tsp / 5g): This gives us that “pillowy” height mentioned in the visual blueprint.
Pink and Blue Gel Food Coloring: Gel is superior to liquid coloring because it provides vibrant “sky blue” and “pastel pink” hues without altering the dough’s consistency.
Iridescent Sanding Sugar: This adds a magical, crystalline finish to the surface of the baked cookie.
Fresh Pink Cotton Candy: Used as the final garnish to provide that airy, cloud-like tuft on top.
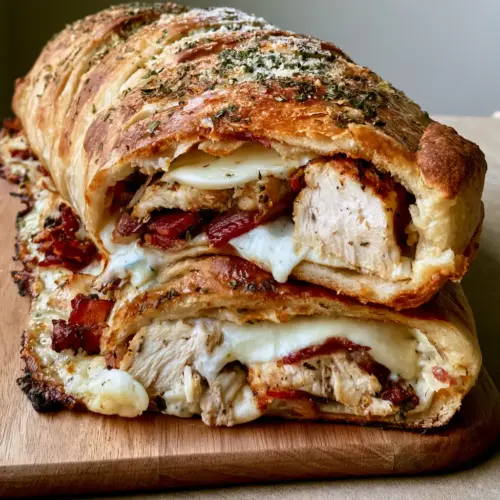
Looking for something a bit more savory after all this sugar? Check out our chicken bacon ranch stromboli for a crowd-pleasing dinner.
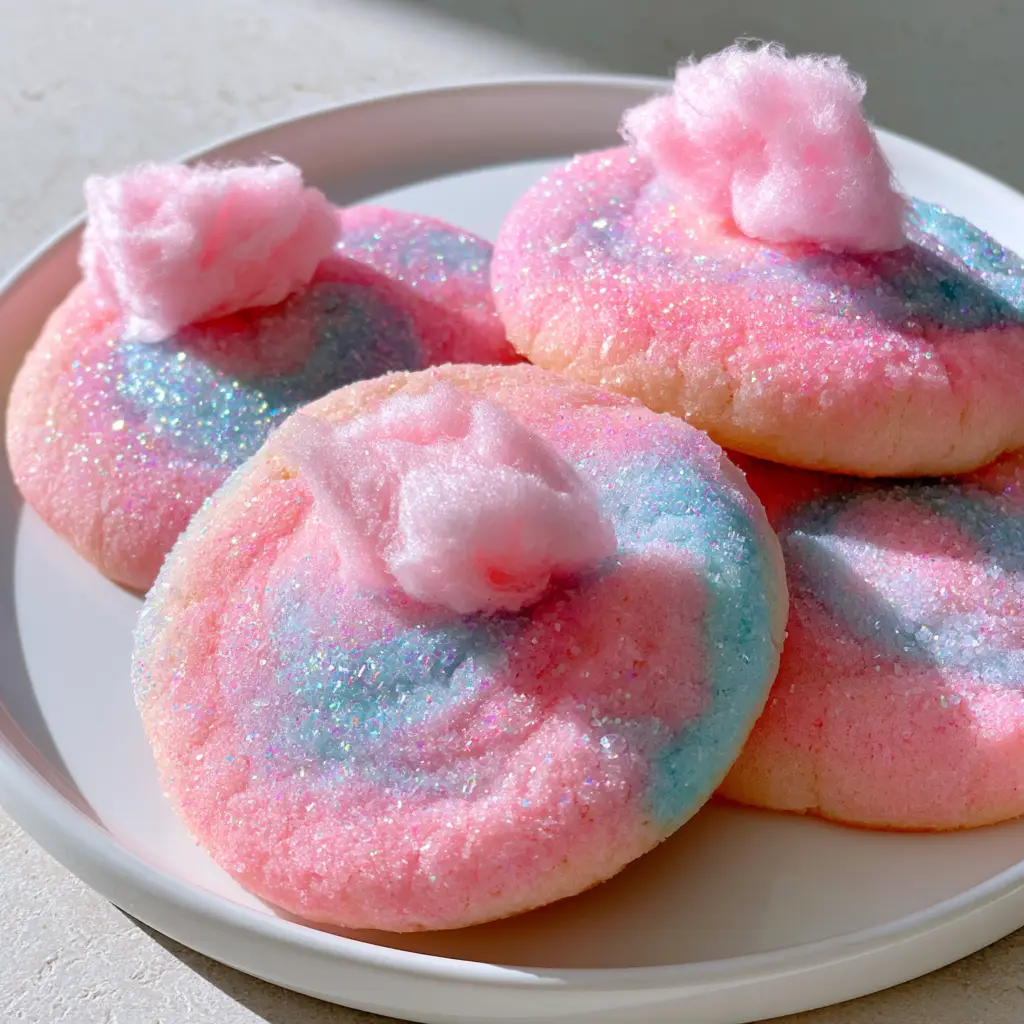
Notice the soft, pillowy texture and the shimmer of the iridescent sugar.
How to Make the Perfect Marbled Dough
Step 1: Creaming for Cloud-Like Texture
Start by creaming your 1 cup (226g) of softened butter and 1.5 cups (300g) of granulated sugar in a large bowl. You want to beat this for at least 3-4 minutes until the mixture is pale and fluffy. This aeration is what creates the soft-baked centers we are aiming for.
Add the eggs one at a time, followed by the cotton candy extract. Scrape down the sides of the bowl to ensure every bit of dough is infused with that nostalgic aroma.
Step 2: Mixing the Dry Base
In a separate bowl, whisk together the 3.5 cups (435g) of flour, 1 tsp (5g) of baking powder, and a half-teaspoon of fine sea salt. Gradually add the dry ingredients to the wet ingredients on low speed. Stop mixing as soon as the last streak of flour disappears to avoid a tough cookie.
Step 3: Creating the Vibrant Marbled Swirls
Divide your dough into two equal portions. Use a toothpick to add pink gel coloring to one half and blue gel coloring to the other. Knead the color in by hand or with a spatula until the colors are vibrant and even.
To get the marbled pink and blue effect, take a small piece of pink dough (about 1 tablespoon) and a small piece of blue dough. Press them together gently and roll them into a ball. Do not over-roll, or the colors will muddy into purple! You want distinct “sky blue” and “pastel pink” swirls visible on the surface.
Step 4: The Iridescent Finish
Place your iridescent sanding sugar in a small bowl. Roll the top of each dough ball into the sugar, pressing gently so the crystals adhere. This creates the matte finish with a light dusting of crystals described in our visual blueprint.
Place the balls on a parchment-lined baking sheet, spaced 2 inches (5cm) apart. Chill the tray in the fridge for 15 minutes before baking to ensure they stay “thick and pillowy.”
Step 5: Baking to Perfection
Bake at 350°F (175°C) for 9-11 minutes. The cookies are done when the edges are set but the centers still look slightly soft. They should have a matte finish and not be browned. Overbaking will ruin the vibrant pastel colors.
For another colorful treat that kids love, try making our rain cloud in a jar science experiment while the cookies cool!
Expert Tips for Success
Use Gel Colors: Liquid food coloring can make the dough too sticky to marble effectively. Stick to concentrated gels.
Don’t Over-Marble: The beauty of cotton candy cookies is the contrast between the pink and blue. Two or three quick turns in your palms is enough.
The Cotton Candy Rule: Never add the fresh cotton candy garnish until the cookies are completely cool. The heat from a warm cookie will dissolve the spun sugar instantly.
Room Temperature Ingredients: Ensure your eggs and butter are not cold to prevent the dough from curdling during the creaming process.
Storage, Reheating & Freezing
Storage: Store your cookies in an airtight container at room temperature for up to 4 days. However, do not add the cotton candy garnish until you are ready to serve, as humidity will make it collapse.
Freezing: You can freeze the baked (un-garnished) cookies for up to 3 months. Thaw at room temperature and add fresh cotton candy before displaying.
What to Serve With Cotton Candy Cookies
These cookies are quite sweet, so they pair beautifully with a glass of cold milk or a tart lemonade to balance the sugar. If you are serving these at a party, consider a “Carnival Theme” and serve them alongside our mexican street corn chowder for a fun, fair-inspired meal.
Cotton candy extract has a distinct flavor profile that mimics spun sugar with hints of vanilla and blue raspberry. It’s much more specific than plain vanilla extract.
Cotton candy is highly sensitive to heat and moisture. If the cookies are even slightly warm, the sugar will dissolve. Always wait for cookies to be completely cool.
The key is using high-quality gel food coloring and ensuring you don’t overbake the cookies. Once the edges are set, pull them out to prevent browning.
It is not recommended. Liquid coloring adds too much moisture to the dough, which can affect the pillowy texture and make the marbling look muddy.
The Ultimate Cotton Candy Cookie Recipe
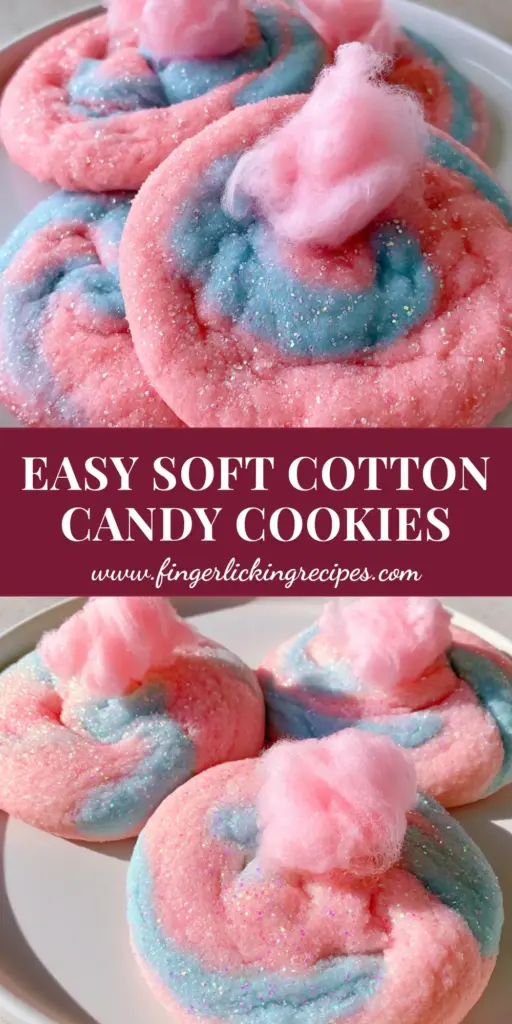
The viral Cotton Candy Cookies everyone is pinning!
Share the Magic!
Did these cotton candy cookies transport you back to the summer fair? We want to see your marbled creations! Save this recipe to your Dessert Recipes board on Pinterest so you never lose it. If you made these, please leave a 5-star rating in the recipe card above and drop a photo in the comments below. Follow FingerLicking_Recipes for more whimsical bakes!
Hi, I’m Emily Carter, and welcome to FL Recipes! I share simple, healthy recipes that make cooking easy, fun, and delicious for everyone. more about me »