There is a specific kind of culinary magic that happens when high-heat searing meets the tropical richness of full-fat coconut milk. This Creamy Coconut Garlic Shrimp is not just a meal; it is a sensory experience designed to bridge the gap between gourmet restaurant plating and the comfort of a home-cooked weeknight dinner.
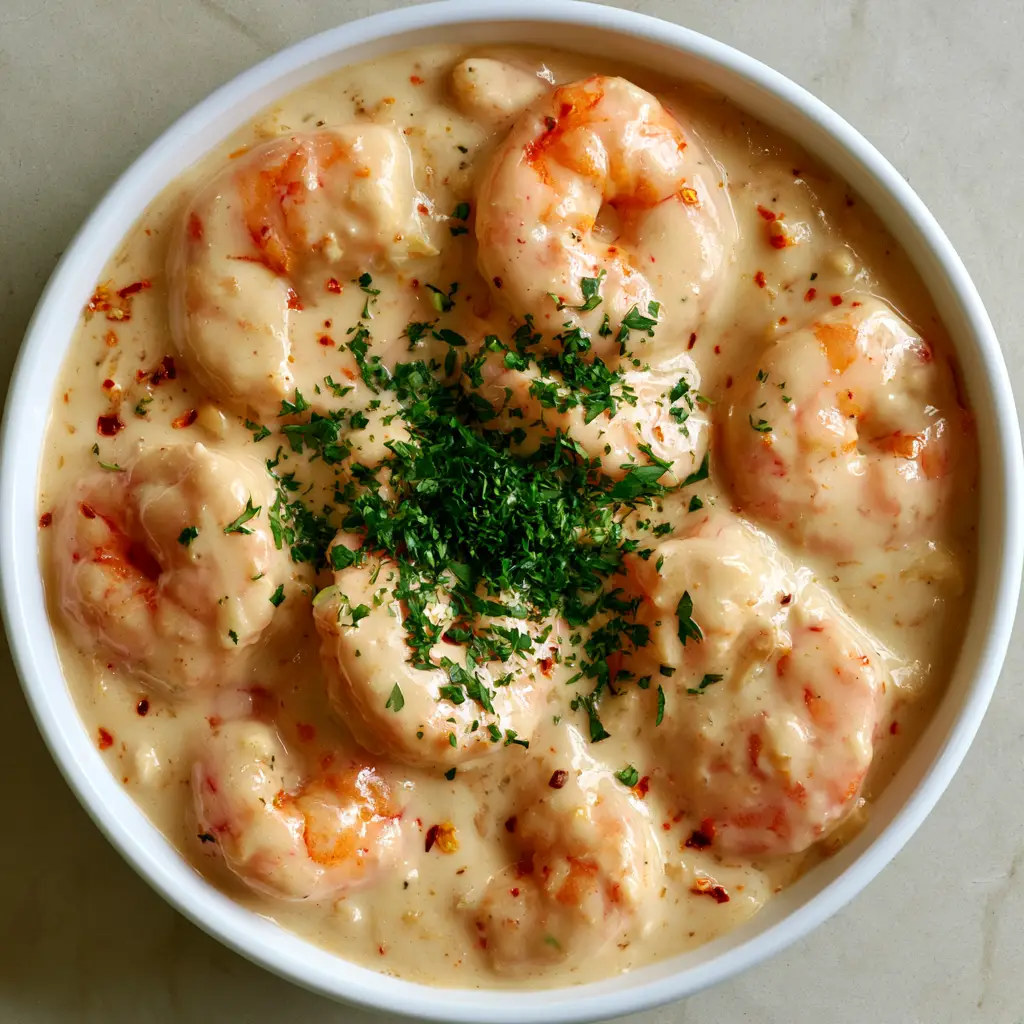
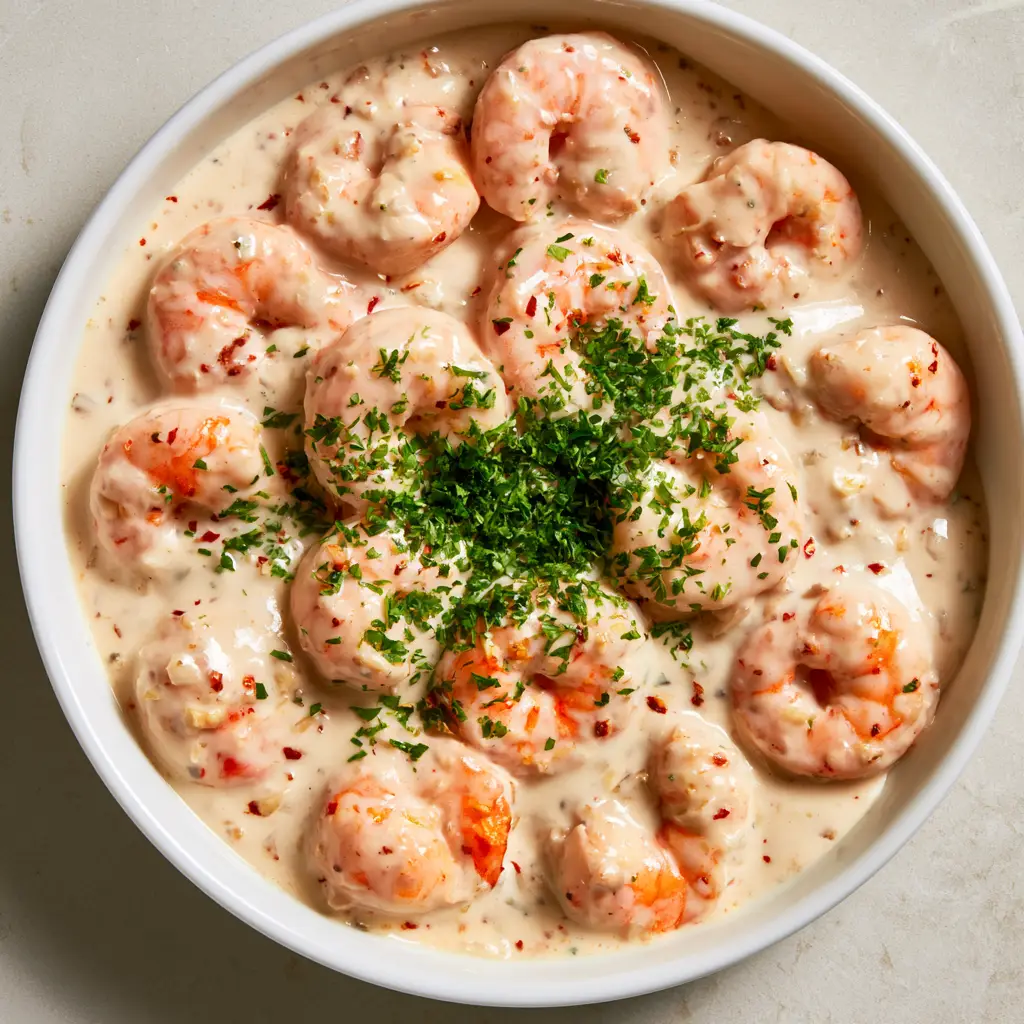
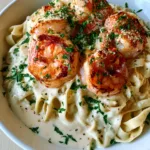
Imagine plump, jumbo shrimp with distinct orange-pink seared highlights nestled in a pool of thick, ivory-colored sauce that clings to every curve. The sauce itself is a study in balance, featuring the sharp bite of minced garlic softened by the natural sweetness of coconut, all punctuated by the subtle warmth of red chili flakes.
Whether you are looking for a quick low-carb dinner or a stunning centerpiece for a dinner party, this dish delivers on every promise. Best of all, it achieves that professional “glossy” finish and deep flavor profile in under 20 minutes from start to finish.
Serve this velvety dish in a shallow bowl to highlight the glossy ivory sauce.
Why You Will Crave This Luxuriously Glossy Shrimp Dish
Perfectly Seared Texture: By using high-heat techniques, we ensure the shrimp develop a beautiful crust while remaining tender and juicy on the inside.
Aromatics in Every Bite: The combination of six cloves of fresh garlic and crushed red pepper creates a flavor base that is both bold and sophisticated.
Visual Masterpiece: The contrast between the bright green parsley, the red chili specks, and the ivory sauce makes this a visually stunning dish that looks exactly like a high-end food photography shoot.
Dietary Friendly: Naturally gluten-free and dairy-free, this recipe provides a creamy mouthfeel without the need for heavy cream or thickeners.
The Essential Elements of an Ivory Coconut Sauce
Jumbo Shrimp (1.5 lbs / 680g): You want “Large” or “Jumbo” shrimp (16/20 count) for this recipe to ensure they don’t overcook before they get that signature sear. Make sure they are peeled and deveined, but keeping the tails on adds a professional aesthetic to the final white ceramic bowl presentation.
Full-Fat Coconut Milk (14 oz / 400ml): It is critical to use canned, full-fat coconut milk rather than the carton version used for cereal. The high fat content is what creates the “thick ivory” texture and glossy sheen described in our visual blueprint.
Fresh Garlic Cloves (6 cloves / 30g): We are using a generous amount of garlic to ensure the flavor stands up to the richness of the coconut. Minced finely, it distributes throughout the sauce to create those “tiny specks” visible in the close-up shot.
Crushed Red Chili Flakes (1 tsp / 2g): These provide a gentle heat that cuts through the fat of the coconut milk. They also provide the necessary “tiny specks of red” that give the sauce its visual depth.
Fresh Italian Parsley (1/2 cup / 15g): Do not use dried parsley here; the “heavy garnish of finely chopped fresh green parsley” is essential for the bright contrast against the ivory sauce. It adds a necessary herbaceous finish to the palate.
Extra Virgin Olive Oil (2 tbsp / 30ml): A high-quality oil with a decent smoke point is required to achieve the “orange-pink seared highlights” on the shrimp without burning the delicate seafood.
Sea Salt and Cracked Black Pepper: These foundational seasonings enhance the natural sweetness of the shrimp and the earthiness of the garlic. Always season the shrimp directly before they hit the pan.
Pro Tools for Achieving a Professional Restaurant Finish
To get the exact look of our Creamy Coconut Garlic Shrimp, you need a wide, heavy-bottomed skillet—ideally cast iron or stainless steel. These materials retain heat efficiently, which is the secret to getting a hard sear on the shrimp quickly without turning them rubbery.
You will also need a sharp chef’s knife for mincing the garlic into uniform pieces. This ensures even cooking and prevents larger chunks of garlic from burning. Finally, a shallow white ceramic bowl is the best vessel for serving, as it allows the ivory sauce to pool beautifully around the seared shrimp.
Notice the beautiful orange-pink seared highlights on the jumbo shrimp.
Step-by-Step to Shrimp Perfection
Preparing the Shrimp for the Perfect Sear
Start by patting your shrimp completely dry with paper towels. This is a non-negotiable step; moisture is the enemy of a good sear. If the shrimp are wet, they will steam rather than brown, and you will miss out on those “visible orange-pink highlights.”
Season the shrimp generously with sea salt and black pepper. Heat 2 tablespoons (30ml) of olive oil in your skillet over medium-high heat until the oil is shimmering and just starting to show a wisp of smoke.
Achieving the Golden Maillard Reaction
Place the shrimp in the pan in a single layer, ensuring they are not crowded. Work in batches if necessary. Sear the shrimp for 1-2 minutes per side until they develop a vibrant orange-pink crust. Once seared, remove the shrimp from the pan and set them aside on a plate; they will finish cooking in the sauce later.
Building the Aromatic Coconut Base
Lower the heat to medium and add the minced garlic and red chili flakes to the remaining oil in the skillet. Sauté for only 30-60 seconds until the garlic is fragrant but not browned. Pour in the full-fat coconut milk, using a wooden spoon to scrape up any browned bits (fond) from the bottom of the pan.
Reducing for a Thick, Ivory Consistency
Bring the coconut milk to a gentle simmer. Allow it to bubble for 3-5 minutes, stirring occasionally, until the sauce reduces slightly and thickens into a “smooth and velvety” consistency. Taste the sauce and add more salt if needed to balance the sweetness of the coconut.
The Final Emulsion and Garnish
Add the seared shrimp back into the skillet, along with any juices that collected on the plate. Toss them in the sauce for 1 minute to warm through. Turn off the heat and immediately shower the dish with the finely chopped fresh parsley. The heat from the sauce will release the parsley’s oils, creating a fragrant finish.
Chef Secrets for the Glossiest Sauce
Don’t Shake the Can: If you want an extra-thick sauce, scoop out the solid coconut cream from the top of the can first, then add the liquid sparingly until you reach your desired ivory thickness.
Cold Butter Finish: For an even glossier “restaurant-style” finish, whisk in a tablespoon of cold butter right at the end after turning off the heat.
Acid Balance: If the sauce feels too “heavy,” a tiny squeeze of fresh lime juice can brighten the flavors without curdling the coconut milk.
Shrimp Sizing: Always buy “easy peel” shrimp if you are pressed for time, but ensure they are completely thawed before cooking to avoid releasing excess water into the pan.
Maintaining the Texture of Your Leftover Seafood
While Creamy Coconut Garlic Shrimp is best served fresh, you can store leftovers in an airtight container in the refrigerator for up to 2 days. Because shrimp can become tough when reheated, we recommend warming them gently on the stovetop over low heat.
Avoid using the microwave if possible, as it can cause the coconut milk to separate and the shrimp to turn rubbery. If the sauce has thickened too much in the fridge, add a splash of water or more coconut milk to loosen it back into its velvety state.
Perfect Partners for Your Coconut Garlic Bowl
To truly enjoy the abundance of the ivory sauce, serve this dish over a bed of jasmine rice or alongside a crusty baguette. If you are looking for a lower-carb option, it pairs beautifully with zoodles or a high-protein chickpea salad.
If you love the flavor profile of this sauce, you might also enjoy our creamy coconut milk chicken, which uses a similar aromatic base. For those who prefer a pasta-based meal, this shrimp would be a fantastic protein addition to our one-pot creamy garlic pasta.
For a complete seafood feast, consider serving this as a main course after an appetizer of grilled shrimp or a fresh grilled shrimp bowl for varied textures. The richness of the coconut also complements the acidity in a creamy balsamic dressing used on a side garden salad.
Yes, but ensure they are fully thawed and patted extremely dry with paper towels. Frozen shrimp release more moisture, which can prevent the desired seared crust if not dried properly.
For the specific thick ivory texture and glossy finish seen in the photos, full-fat canned coconut milk is best. You can use heavy cream as a dairy-based alternative, though the flavor profile will shift.
Avoid boiling the sauce vigorously. A gentle simmer is all that’s needed. Also, wait until the end of the cooking process to add any acidic ingredients like lime juice.
Mince the garlic very finely so it creates ‘tiny specks’ throughout the sauce. Using a garlic press is a great shortcut to ensure the garlic is fine enough to distribute evenly.
Absolutely. While the recipe calls for 1 teaspoon of red chili flakes for a mild warmth, you can double the amount or add a teaspoon of chili oil for a more significant kick.
The Ultimate Creamy Coconut Garlic Shrimp Recipe
Serve this velvety dish in a shallow bowl to highlight the glossy ivory sauce.
FL Recipes
Creamy Coconut Garlic Shrimp: A Velvety 20-Minute Masterpiece
A luxurious Creamy Coconut Garlic Shrimp featuring jumbo seared shrimp in a thick, ivory-colored coconut sauce. This 20-minute, dairy-free meal is packed with garlic, red chili flakes, and fresh parsley for a restaurant-quality finish.
1.5lbsJumbo Shrimp454g, peeled and deveined, tails on
14ozFull-Fat Coconut Milk400ml, canned
6clovesGarlic30g, minced
1tspRed Chili Flakes2g, adjusted to taste
0.5cupFresh Italian Parsley15g, finely chopped
2tbspExtra Virgin Olive Oil30ml
1pinchSea Salt and Black PepperTo taste
Equipment
1 Heavy-bottomed Skillet Cast iron or stainless steel preferred for searing.
1 Chef's Knife For fine mincing of garlic and parsley.
4 White Ceramic Bowl For serving.
Method
Prepare and Sear
Pat the shrimp dry with paper towels to ensure a crisp sear. Season with salt and pepper.
Heat oil in a skillet over medium-high. Add shrimp in a single layer and sear for 1-2 minutes per side until orange-pink highlights appear. Remove from pan.
Create the Sauce
Lower heat to medium. Sauté minced garlic and chili flakes for 30-60 seconds until fragrant.
Pour in coconut milk. Simmer for 3-5 minutes until the sauce reduces to a thick, ivory, velvety consistency.
Finish and Serve
Return shrimp to the pan, toss to coat in the glossy sauce for 1 minute.
Top with a heavy garnish of chopped parsley and serve in white ceramic bowls.
Nutrition
Calories: 342kcalProtein: 18gFat: 28gFiber: 1g
Notes
Use canned full-fat coconut milk for the thickest sauce. Pat shrimp bone-dry before searing to get the best color.
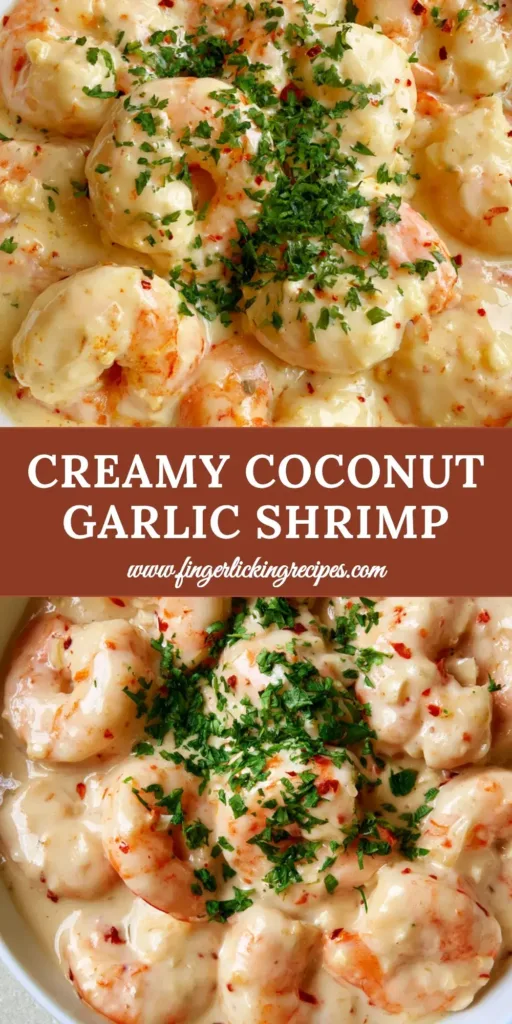
The ultimate 20-minute Creamy Coconut Garlic Shrimp for your next weeknight dinner.
Bring the Tropics to Your Kitchen Today
This Creamy Coconut Garlic Shrimp proves that you don’t need hours in the kitchen to create a dish that looks and tastes like it came from a professional gallery. The combination of the thick ivory sauce and the perfectly seared shrimp is a testament to the power of simple, high-quality ingredients.
If you enjoyed this recipe, please leave a comment below and let us know how it turned out! Don’t forget to sign up for our newsletter for more elite recipes delivered straight to your inbox. You can also save this recipe to your “Easy Dinners” board by following us on Pinterest.
Hi, I’m Emily Carter, and welcome to FL Recipes! I share simple, healthy recipes that make cooking easy, fun, and delicious for everyone. more about me »